
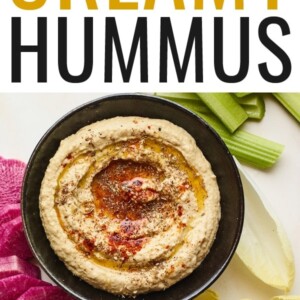
Creamy Hummus
89
Published Aug 31, 2021, Updated Oct 03, 2023
This post may include affiliate links. Thank you for your support.
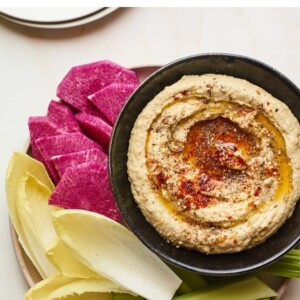
Here’s how to make perfectly smooth and creamy hummus at home! It’s super easy to whip up — no peeling of chickpeas required. Serve with fresh veggies and pita for a delicious appetizer or snack.
I’ve always loved hummus, but since visiting Israel I have a new-found obsession with making it at home. I buy store-bought all the time, but I have to admit that homemade hummus is definitely better and is actually super easy to whip up.
There are a ton of different hummus variations out there, but the recipe I’m sharing today is your traditional creamy hummus that requires just eight simple ingredients (plus water). It’s mellow in flavor, light, smooth and oh, so creamy!

If you’ve never made your own hummus before, get excited because this recipe makes smooth and creamy hummus, just like store-bought, but better. You’re going to love it!
Canned Chickpeas vs. Dry Chickpeas
I’ve made this recipe with both canned and freshly cooked chickpeas and I will say that dry chickpeas give hummus a tad more flavor. That said, I don’t always have time to soak and boil dry chickpeas, so I tend to gravitate towards canned chickpeas more often as it’s easier and the hummus still turns out tasting delicious!

Here’s What You Need
- chickpeas – I prefer to use canned chickpeas for ease, but you can definitely cook your chickpeas from scratch. I share instructions below for how to do this. When using canned, you simply rinse, drain and add them to your food processor.
- baking soda – this helps to break down the chickpea skins while boiling so there’s no need to individually peel the chickpeas for this recipe!
- tahini – tahini is made by grinding sesame seeds into a smooth paste. It can be found by other nut and seed butters in most grocery stores or you can make it yourself (here’s a homemade tahini recipe). Tahini is a key ingredient in classic hummus recipes so I highly recommend using a good high-quality brand when making this recipe. Here are some brands to look out for: Soom, Seed + Mill, Once Again, 365 by Whole Foods and Trader Joe’s.
- lemon juice – freshly squeezed lemon juice is best!
- extra virgin olive oil – the liquid that helps everything process together smoothly. I also love drizzling extra on top for serving.
- garlic – adds the perfect amount of savory flavor to the hummus. I like using 1 clove but if you love garlic you can add more.
- cumin – a common spice found in hummus that adds a nice, subtle flavor.
- salt – to bring all of the flavors together.
- cold water – using ice cold water is a game-changer when it comes to the texture of your hummus and helps result in light and fluffy hummus. If your hummus is too thick and not smoothing out, just add in some additional water.

How to Make Hummus
The process for making hummus is quite easy, but there are a couple steps if you want your hummus really smooth and creamy.
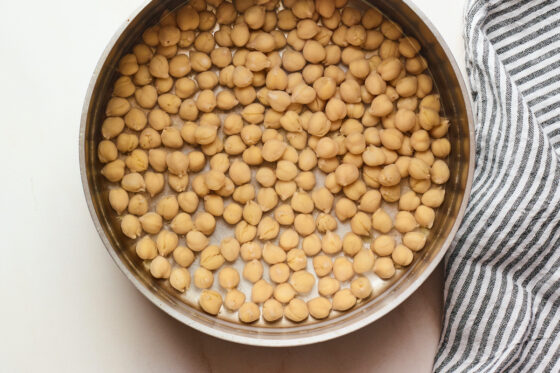
- Place 1 can of chickpeas and baking soda in a medium saucepan and cover with water. You want 1-2 inches of water above the chickpeas. Bring the mixture to a boil over high heat. Note: If you’re using dry chickpeas see my note section of the recipe.
- Boil chickpeas, reducing heat if necessary to prevent the saucepan from overflowing, for about 20 minutes, or until the chickpeas have expanded and the skins are falling off. You want the chickpeas soft, but not mushy. While the chickpeas boil, skim off any foam and/or skins that float to the surface. After 20 minutes, drain the chickpeas in a colander and run cool water over them. Set aside.
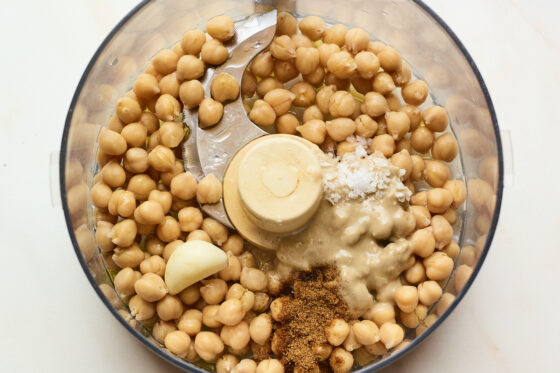
- In a food processor, add lemon juice and tahini. Process for 1 minute. This will add volume and make the hummus extra fluffy. Scrape down the sides of your food processor bowl and add chickpeas, olive oil, garlic, cumin and salt.
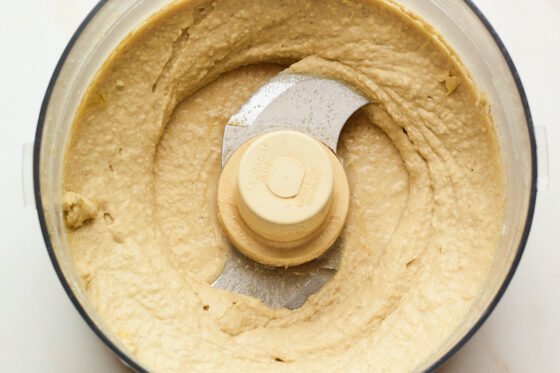
- Process until smooth (about 2-3 minutes more) gradually adding cold water as desired to thin the dip and scraping down sides of the processor bowl as needed. Once the hummus is completely smooth, taste and season as needed. You may want to add a little more salt and/or lemon juice.
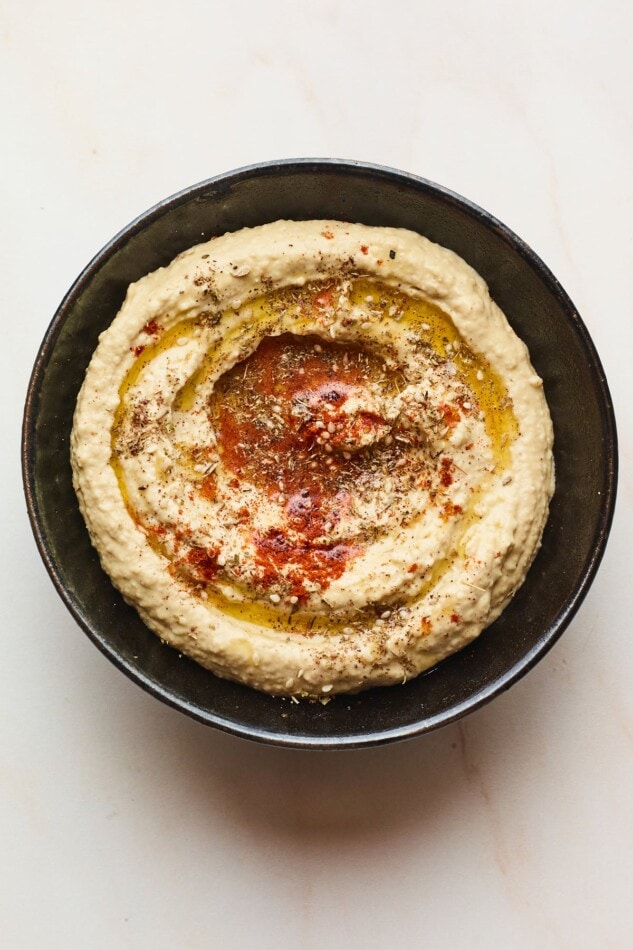
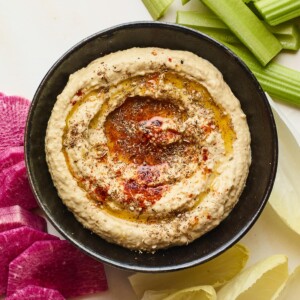
- Transfer hummus to a bowl for serving. Top with a drizzle of olive oil, fresh herbs, za’atar, cayenne pepper and/or paprika. Serve with chopped veggies or pita chips for dipping.
Do You Need to Peel The Chickpeas?
I used to think that in order to make the creamiest homemade hummus you had to peel the chickpeas… until I realized that boiling them with baking soda does the trick. The baking soda helps to break down the chickpea skins, which means there is no need to peel off the skins individually. Who has time for that anyways?! Because I sure don’t!
Once you boil your chickpeas, drain and rinse them with cool water before adding to your food processor. This cools your chickpeas, rinses off the baking soda flavor and removes the majority of the skins.
Can I Make Hummus Without Tahini?
Tahini is a key ingredient in classic hummus recipes, so I don’t recommend skipping it! That said, I do know tahini is a more expensive ingredient to buy and not everyone has it on hand.
I haven’t tested this, but to make hummus without tahini you can simply skip it all together or sub in Greek yogurt or another nut or seed butter like sunflower seed butter. If using yogurt or another nut butter the flavor won’t be the same, but you should still end up with a tasty chickpea dip.
If you do end up buying a jar of tahini for this recipe, I have plenty of other ways for you to use it! Try my fave garlic tahini dressing with this kale salad, this easy tahini sauce, and these amazing chocolate chip tahini cookies.
Hummus Variations
Like I mentioned above there are a ton of different hummus variations out there. I love this classic version because it’s a great base recipe that you can customize. Feel free to get creative and experiment with different flavor variations! Here are some ideas:
- Spice it up – add in some crushed red pepper flakes for a spicy variation.
- Roasted garlic – skip the fresh garlic and use a few cloves of roasted garlic instead! I love the mild flavor that roasted garlic gives hummus.
- Sun-dried tomato – add a 1/2 cup of sun-dried tomatoes to your food processor to make a sun-dried tomato hummus.
- Roasted red pepper – add a smoky sweetness to your hummus by adding 1 roasted red bell pepper (or about 3/4 cup chopped jarred roasted red peppers) to your food processor. Save some extra for topping!
- Roasted pine nuts – roast about 4 Tablespoons of pine nuts. Blend half into the hummus and use the remaining pine nuts for topping.
- Cooked beets – check out my beet hummus recipe.
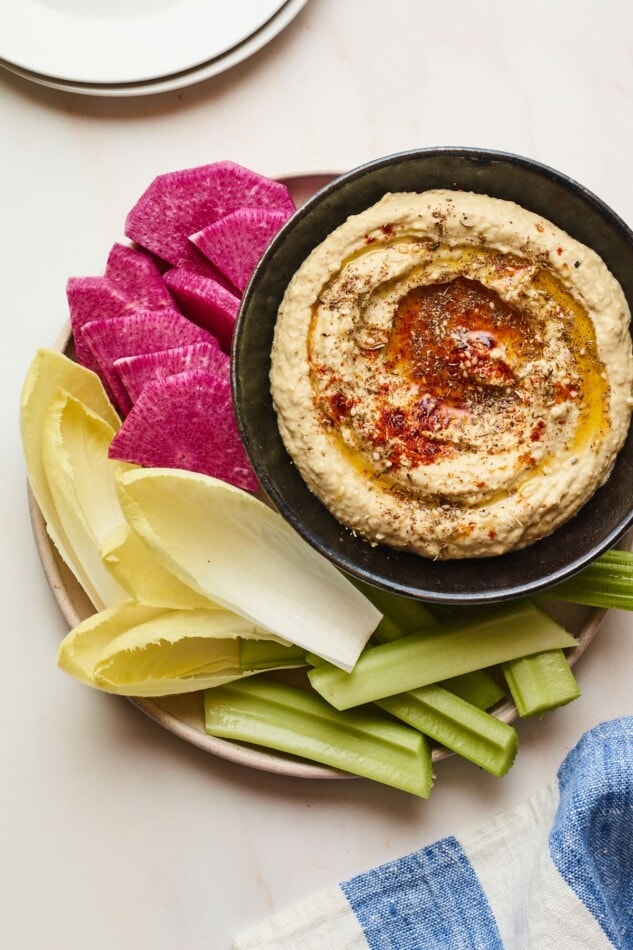
How to Serve Hummus
- With pita chips or fresh veggies – I love enjoying hummus as a snack with pita chips or fresh veggies! It’s also a great addition to any mezze platter!
- As a spread – hummus is delicious used as a spread on pretty much anything! Some ideas: vegan tortilla pizzas, egg, spinach and feta breakfast wrap and hummus avocado toast.
- Falafel – the perfect dip for baked falafel!
- Israeli Salad – if you’ve never added hummus to a salad, you’re missing out! I like to spread hummus across the bottom of my bowl and then top with this Israeli salad for deliciousness in every bite.
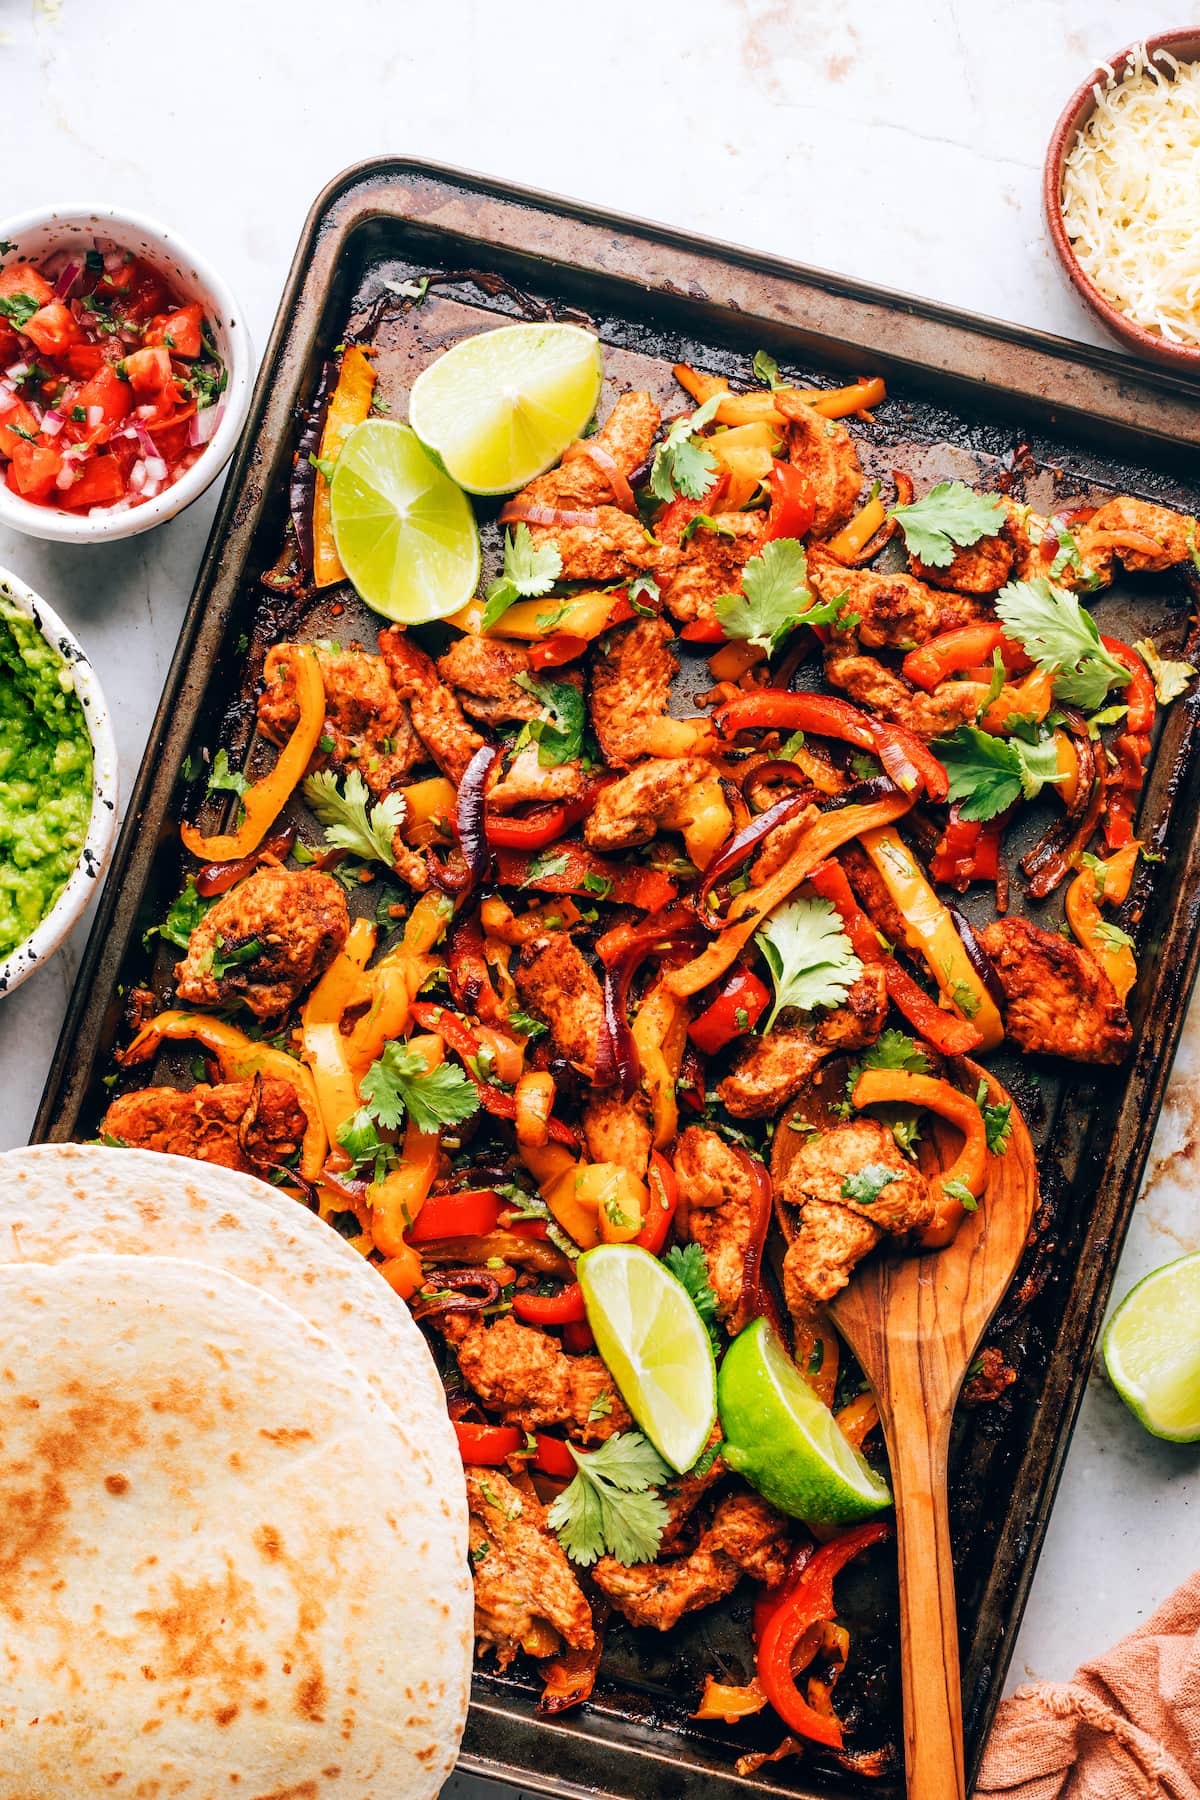
- Za’atar Chicken Bake – make this simple sheet pan meal and serve it with hummus!
- Quinoa Tabbouleh or Traditional Tabbouleh Salad– another salad that’s delicious paired with hummus.
- As a dessert – if you’re a hummus lover you could use this hummus to make my peanut butter hummus brownies! Just skip the garlic and reduce the tahini to 1 Tablespoon if you’re going to use it to make these brownies.
How to Store Hummus
This creamy hummus stores really well in the fridge so I always love making a batch over the weekend to have on hand for snacks or meals throughout the week. Store any leftover hummus in an airtight container in the fridge for 4-7 days.
Popular Chickpea Recipes
- S’mores Dip
- Protein Cookie Dough
- Sheet Pan Dinner with Tofu, Chickpeas and Butternut Squash
- Curried Chickpea Salad
- Sriracha Cauliflower and Chickpea Sheet Pan Meal
- Chickpea Quinoa Salad
- Air Fryer Chickpeas (5 Ways)
More Dips and Spreads
- Everything Bagel Dip
- 7-Layer Dip
- Almond Pesto Dip
- Healthy Guacamole
- Black Bean Dip
- Lima Bean Hummus
- Healthy Spinach Artichoke Dip
- Sweet Potato Hummus
- Whipped Feta Dip
- Whipped Cottage Cheese
- Hot Honey Whipped Cottage Cheese
Be sure to check out all of the appetizers here on EBF as well as my collection of healthy game day recipes!
Creamy Hummus
Ingredients
- 1 can (15 ounces) chickpeas, rinsed and drained or 1 ½ cup cooked chickpeas
- ½ teaspoon baking soda
- 3 Tablespoons tahini
- 3 Tablespoons lemon juice
- 3 Tablespoons extra virgin olive oil
- 1 clove garlic
- ½ teaspoon cumin
- ½ teaspoon salt
- 2-4 Tablespoons cold water, or more if needed for thinning.
- For topping: olive oil, fresh herbs, za’atar, cayenne pepper and/or paprika
- For serving: pita chips and/or fresh veggies
Instructions
- If using canned chickpeas, place cooked chickpeas and baking soda in a medium saucepan and cover with water. You want 1-2 inches of water above the chickpeas. Bring the mixture to a boil over high heat. If using dry chickpeas, see my note below.

- Boil chickpeas, reducing heat if necessary to prevent the pan from overflowing, for about 20 minutes, or until the chickpeas have expanded, the skins are falling off and they're soft, but not mushy. While the chickpeas boil, skim off any foam and/or skins that float to the surface. After 20 minutes, drain the chickpeas in a colander and run under cool water. Set aside.
- In a food processor, add lemon juice and tahini. Process for 1 minute. Scrape down the sides of your food processor bowl and add chickpeas, olive oil, garlic, cumin and salt.
- Process until smooth (about 2-3 minutes more) gradually adding cold water as desired to thin dip and scraping down sides of the processor bowl as needed. Once the hummus is completely smooth, taste and season as needed.
- Transfer to a bowl for serving. Top with a drizzle of olive oil, fresh herbs, za'atar, cayenne pepper and/or paprika. Serve with chopped veggies or pita chips for dipping.
- Store any leftovers in the fridge in an airtight container for 4-7 days.
Video
Notes
- For dry chickpeas: If you’re using dried chickpeas, you’ll want to start with 1/2 cup of dried chickpeas, soak them overnight in cold water. Discard the soaking liquid and add to a large pot with 6 cups of water and 1/2 teaspoon of baking soda. Bring the mixture to a boil, reduce to a simmer and cook for 40-60 minutes or until chickpeas are very tender, but not mushy. Remove any chickpea skins that have floated to the top. Drain, rinse with cold water and follow steps above for processing starting with step 3.
Nutrition
Nutrition information is automatically calculated, so should only be used as an approximation.


I went right by the recipe but did double it. I was making it for a party. Currently, it just tastes bitter. I have it in the refrigerator and am hoping miraculously the bitterness goes away but am allowing time for a stop at a Greek restaurant for a backup. I committed to homemade hummus without ever having made it because so far Brittany’s recipes I have tried have been totally dependable and delicious.
I saw the comment about letting the garlic soak in lemon juice after the fact. Is the garlic what it making it bitter? It was fresh garlic I just bought last week. I bought the tahini and got the Once Again brand. I used canned chickpeas that I boiled as Brittany instructed.
Hi Pam! So sorry for the late response, how did the hummus end up turning out? I am not sure why it might have been bitter, what brand of tahini did you use?
Have you ever tried to substitute the lemon juice for vinegar?
Hi Jimmy – I have not and I am not sure if that would work. The lemon adds a freshness and I think the acidity from the vinegar might be too overpowering. Let me know if you give this recipe a try!
Have you ever made hummus without the olive oil? I’ve seen some recipes for oil-free hummus and am wondering how good it would taste without the olive oil or be as creamy.
Hi Tanya – I have not made hummus without olive oil as it does help with the consistency and creaminess of the hummus. If you try this recipe, I would love to know how you enjoy it!
Followed the recipe to the letter and it came out great! Much better than the recipe I’ve used in the past. Tough thing is it makes so much! I’m one person and no way will I finish it in a week.
Ah yay! So happy to hear this hummus turned out great for you. Thanks so much for the review, Rachel! It means so much to me :).