
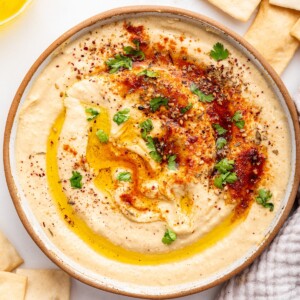
Creamy Hummus
This post may include affiliate links. Thank you for your support.
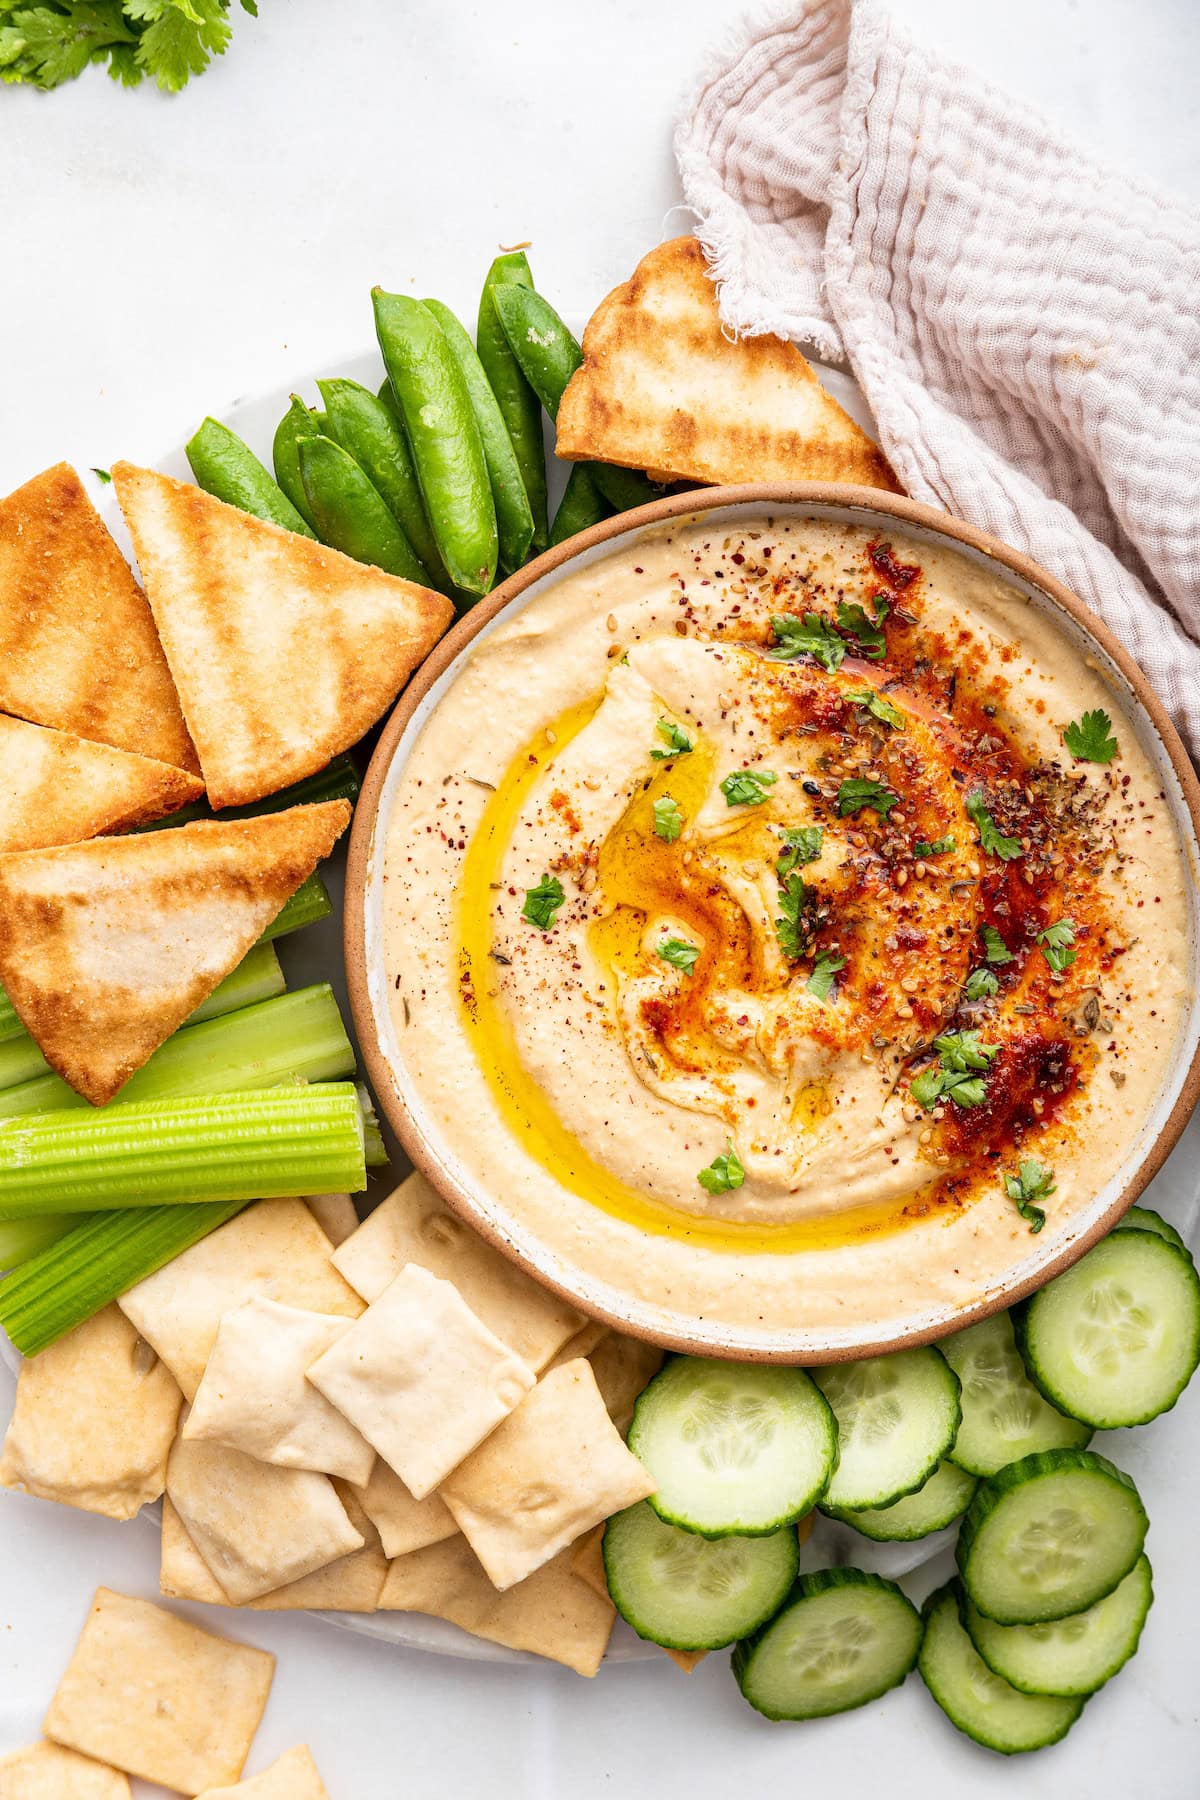
Here’s how to make perfectly smooth and creamy hummus at home! It’s super easy to whip up — no peeling of chickpeas required. Serve with fresh veggies and pita for a delicious appetizer or snack.
I’ve always loved hummus, but since visiting Israel I have a new-found obsession with making it at home. I buy store-bought hummus all the time, but I have to admit that homemade hummus is definitely better and is actually super easy to whip up.
There are a ton of different hummus variations out there like this beet hummus, sweet potato hummus and lima bean hummus, but the recipe I’m sharing today is your traditional creamy hummus that requires just eight simple ingredients (plus water). It’s mellow in flavor, light, smooth and oh, so creamy!
If you’ve never made your own hummus before, get excited because this recipe makes smooth and creamy hummus, just like store-bought, but better. You’re going to love it!
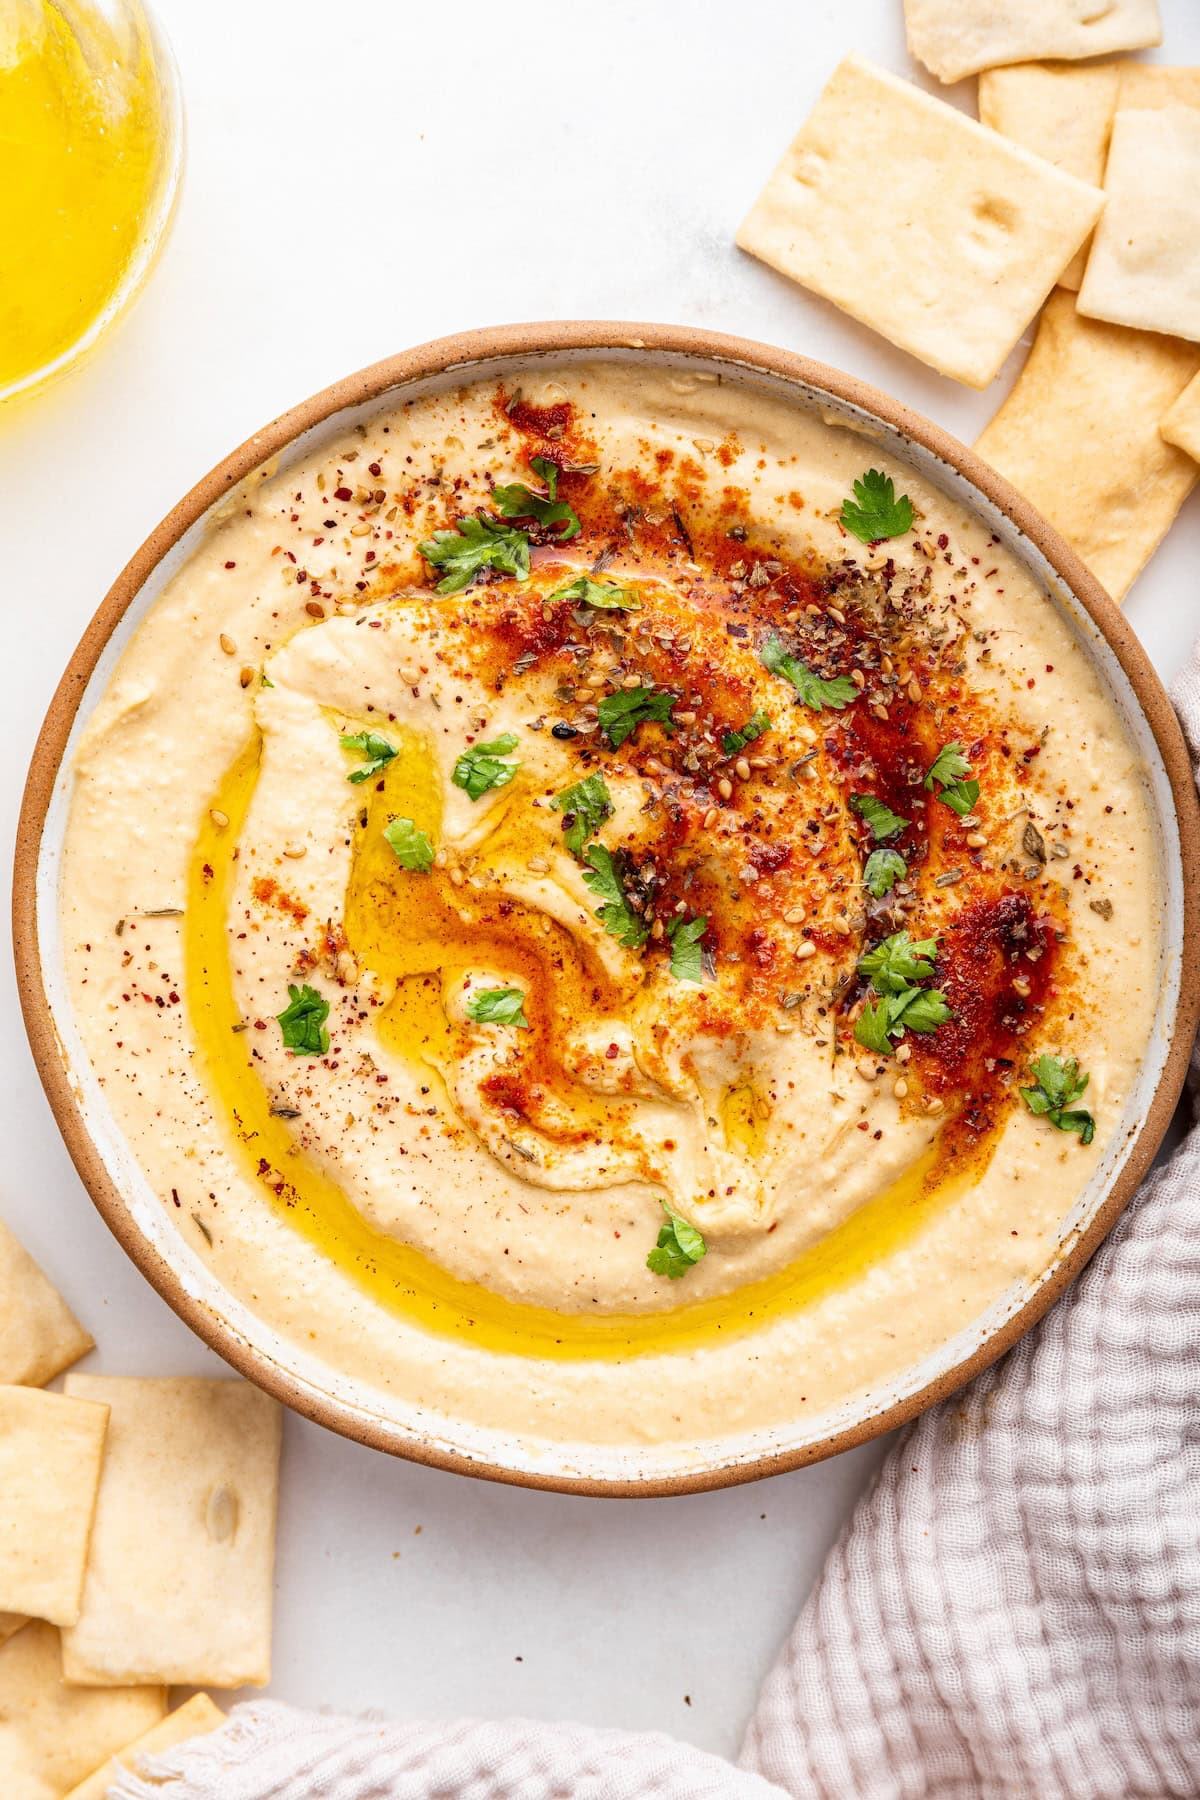
Table of Contents
Why You’ll Love This Recipe
- Smooth and Creamy – This hummus is incredibly smooth, thanks to the addition of baking soda, which helps break down the chickpeas for that perfect texture. It’s restaurant-quality creamy!
- Quick and Easy – This hummus comes together in about 30 minutes (if using canned chickpeas) with only 8 main ingredients.
- Versatile – Hummus is incredibly versatile! Serve it as a dip with baked pita chips or veggies, spread it on a sandwich, or add it to all your favorite grain bowls like this falafel bowl or buddha bowl.
Ingredients Needed
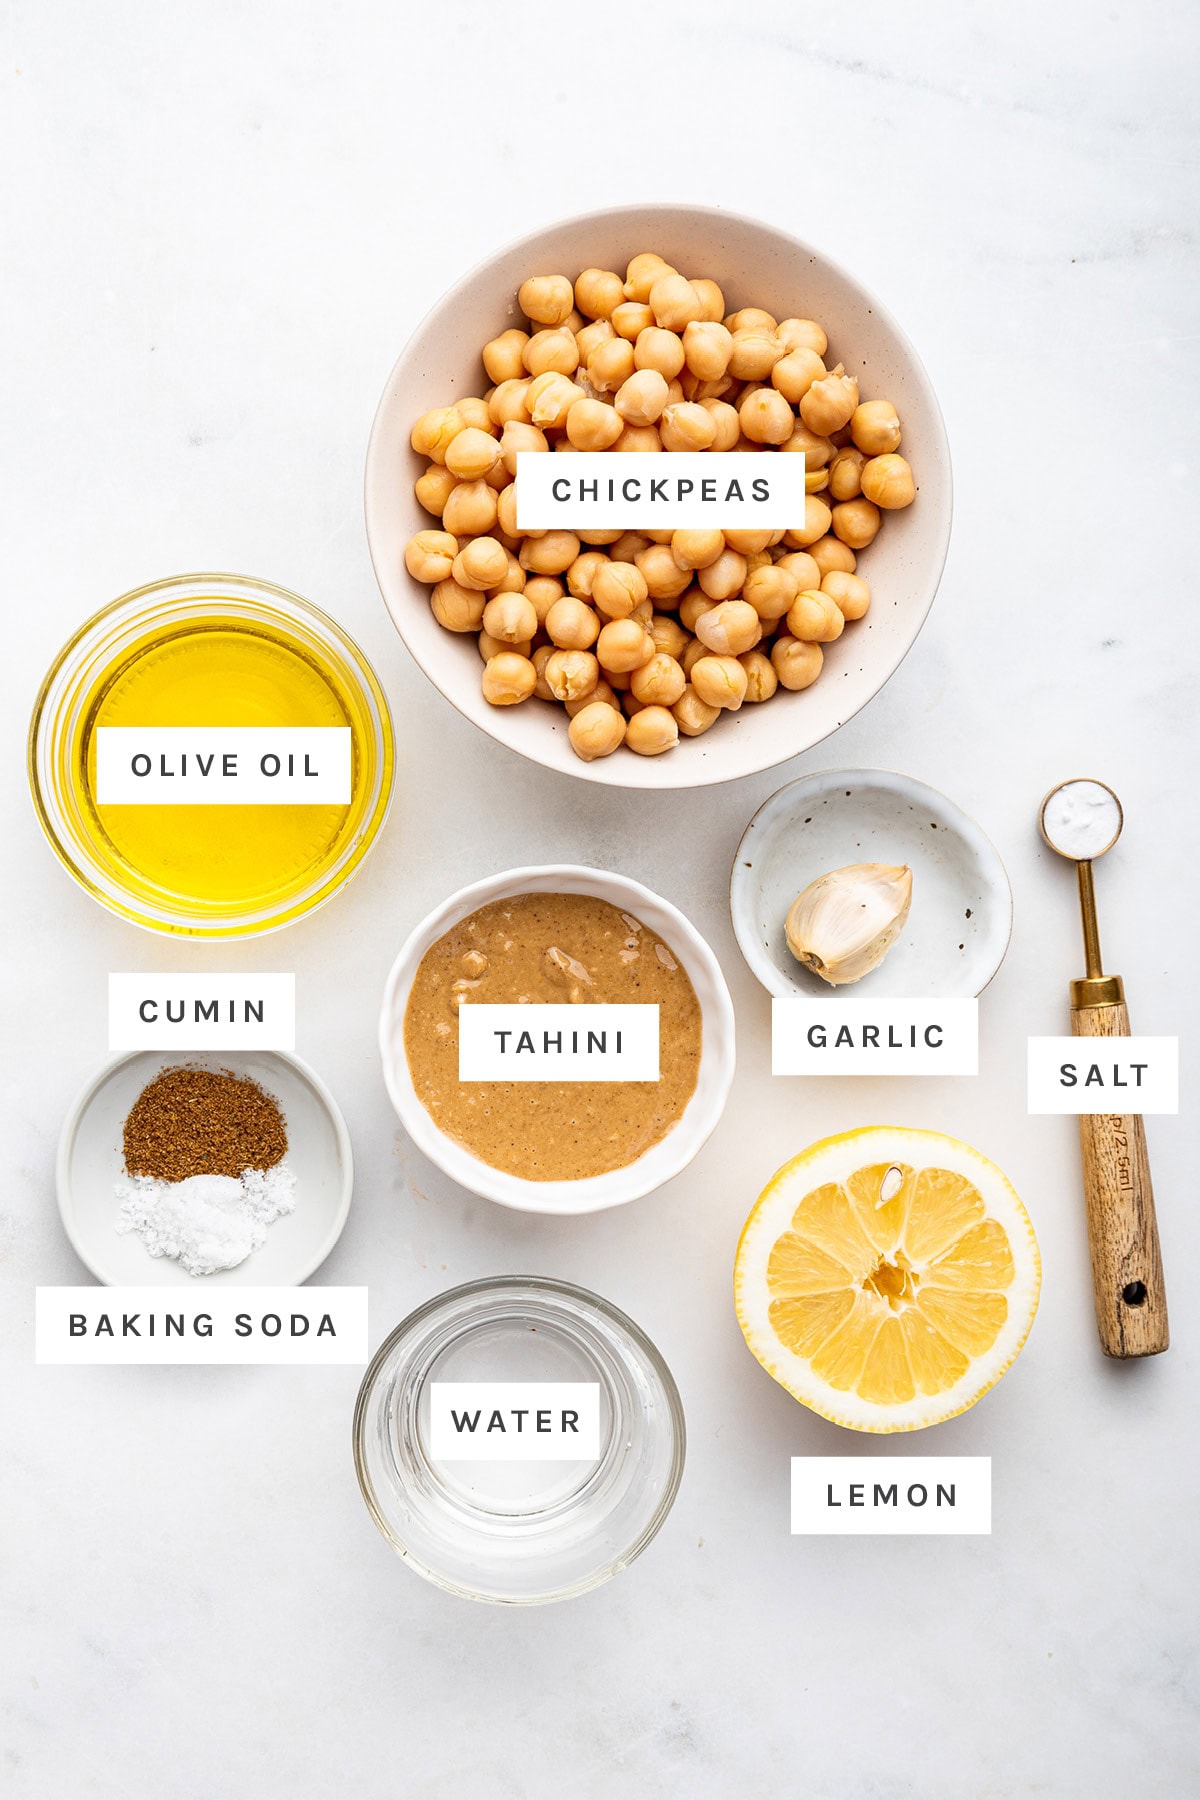
- chickpeas – also known as garbanzo beans. I prefer to use canned chickpeas for ease, but you can definitely cook your chickpeas from scratch. I share instructions below for how to do this. When using canned, you simply rinse, drain and add them to your food processor.
- baking soda – this helps to break down the chickpea skins while boiling so there’s no need to individually peel the chickpeas for this recipe!
- tahini – tahini is made by grinding sesame seeds into a smooth paste. It can be found by other nut and seed butters in most grocery stores or you can make homemade tahini. Tahini is a key ingredient in classic hummus recipes so I highly recommend using a good high-quality brand when making this recipe. Here are some brands to look out for: Soom, Seed + Mill, Once Again, 365 by Whole Foods and Trader Joe’s.
- lemon juice – fresh lemon juice is best!
- extra virgin olive oil – the liquid that helps everything process together smoothly. I also love drizzling extra on top for serving.
- garlic – adds the perfect amount of savory flavor to the hummus. I like using 1 clove but if you love garlic you can add more.
- ground cumin – a common spice found in hummus that adds a nice, subtle flavor.
- salt – to bring all of the flavors together.
- cold water – using ice cold water is a game-changer when it comes to the texture of your hummus and helps result in light and fluffy hummus. If your hummus is too thick and not smoothing out, just add in some additional water.
Recipe Variations
Like I mentioned above there are a ton of different hummus variations out there. I love this classic version because it’s a great base recipe that you can customize. Feel free to get creative and experiment with different flavor variations! Here are some ideas:
- Beet hummus – check out my beet hummus recipe.
- Spicy hummus – add in some crushed red pepper flakes for a spicy variation.
- Roasted garlic hummus – skip the fresh garlic and use a few cloves of roasted garlic instead! I love the mild flavor that roasted garlic gives hummus.
- Sun-dried tomato hummus – add a 1/2 cup of sun-dried tomatoes to your food processor to make a sun-dried tomato hummus.
- Roasted red pepper hummus – add a smoky sweetness to your hummus by adding 1 roasted red bell pepper (or about 3/4 cup chopped jarred roasted red peppers) to your food processor. Save some extra for topping!
- Roasted pine nut hummus – roast about 4 Tablespoons of pine nuts. Blend half into the hummus and use the remaining pine nuts for topping.
How to Make Hummus
The process for making hummus is quite easy, but there are a couple steps if you want your hummus really smooth and creamy.
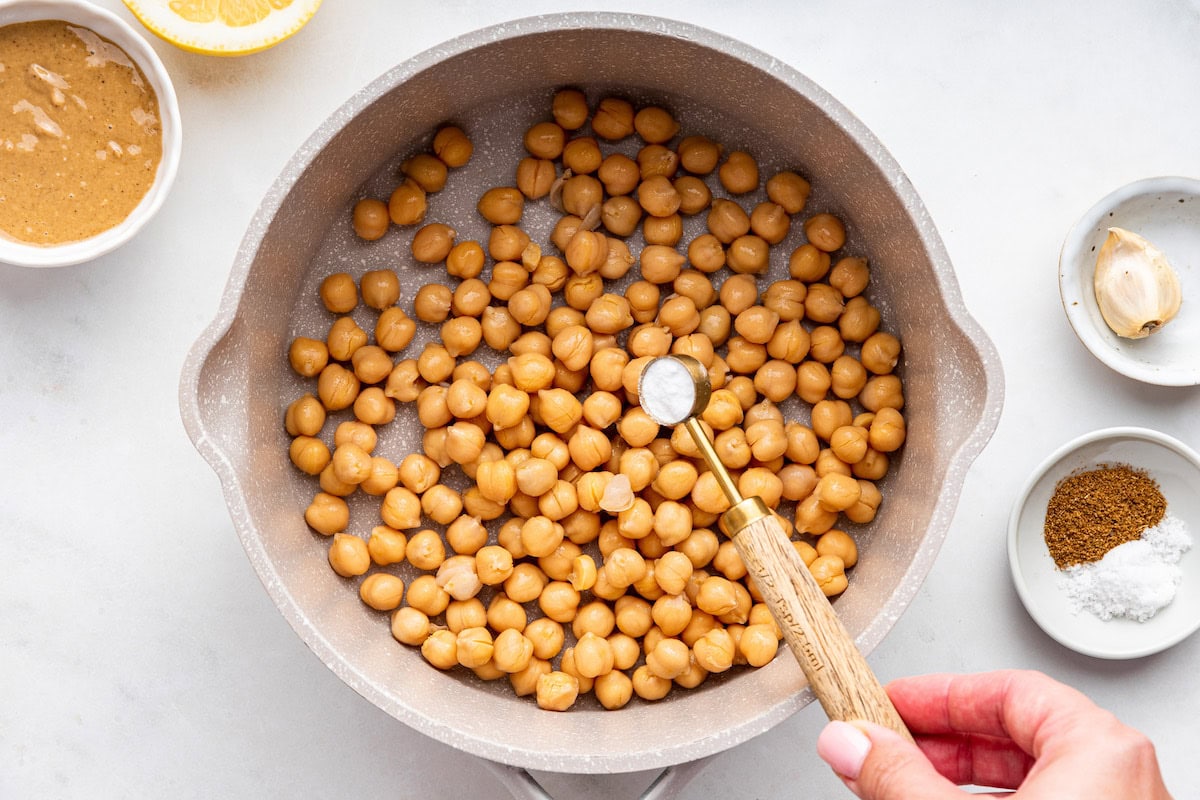
Step 1: Place 1 can of chickpeas and baking soda in a medium saucepan and cover with water. You want 1-2 inches of water above the chickpeas. Bring the mixture to a boil over high heat.

Step 2: Boil chickpeas, reducing heat if necessary to prevent the saucepan from overflowing, for about 20 minutes, or until the chickpeas have expanded and the skins are falling off. You want the chickpeas soft, but not mushy.
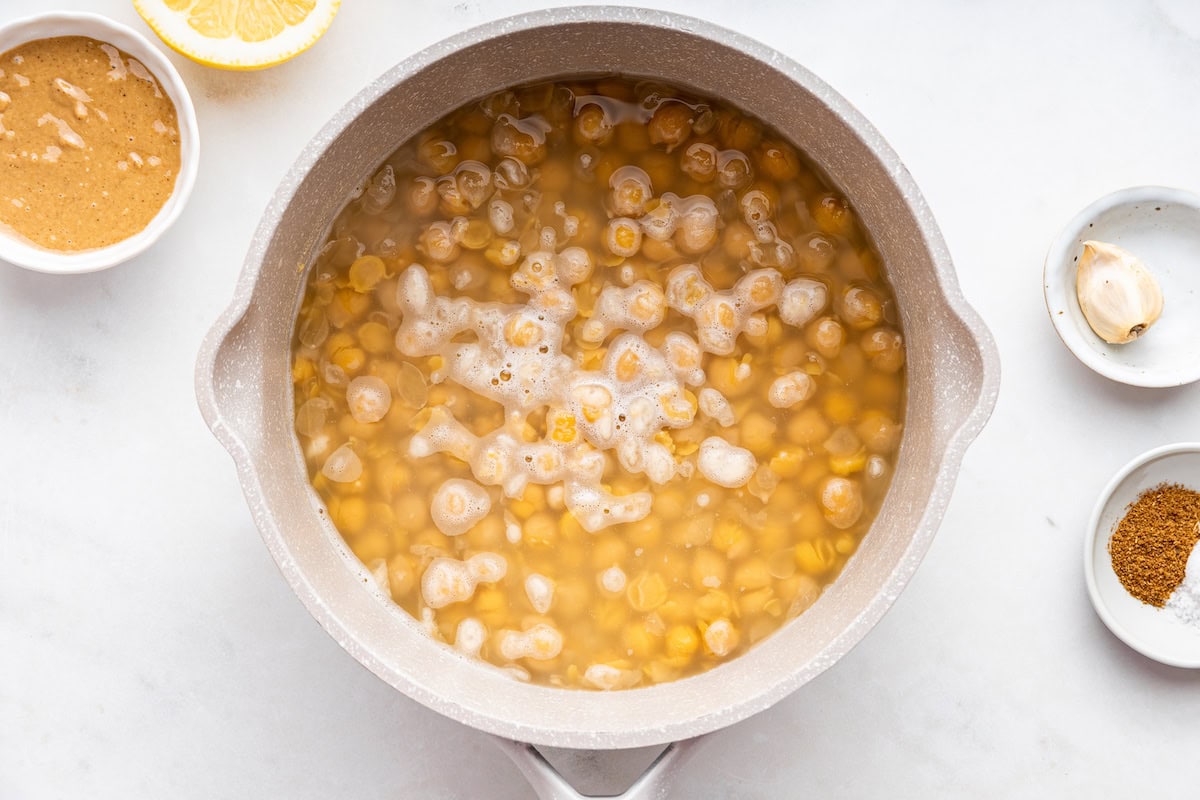
Step 3: While the chickpeas boil, skim off any foam and/or skins that float to the surface. After 20 minutes, drain the chickpeas in a colander and run cool water over them. Set aside.
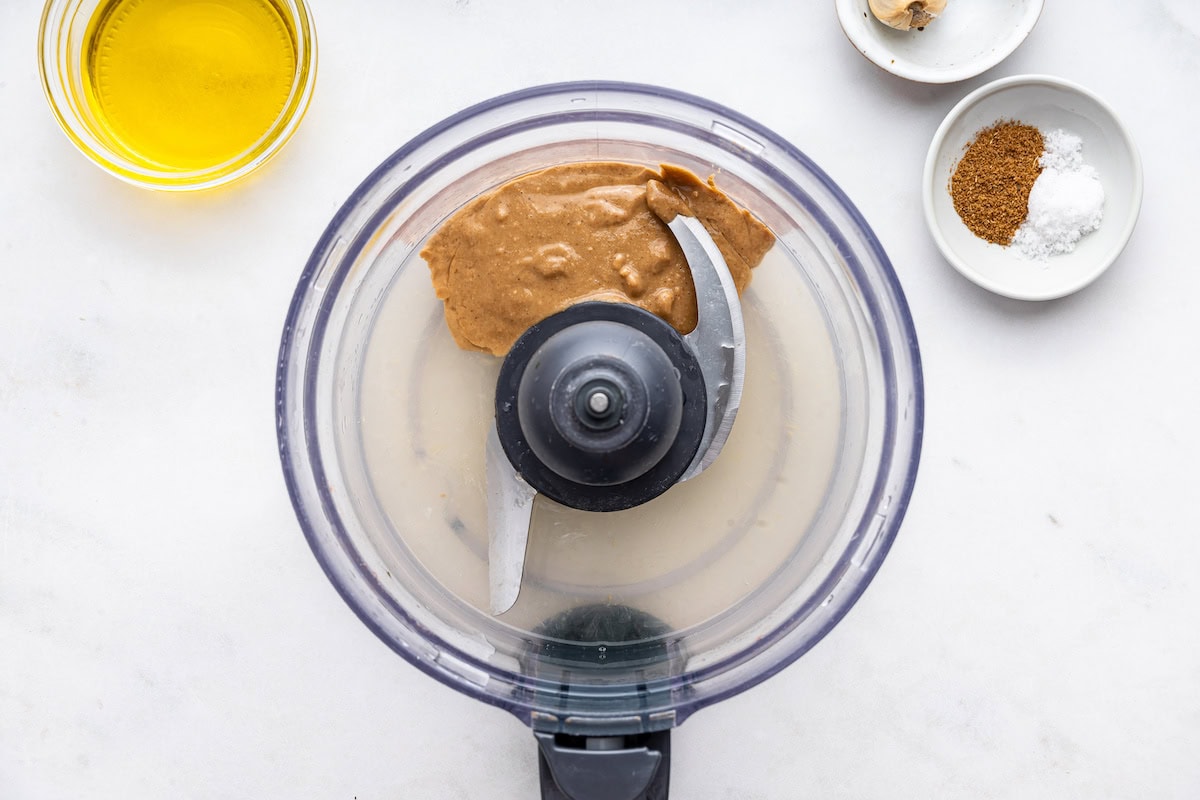
Step 4: In a food processor, add lemon juice and tahini. Process for 1 minute. This will add volume and make the hummus extra fluffy.
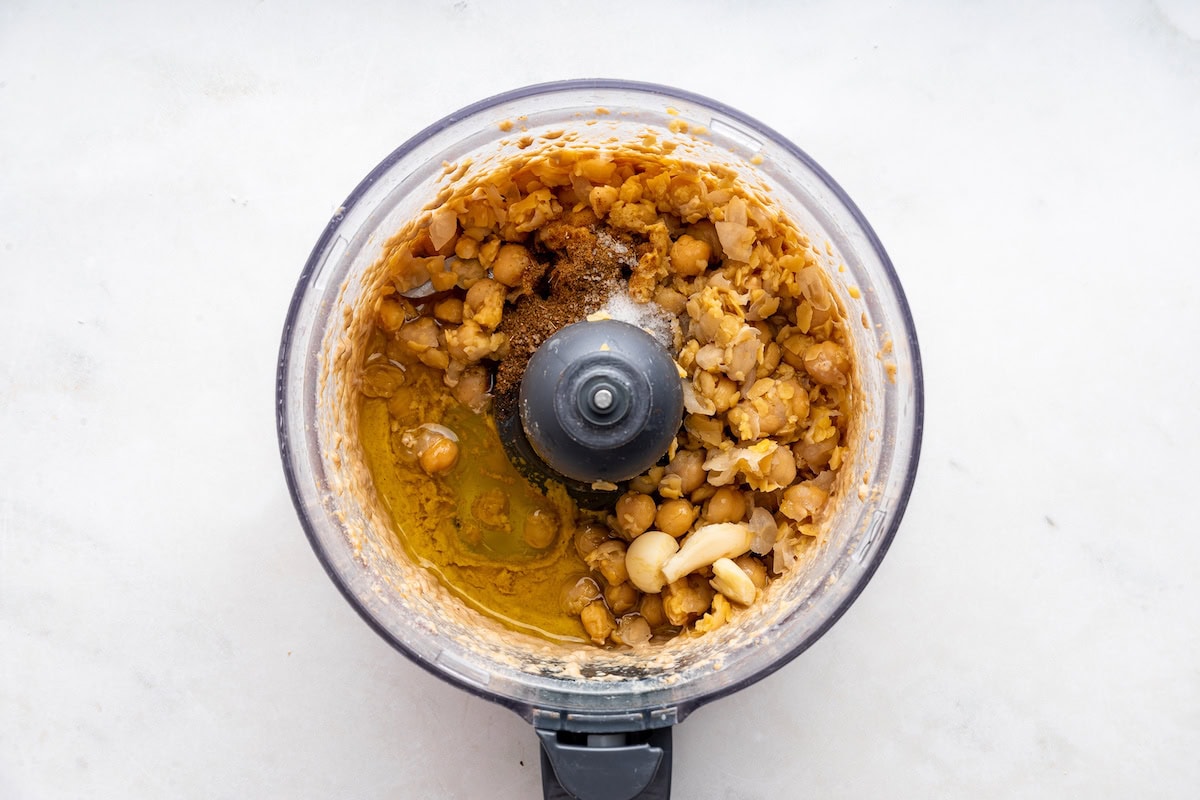
Step 5: Scrape down the sides of your food processor bowl and add chickpeas, olive oil, garlic, cumin and salt.
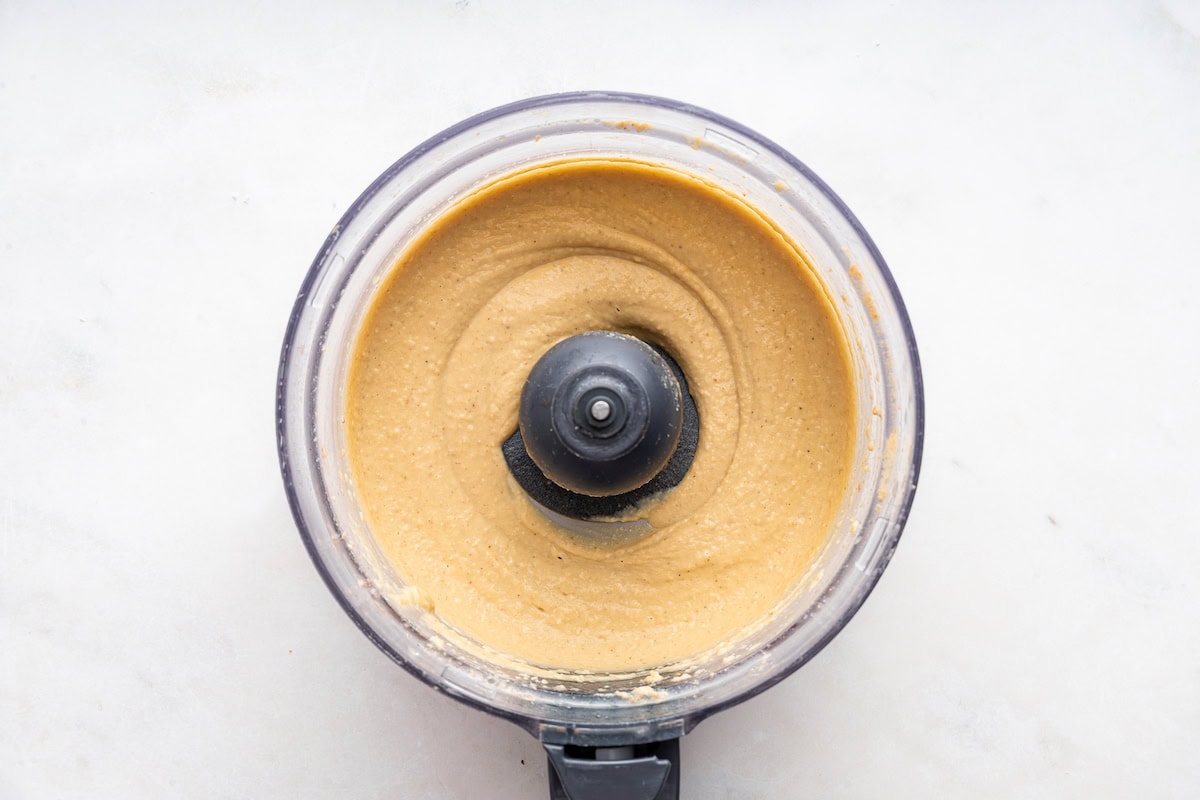
Step 6: Process until smooth (about 2-3 minutes more) gradually adding cold water as desired to thin the dip and scraping down sides of the processor bowl as needed. Once the hummus is completely smooth, taste and season as needed.
Brittany’s Tip!
If you’re using dried chickpeas, you’ll want to start with 1/2 cup of dried chickpeas, soak them overnight in cold water. Discard the soaking liquid and add to a large pot with 6 cups of water and 1/2 teaspoon of baking soda. Bring the mixture to a boil, reduce to a simmer and cook for 40-60 minutes or until chickpeas are very tender, but not mushy. Remove any chickpea skins that have floated to the top. Drain, rinse with cold water and follow steps above for processing starting with step 3.

How to Serve Hummus
There are no wrong ways to serve hummus! Here are a few of my favorite ways to use it:
- With pita chips or fresh veggies – I love enjoying hummus as a snack with pita chips or fresh veggies! It’s also a great addition to any mezze platter!
- As a spread – hummus is delicious used as a spread on pretty much anything! Some ideas: vegan tortilla pizzas, Greek chicken wrap, egg, spinach and feta breakfast wrap and hummus avocado toast.
- Falafel – the perfect dip for baked falafel!
- Israeli Salad – if you’ve never added hummus to a salad, you’re missing out! I like to spread hummus across the bottom of my bowl and then top with this Israeli salad for deliciousness in every bite.
- Za’atar Chicken Bake – make this simple sheet pan meal and serve it with hummus!
- Greek Chicken Bowls – I love adding hummus to grain bowls, especially this Greek-inspired one.
- Quinoa Tabbouleh or Traditional Tabbouleh Salad– another salad that’s delicious paired with hummus.
How to Store Hummus
This creamy hummus stores really well in the fridge so I always love making a batch over the weekend to have on hand for snacks or meals throughout the week. Store any leftover hummus in an airtight container in the fridge for 4-7 days.
Frequently Asked Questions
I used to think that in order to make the creamiest homemade hummus you had to peel the chickpeas… until I realized that boiling them with baking soda does the trick. The baking soda helps to break down the chickpea skins, which means there is no need to peel off the skins individually. Who has time for that anyways?! Because I sure don’t!
Once you boil your chickpeas, drain and rinse them with cool water before adding to your food processor. This cools your chickpeas, rinses off the baking soda flavor and removes the majority of the skins.
Tahini is a key ingredient in classic hummus recipes, so I don’t recommend skipping it! That said, I do know tahini is a more expensive ingredient to buy and not everyone has it on hand.
I haven’t tested this, but to make hummus without tahini you can simply skip it all together or sub in Greek yogurt or another nut or seed butter like sunflower seed butter. If using yogurt or another nut butter the flavor won’t be the same, but you should still end up with a tasty chickpea dip.
If you do end up buying a jar of tahini for this recipe, I have plenty of other ways for you to use it! Try my fave garlic tahini dressing with this kale salad, this easy tahini sauce, and these amazing chocolate chip tahini cookies.
Yes! I’ve made this recipe with both canned and freshly cooked chickpeas and I will say that dry chickpeas give hummus a tad more flavor. That said, I don’t always have time to soak and boil dry chickpeas, so I tend to gravitate towards canned chickpeas more often as it’s easier and the hummus still turns out tasting delicious!
More Dips and Spreads
- Everything Bagel Dip
- Healthy Guacamole
- Black Bean Dip
- Whipped Feta Dip
- Whipped Cottage Cheese
- Hot Honey Whipped Cottage Cheese
Be sure to check out all of the appetizers here on EBF as well as my collection of healthy game day recipes!
If you enjoyed this recipe, please consider leaving a ⭐ star rating and let me know how it went in the 📝 comments below.
Creamy Hummus
Ingredients
- 1 can (15 ounces) chickpeas, rinsed and drained or 1 ½ cup cooked chickpeas
- ½ teaspoon baking soda
- 3 Tablespoons tahini
- 3 Tablespoons lemon juice
- 3 Tablespoons extra virgin olive oil
- 1 clove garlic
- ½ teaspoon cumin
- ½ teaspoon salt
- 2-4 Tablespoons cold water, or more if needed for thinning.
- For topping: olive oil, fresh herbs, za’atar, cayenne pepper and/or paprika
- For serving: pita chips and/or fresh veggies
Instructions
- Boil chickpeas, reducing heat if necessary to prevent the pan from overflowing, for about 20 minutes, or until the chickpeas have expanded, the skins are falling off and they're soft, but not mushy. While the chickpeas boil, skim off any foam and/or skins that float to the surface. After 20 minutes, drain the chickpeas in a colander and run under cool water. Set aside.
- In a food processor, add lemon juice and tahini. Process for 1 minute. Scrape down the sides of your food processor bowl and add chickpeas, olive oil, garlic, cumin and salt.
- Process until smooth (about 2-3 minutes more) gradually adding cold water as desired to thin dip and scraping down sides of the processor bowl as needed. Once the hummus is completely smooth, taste and season as needed.
- Transfer to a bowl for serving. Top with a drizzle of olive oil, fresh herbs, za'atar, cayenne pepper and/or paprika. Serve with chopped veggies or pita chips for dipping.
- Store any leftovers in the fridge in an airtight container for 4-7 days.
Video
Notes
- For dry chickpeas: If you’re using dried chickpeas, you’ll want to start with 1/2 cup of dried chickpeas, soak them overnight in cold water. Discard the soaking liquid and add to a large pot with 6 cups of water and 1/2 teaspoon of baking soda. Bring the mixture to a boil, reduce to a simmer and cook for 40-60 minutes or until chickpeas are very tender, but not mushy. Remove any chickpea skins that have floated to the top. Drain, rinse with cold water and follow steps above for processing starting with step 3.
Nutrition
Nutrition information is automatically calculated, so should only be used as an approximation.
Equipment
Like This Recipe? Rate & Comment Below!


Brittany! You are amazing, great post! So here I am, thinking I am a hummus whiz….umm not so much. 🙂 I did not ever think about the skins…I will be playing with this for sure. Sometimes I do like it chunky, sometimes I like it smooth, so Good to know! It will come down to my patience….lol! Thanks. 🙂
My husband and I have been removing the skins on chick peas to make hummus for a while (well, that’s my job since he does all the actual cooking) and I got tired of doing it, so we decided to make a batch with skins and one without and do a taste test, and apparently nobody can tell the difference, so now we just leave the skins on.
By the way, where in town can you buy Sabra hummus besides Costco? We had a membership and let it expire, and plus I hate to drive all the way out to Glen Allen anyway (he he, the entire 15 minute trip from the Near West End, that is… living in Richmond has totally skewed my perception of what a long drive is).
Hi Courtney – I buy my Sabra hummus at Kroger – it’s in the fresh cheese section near the deli.
Thanks, you just made my day! : )
I never would have thought!! I’m still not sure I have the patience to peel each skin off my chickpeas, but at least I’ll know why my homemade hummus isn’t as smooth! Ha ha. 😉
omg sounds so obvious but i had no idea! genius!
I don’t know why, but you just blew me away with that tip. I was always wondering why the heck my hummus isn’t as smooth as theirs. I have to try this, I mean it’s certainly easier to have chunkier hummus, but I need this in my life! Thanks for sharing! And, how did you figure this out??
Hmmm…it seems like such a pain in the ass to take off all those skins, but at the same time, so much more economical than buying tubs of Sabra. I might need to do me some hummus making this weekend!
Great tip, I wonder if pushing the chickpea puree through a chinois accomplishes straining out the shell as well. I can’t see myself peeling the chickpeas on a regular basis. (maybe just for guests!)
I actually had to do an assignment a few weeks ago about hummus and learned that it is traditional to remove the skins. However, I kinda like the skins (and the extra fiber) so I usually just leave them on:)
Thanks so much for the tip! Next time I make hummus (and when I have some time), I will have to try this. I like my hummus more creamy, but my last attempt at making it was not very successful at all.
I love those rice chips! I tried them for the first time at the rinky-dink airport in St. Lucia of all places. They didn’t have much there in terms of food (and our flight was delayed by three hours) so those chips were life saving. Have you tried the BBQ flavor? I’m not sure what the ingredients were like but they were yummy.