
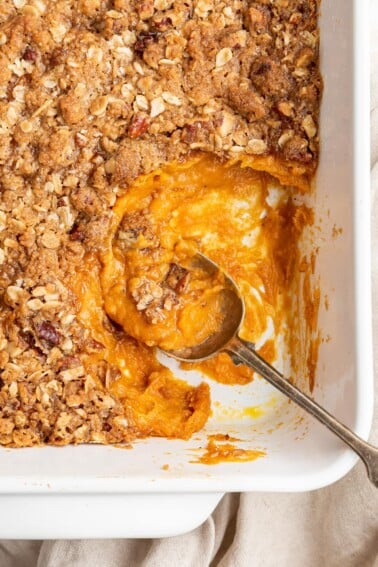
Easy Baked Sweet Potato Recipe
This post may include affiliate links. Thank you for your support.
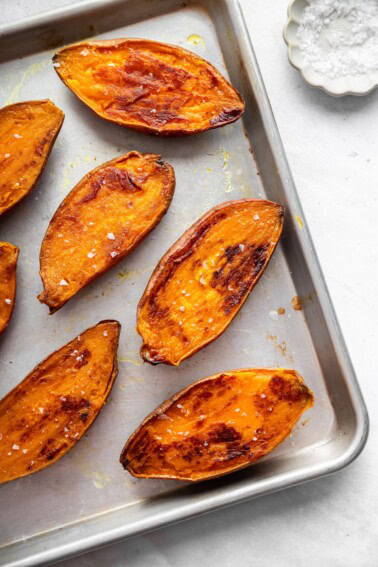
This baked sweet potato recipe is my go-to method for getting crisp skin and a soft, tender center every time. They are easy, delicious, and work just as well with savory toppings as they do with something sweet.
One of the very first things I mastered when I started eating healthier was a baked sweet potato. They are naturally packed with flavor and nutrients, and I’ve always loved how they feel a little more special than a regular potato.
Don’t get me wrong, I enjoy white potatoes too, but sweet potatoes have a soft spot in my heart. Especially baked, with that crisp skin and creamy center, they are so simple yet so satisfying!

Table of Contents
Why You Gotta Try This One

I know baked sweet potatoes might seem basic, but they are truly a staple in my kitchen and here is why:
- Reliable: This method is the most consistent out of all the baked sweet potato recipes I have tested, and it always comes out delicious.
- Perfect texture: The skin gets lightly crisp while the inside turns soft, fluffy, and naturally sweet.
- Meal prep friendly: Bake a whole tray at once and reheat them during the week.
- Family approved: Everyone in my family enjoys them, which makes dinner a lot easier.
Ingredients Needed
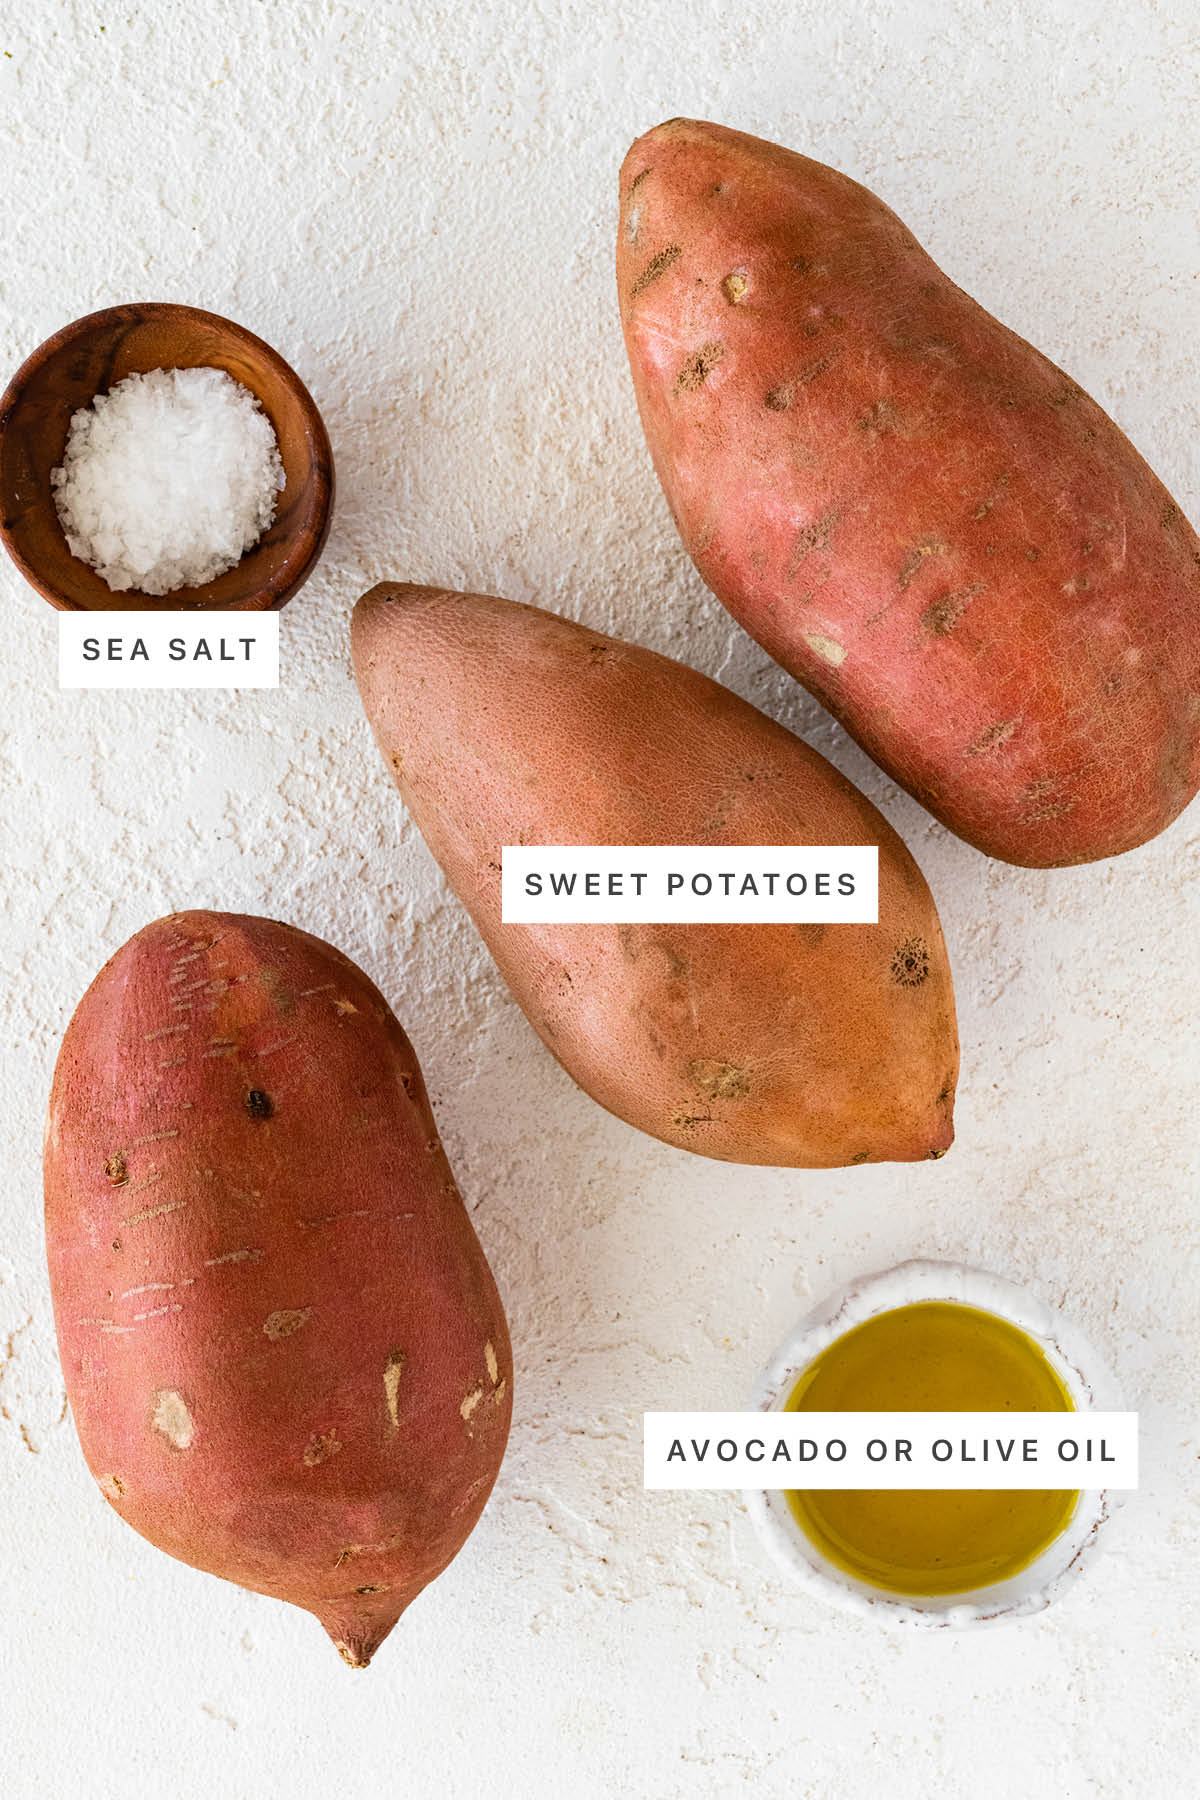
- sweet potato – this recipe calls for three whole sweet potatoes. When shopping, look for firm, unwrinkled skins. I used Beauregard, but Jewel or Garnet also work well. These have an orange flesh, but you can try white or purple sweet potatoes if you want a different flavor and appearance. Sweet potatoes are a great source of fiber and vitamin A, so they add both nutrition and natural sweetness to your plate.
- olive oil – helps create a crisp skin and adds a touch of richness. I usually go with olive oil, but avocado oil also works since it has a higher smoke point and healthy fats.
- sea salt – balances the natural sweetness of the potatoes and really elevates the flavor. I suggest flaky sea salt like Maldon sea salt flakes for some added texture!
How to Make Easy Baked Sweet Potatoes
Baking sweet potatoes is crazy simple. You don’t need to slice or chop them, just wash, season and bake!
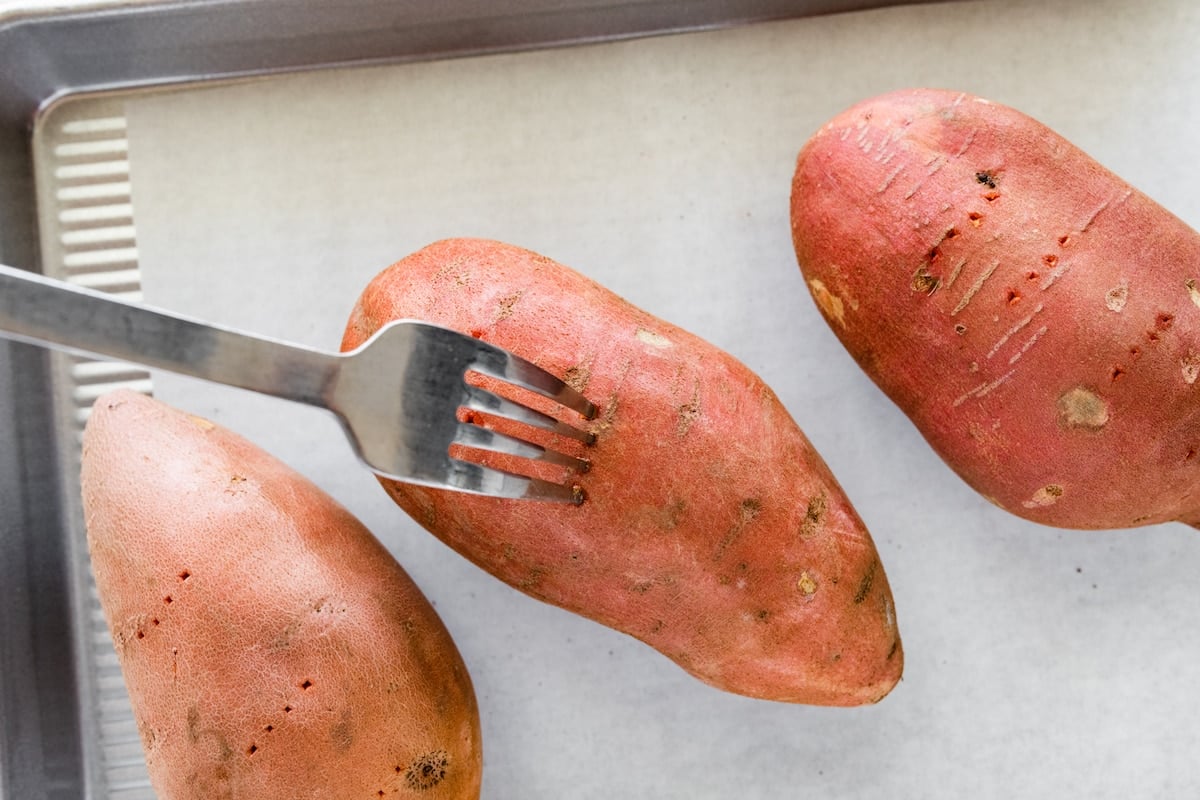
Step 1: Rinse and scrub the sweet potatoes, then pat them dry and poke a few holes with a fork.

Step 2: Rub each potato with a little oil and sprinkle with salt.
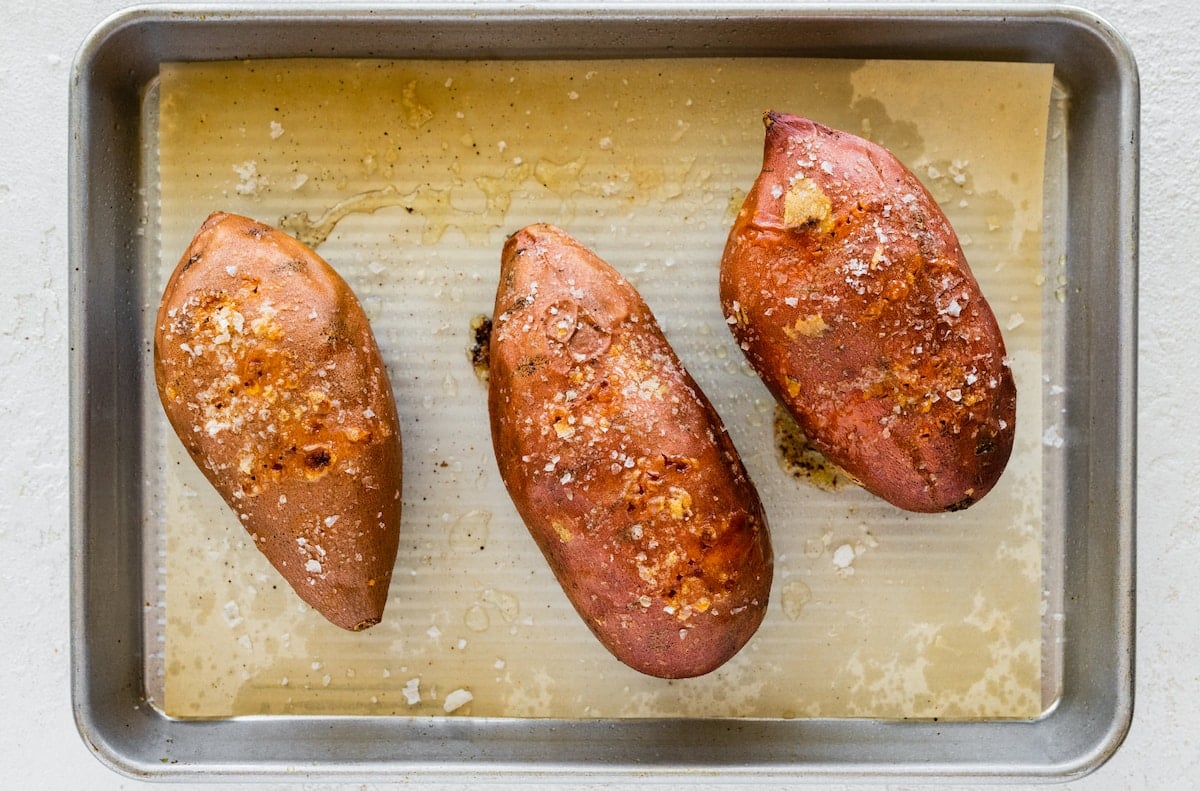
Step 3: Place on a baking sheet and bake at 400ºF for 60 to 80 minutes, flipping halfway through.
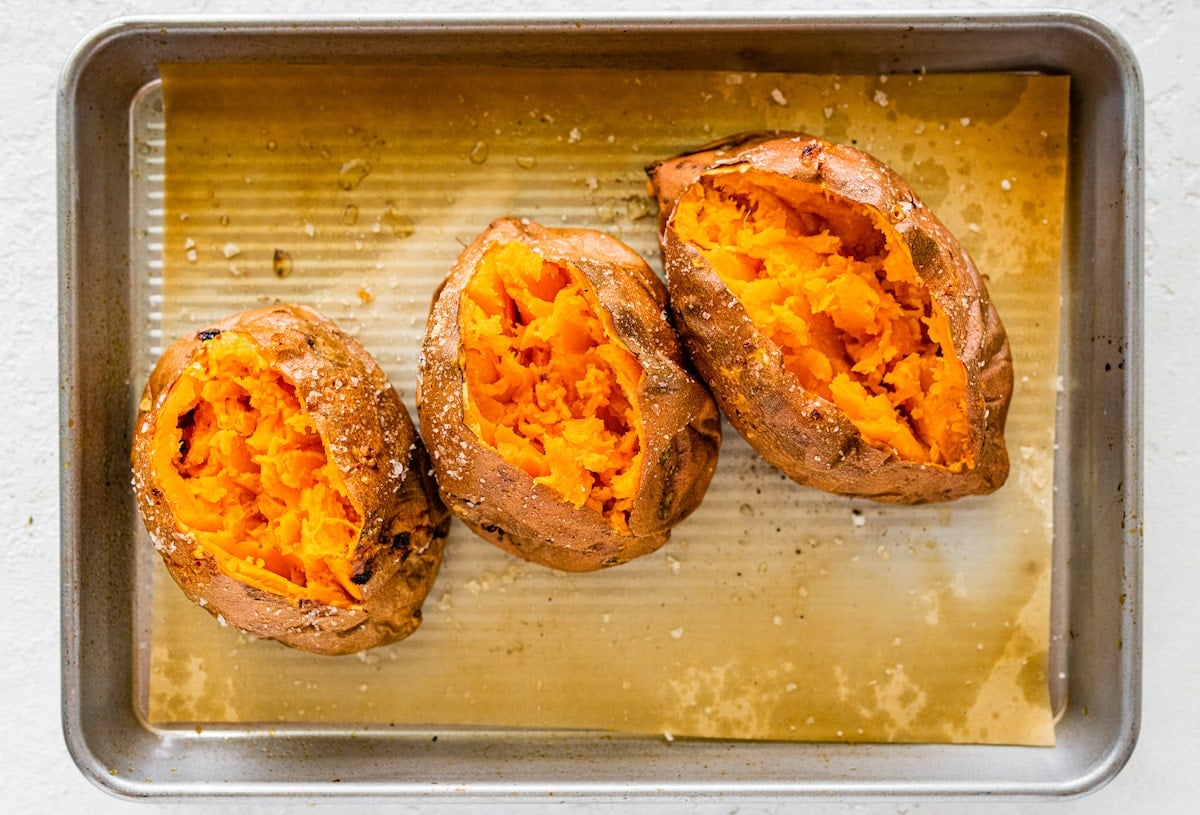
Step 4: They are ready when the skin is crisp and the inside is soft and fluffy.
Tips for Perfect Baked Sweet Potatoes
- Choose similar sizes so they cook evenly. If one is much larger, it will take longer and may throw off timing.
- Do not wrap in foil if you want crispy skin. Foil traps steam and makes the skin soft.
- Flip halfway through so the bottoms do not burn and the potatoes cook evenly.
- Check doneness with a knife or fork. It should slide in easily when the potato is fully cooked.
- If you need to save time, microwave the potatoes for 5–6 minutes first, then transfer to the oven to finish baking.
Baked Sweet Potato Topping Variations
There are so many ways to enjoy baked sweet potatoes. Here are some of my favorite ideas:
- Classic baked potato: Butter, sour cream, cheese, bacon, and green onions. You can’t go wrong with this one!
- Sweet potato skins: Turn them into a fun snack by scooping out some of the flesh and filling the skins with savory toppings.
- Sweet cinnamon: Butter, cinnamon, and sea salt. Add maple syrup, honey, or coconut sugar for extra sweetness.
- Mexicali stuffed sweet potato: Load with black beans, peppers, mushrooms, and a drizzle of creamy dressing.
- Chili stuffed: Fill with chili and pile on your favorite toppings. Try this with my healthy turkey chili or my easy vegetarian chili.
- Sweet potato puree: Mash into a smooth puree for babies or use in baked goods like sweet potato brownies.

How to Store & Reheat
Baked sweet potatoes are great for meal prep! I love cooking multiple sweet potatoes during my weekend meal prep to have on hand for the week. Here’s how to store and reheat them:
To store: You can store whole or halved sweet potatoes in an airtight container in the refrigerator for 4-5 days. You can also scoop out the flesh and just store that in the fridge.
To freeze: To freeze, let your sweet potatoes cool, then scoop out the flesh and store in a freezer-safe container for up to 3 months.
To reheat: Place your sweet potato in the oven at 350°F for 10-15 minutes until heated throughout. You can also microwave your potato to reheat it, but the skin won’t be as crisp.
Frequently Asked Questions
I grew up with my mom wrapping potatoes in foil before baking, but I’ve since learned that not only is it unnecessary, it also steams the potatoes and makes the skin soggy and soft rather than crisp the way I like it. I know it feels weird to put a naked potato in the oven, but trust me… they taste so much better this way. It’s also better for food safety because there’s potential for bacteria to grow if you leave the potatoes in foil and let them cool down while still wrapped in the aluminum foil.
Some people will recommend placing the potatoes directly on the oven rack for baking, but I do recommend placing them on a baking sheet (or at least having a baking sheet on the rack below). This is especially true when baking sweet potatoes because they tend to release sticky, sugary juice while baking and it can make your oven pretty messy.
While they’re often used interchangeably in the US, sweet potatoes and yams are distinct. Yams have a bark-like skin and are more starchy and less sweet than sweet potatoes. The confusion started when U.S. producers labeled orange-fleshed sweet potatoes as “yams.” In a standard American grocery store, you’re probably purchasing a sweet potato, even if it’s labeled as a yam.
Sweet potatoes are lower in calories and carbohydrates but higher in fiber, Vitamin A, and Vitamin C compared to regular potatoes. They also have a lower glycemic index which may be beneficial for blood sugar control.
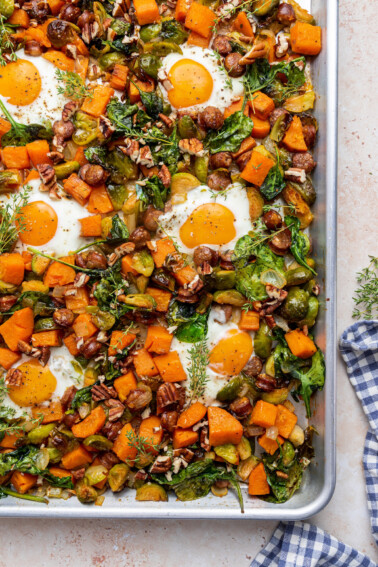
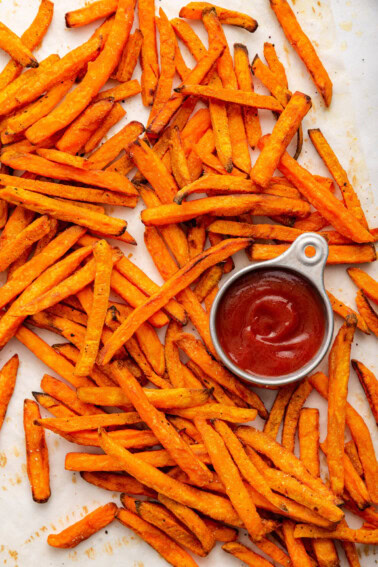
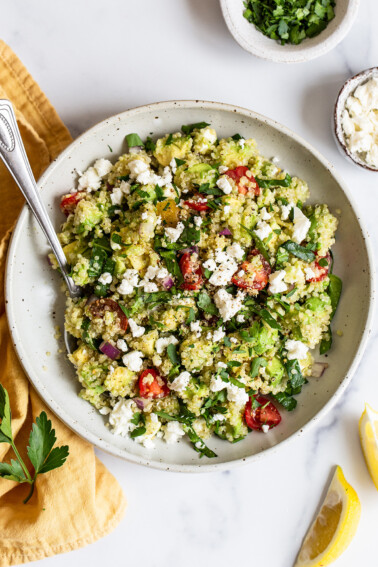
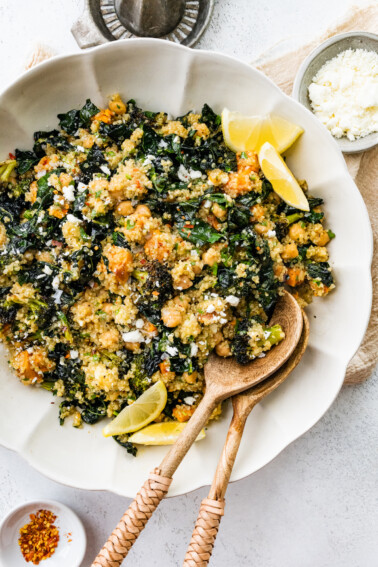
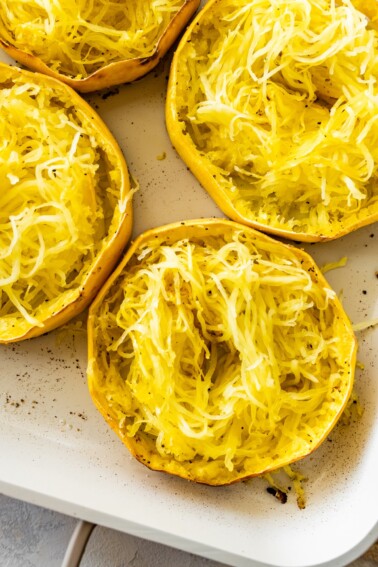
More Sweet Potato Recipes to Try

If you enjoyed this recipe, please consider leaving a ⭐ star rating and let me know how it went in the 📝 comments below.

Easy Baked Sweet Potato Recipe
Ingredients
- 3 sweet potatoes
- 1 teaspoon avocado or olive oil, more or less to taste*
- ½ teaspoon sea salt, more or less to taste
- toppings of choice, see above for ideas
Instructions
- Preheat oven to 400°F and line a baking sheet with parchment paper.
- Rinse and scrub sweet potatoes, pat dry. Use a fork to poke holes in each potato. I like to do 4-8 holes, depending on how big the potato is.
- Rub a little bit of oil on each potato and sprinkle with sea salt. Place potatoes in a baking dish or rimmed baking sheet and place in the oven.
- Bake for 60-80 minutes depending on how big your potatoes are. Flip the potatoes over about halfway through cooking. You'll know they're done when a knife easily slides through the flesh.
- Once cooked through, remove from the oven, cut open and top with your favorite toppings.
Video
Notes
- You can totally skip the oil and sea salt if you want. The sweet potato skin won’t be as crisp, but the baked sweet potatoes will still be delicious.
- Cooking time will vary depending on the size of your sweet potatoes. Smaller ones may be ready in 45–50 minutes, while larger ones can take up to 80 minutes.
- Leftovers will keep in the fridge for up to 5 days. Reheat in the oven or air fryer for the best texture.
Nutrition
Nutrition information is automatically calculated, so should only be used as an approximation.
Like This Recipe? Rate & Comment Below!


Love this easy sweet potato recipe. My go to every time!
So glad you enjoy this one! Thanks for coming back to leave a review. I really appreciate it. 🙂
great post well done thank you
Thank you, Helene! So glad it was helpful for you 🙂