
High-Protein Ice Cream
This post may include affiliate links. Thank you for your support.
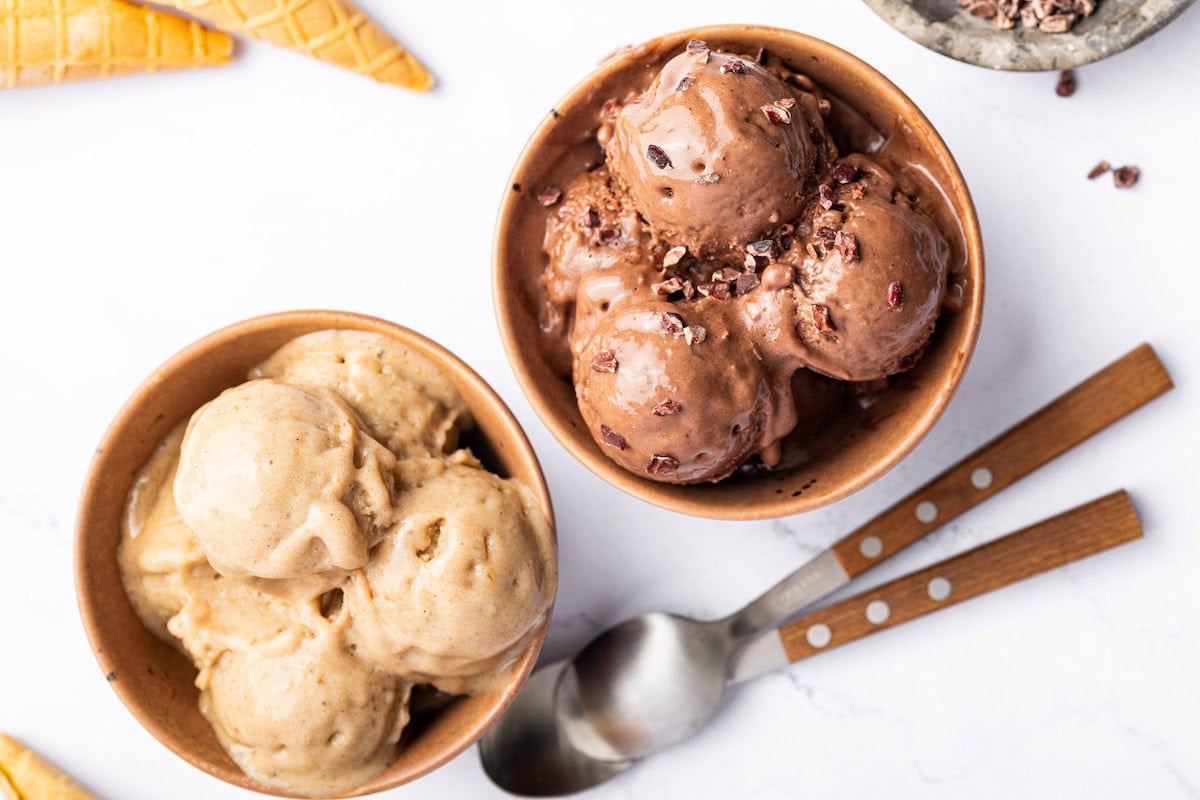
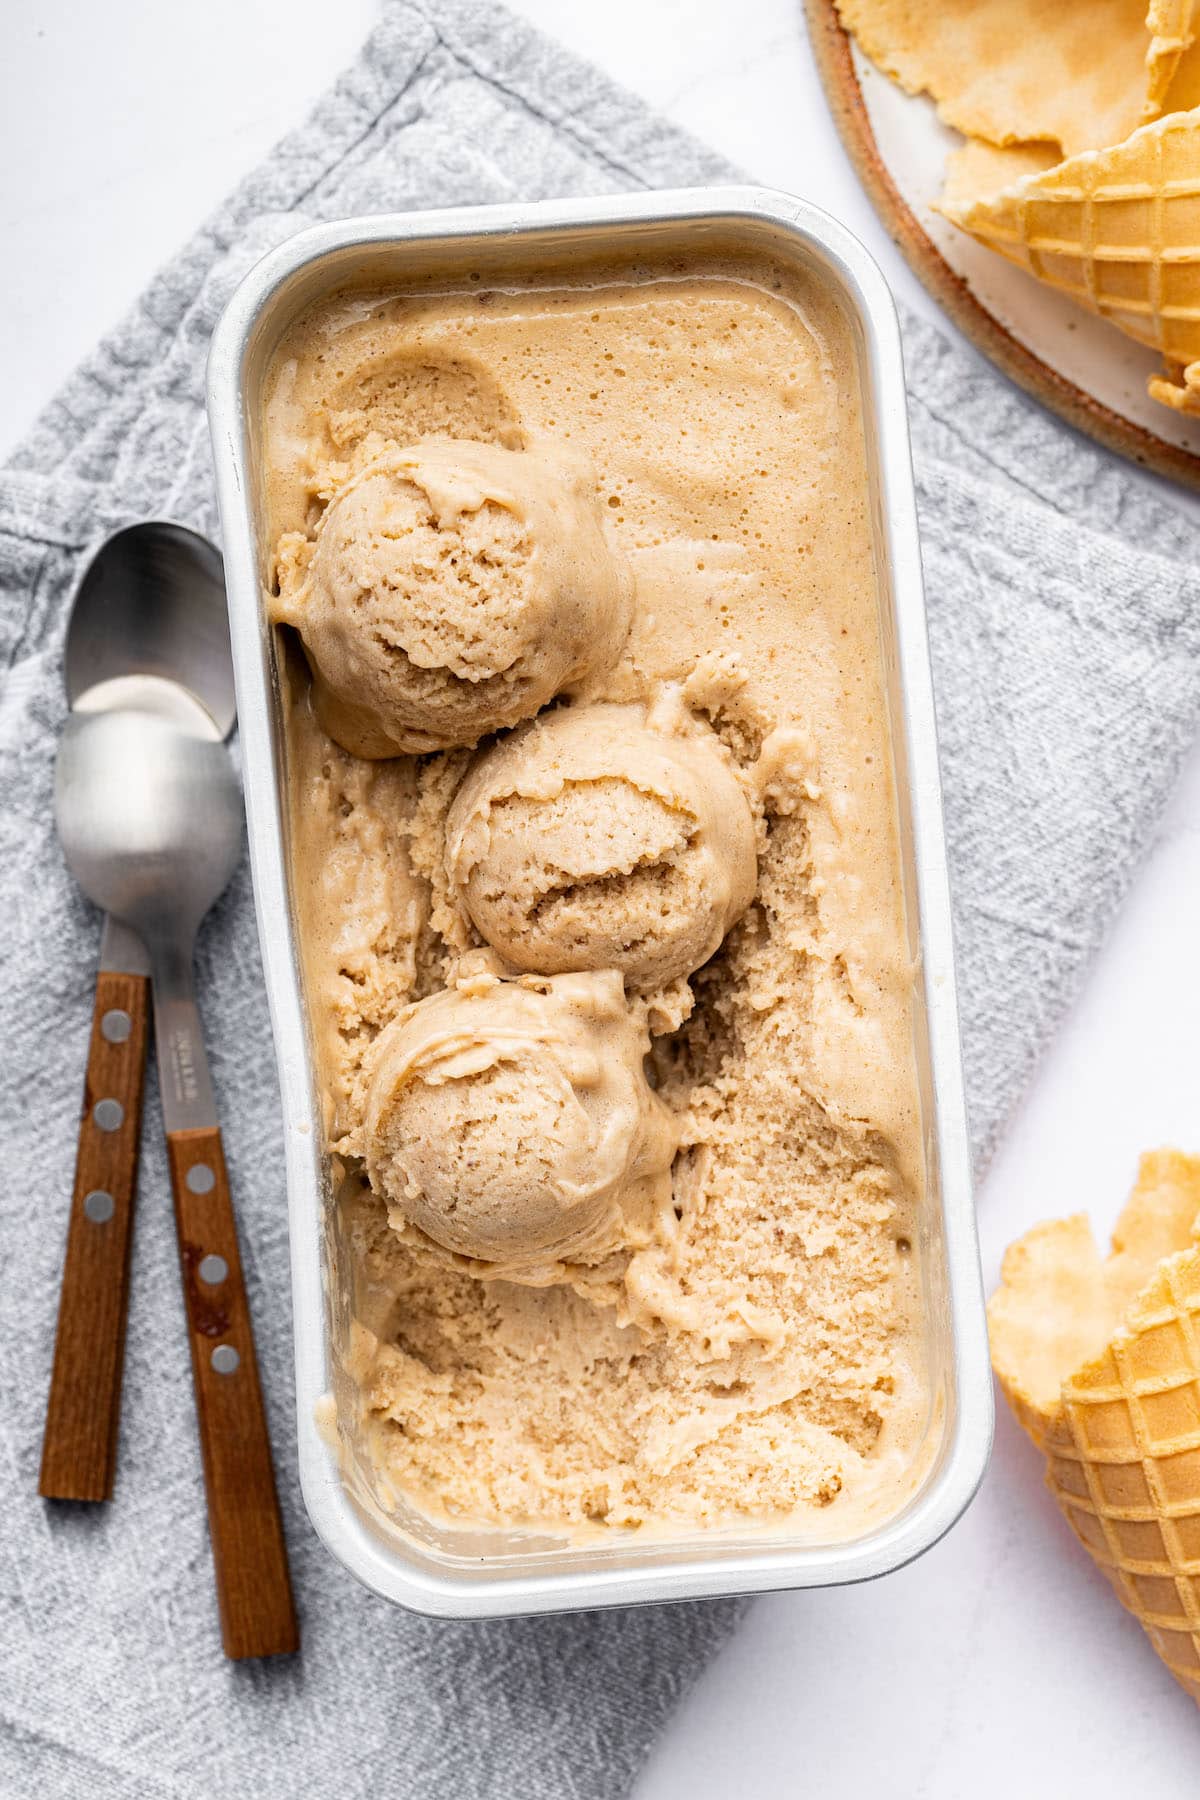
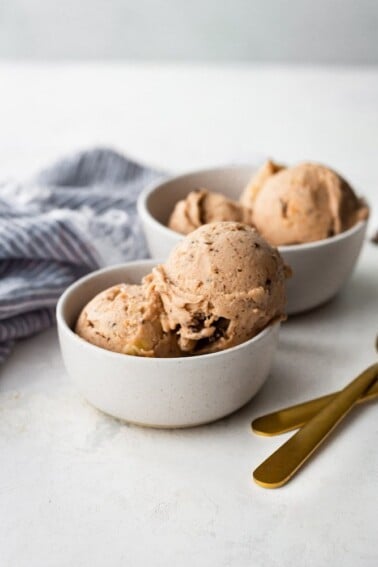
This creamy protein ice cream is made with frozen bananas and comes together in minutes—no ice cream maker needed! It’s packed with protein, and easy to customize with chocolate or vanilla flavor.
If you’ve ever browsed the freezer aisle for a healthier ice cream option, you know it can be tough to find one that’s actually good for you and tastes amazing. That’s why I started making my own protein ice cream at home—and honestly, it’s so much better than store-bought!
This version is creamy, naturally sweetened with bananas, and made with simple, wholesome ingredients you can feel good about. No funky additives, artificial preservatives, or refined sugar here!
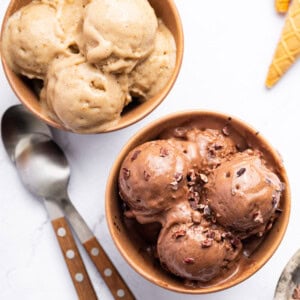
It’s also higher in fiber and protein (16g per serving!) than most store-bought pints, making it perfect as a post-workout snack, an afternoon treat, or a better-for-you dessert. Plus, it’s totally customizable—go chocolate or vanilla depending on your mood!
Why You Gotta Try This One

I’ve been making banana ice cream for years and absolutely love it, but I figured out a way to make it even better – adding protein. Not only does this balance the macros and make it more filling, the protein powder also adds a good amount of flavor!
And the best part is that you don’t need any fancy equipment like a Ninja Creami or even an ice cream maker, but the protein ice cream comes out so creamy and delicious. I’m hooked!
Ingredients Needed
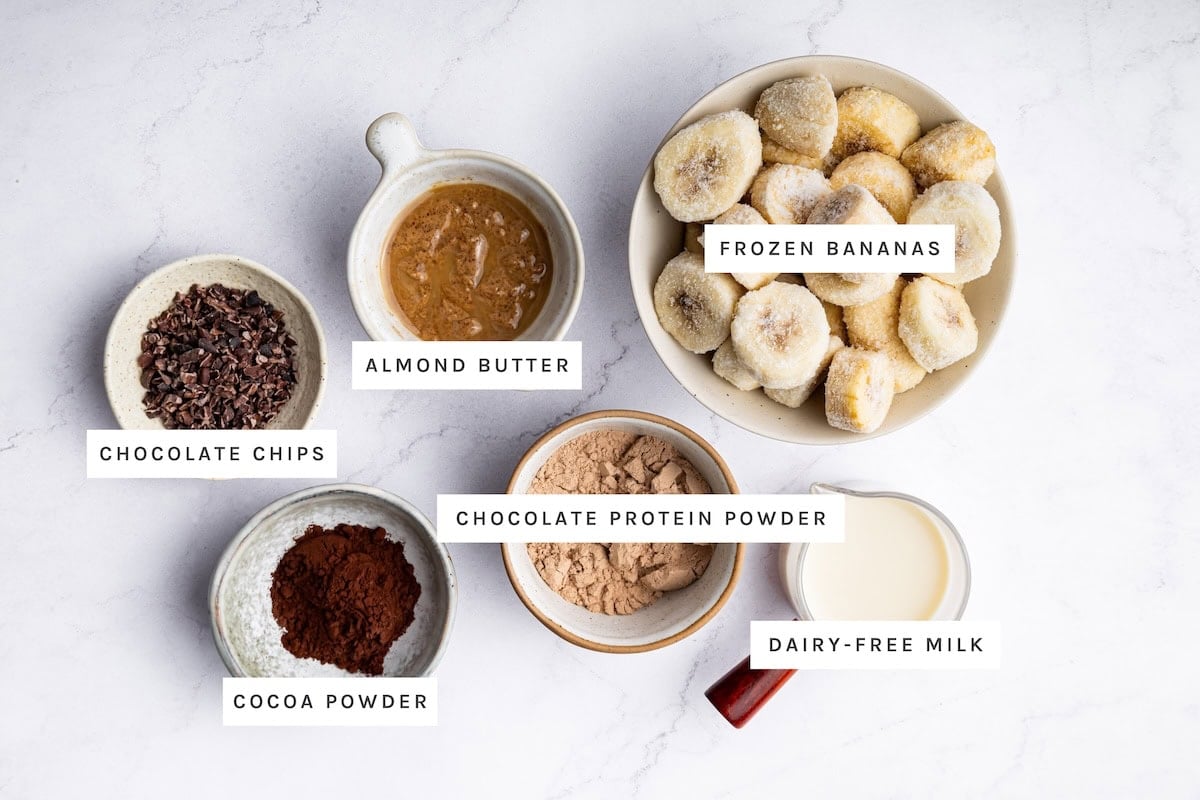
We’re using my banana ice cream as the base for both recipes. From there, you’ll just need a few extra ingredients depending on whether you’re making the chocolate or vanilla version.
- frozen bananas – peel and slice before freezing so they’re easier to blend! Check out my guide on how to freeze bananas for more tips.
- dairy-free milk – any dairy-free milk works here! I usually use unsweetened almond milk, but feel free to use whatever you have on hand.
- protein powder – use vanilla or chocolate protein powder depending on the flavor you’re making. I recommend a plant-based protein powder (that’s what I tested this recipe with). I love both the vanilla and chocolate Truvani protein powder—it’s clean, delicious, and plant-based. Use code eatingbirdfood for 10% off!
- almond butter or peanut butter – this is used in the chocolate version to add creaminess and richness. Choose a nut butter with minimal ingredients (just nuts and salt). Need a nut-free option? Sunflower seed butter or tahini works well too.
- cocoa powder and chocolate chips/cacao nibs – these boost the chocolate flavor and add texture. I like using Lily’s chocolate chips because they are dairy-free, low in calories and sweetened with stevia so there’s zero sugar added.
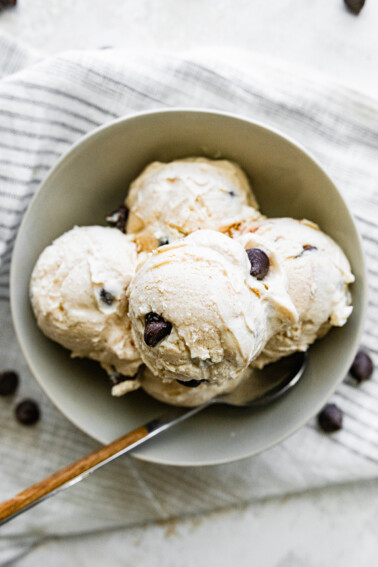
- vanilla extract/vanilla bean paste and cinnamon – these bring out the cozy, sweet flavor in the vanilla variation. Vanilla bean paste is extra luxurious if you have it on hand!
Make This Ice Cream Your Own
One of the best things about this protein ice cream is how flexible it is. Once you have your chocolate or vanilla base, the options are wide open. Here are some fun ways to make it your own:
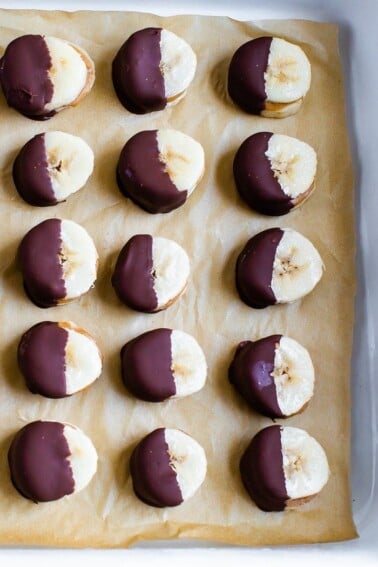
- Add-ins: Stir in a handful of chocolate chips, cacao nibs, chopped nuts, or shredded coconut right before serving. For extra crunch and texture, try granola or a crushed protein bar on top.
- Add a swirl: Drizzle in a swirl of peanut butter, date caramel, or berry jam (try my strawberry chia jam for added fiber!) just before freezing. It’ll make your ice cream look extra special.
- Toppings bar: This is a fun one if you’re serving to friends or kids: scoop your ice cream into bowls and set up a toppings bar with chopped nuts, chocolate chips, coconut, and fresh fruit so everyone can build their own!
How to Make Protein Ice Cream
To make either flavor, you simply add all of the ingredients into your food processor and blend! It’s that easy.
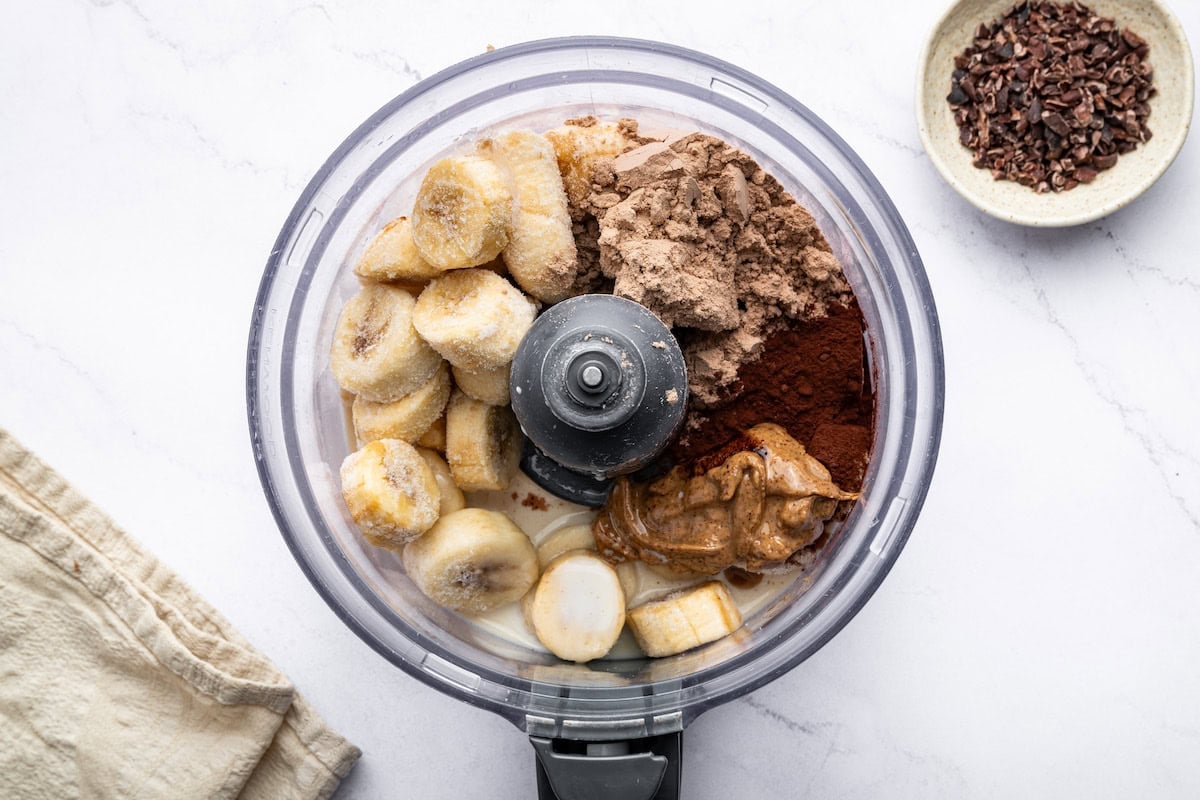
Blend the base – Add frozen banana chunks, almond milk, almond butter, cocoa powder, and chocolate protein powder to a high-speed blender or food processor. Blend until smooth and creamy, stopping to scrape down the sides if needed.
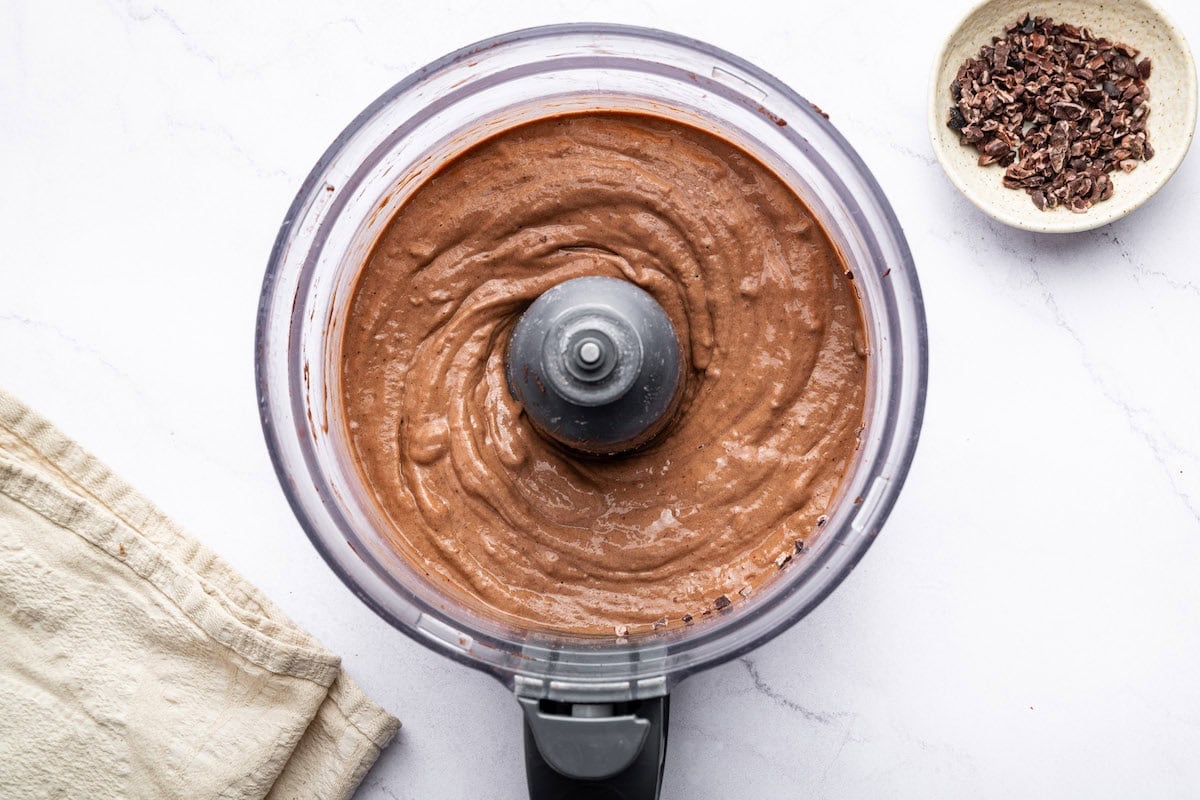
Add the extras – Pulse in chocolate chips or cacao nibs for a little crunch. Enjoy right away or freeze for a firmer scoopable texture.
Brittany’s Tips for the Best Protein Ice Cream
- Chop bananas before freezing: Cut your bananas into coins or chunks before freezing so they’re easier to blend straight from frozen. This keeps the “nice cream” texture and means no thawing necessary.
- Choose the right protein powder: The type of protein powder you use can really impact the texture and flavor of your protein ice cream. I recommend using plant-based protein powders (like pea, brown rice, or blends) because they tend to create a creamier, smoother texture that blends nicely with the frozen bananas. While you can use whey protein powder, it sometimes results in a firmer or slightly grainy texture once frozen, which might not be as creamy as you’d like. If you do prefer whey, just know the texture might be a bit different, but it’s still delicious!
- Add more milk if needed: If your blender is struggling, slowly add an extra tablespoon of milk while blending. This helps the motor along without turning your ice cream into a smoothie.
- Cover tightly: Make sure your ice cream is sealed well in the freezer to prevent freezer burn and keep it tasting fresh.

How to Serve
There are two ways to serve this protein ice cream – as soft serve or a scoop-able ice cream. I personally like eating it right away as soft serve, but it’s also delicious frozen and served more like traditional ice cream.
Soft Serve: For soft serve consistency, you can spoon the mixture into one or two bowls and serve immediately after processing with your desired toppings.
Frozen: For a scoop-able ice cream, transfer the ice cream to a freezer-safe dish (I like using a loaf pan lined with parchment paper) and freeze for at least 2 hours. Once ready to enjoy, pull the ice cream from the freezer, scoop and serve with your favorite toppings.
How to Store Leftovers
This protein ice cream stores really well in the freezer—just keep in mind it will harden quite a bit since it’s made without added sugar or stabilizers.
To store, transfer the ice cream to an airtight, freezer-safe container and freeze for up to 1 month. Make sure the container is well sealed to prevent freezer burn!
If it’s too hard straight from the freezer, let it sit at room temperature for 10–15 minutes to soften. You can also pop it back into the blender with a splash of milk to bring back that creamy texture. Another tip is to dip your ice cream scoop in hot water before scooping—it helps the ice cream come out smoothly without sticking! For easier portioning, try freezing it in individual containers.
If you enjoyed this recipe, please consider leaving a ⭐ star rating and let me know how it went in the 📝 comments below.
High-Protein Ice Cream
Ingredients
Chocolate
- 2 frozen bananas, peeled and chopped into chunks
- ¼ cup dairy-free milk, I used unsweetened almond milk
- 2 Tablespoons almond butter or peanut butter
- 1 Tablespoon cocoa powder
- 1 scoop chocolate protein powder
- ½ Tablespoon chocolate chips or cacao nibs
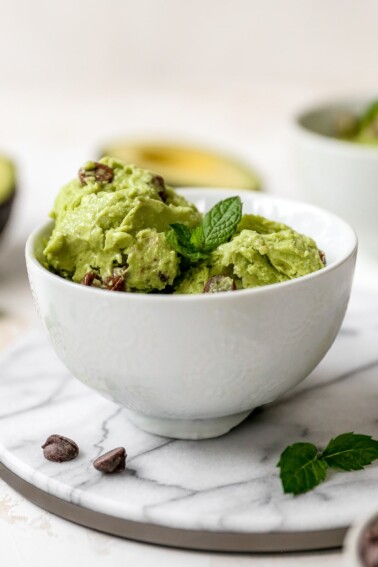
Vanilla
- 2 frozen bananas, peeled and chopped into chunks
- ¼ cup dairy-free milk, I used unsweetened almond milk
- 1 scoop vanilla protein powder
- 1 teaspoon vanilla extract or vanilla bean paste
- ¼ teaspoon cinnamon
Instructions
Chocolate
- Place bananas, almond milk, almond butter, cocoa powder and protein powder into a food processor or high speed blender.
- Pulse/process until smooth and creamy. This should take about 3-4 minutes. You may need to turn off the motor and stir the mixture a couple times while processing.
- Add in cacao nibs or chocolate chips (if using) and pulse once more.
- Spoon ice cream into a bowl and enjoy! If you want to be able to scoop the ice cream you can pour it into a loaf pan lined with parchment and place in the freezer for 2 hours. Once hard, use an ice cream scoop to scoop it out and enjoy.
Vanilla
- Place bananas, almond milk, vanilla, cinnamon and protein powder into a food processor or high speed blender.
- Pulse/process until smooth and creamy. This should take about 3-4 minutes. You may need to turn off the motor and stir the mixture a couple times while processing.
- Spoon ice cream into a bowl and enjoy! If you want to be able to scoop the ice cream you can pour it into a loaf pan lined with parchment and place in the freezer for 2 hours. Once hard, use an ice cream scoop to scoop it out and enjoy.
Notes
- Protein powder: I recommend using a plant-based protein powder since that’s what I used when testing this recipe. While you can use whey protein powder, it sometimes results in a firmer or slightly grainy texture once frozen, which might not be as creamy as you’d like. If you do prefer whey, just know the texture might be a bit different.
- Storage: Store the ice cream in a freezer-safe container that’s covered completely to prevent freezer burn for up to one month in the freezer.
- Ice cream too hard? If it’s too hard straight from the freezer, let it sit at room temperature for 10–15 minutes to soften. You can also pop it back into the blender with a splash of milk to bring back that creamy texture. Another tip is to dip your ice cream scoop in hot water before scooping—it helps the ice cream come out smoothly without sticking!
Nutrition
Nutrition information is automatically calculated, so should only be used as an approximation.
Equipment
Like This Recipe? Rate & Comment Below!


Pretty good. Great consistency. Note to self: Peel bananas before freezing. recommended to add more milk and cocoa if you don’t like the little hints of banana in it. Great calory content for those watching. I counted around 27 calories per ounce give or take. Overall, would make again.
So glad you liked the ice cream, Max! And yes, definitely peel those bananas before freezing. Thanks for sharing your notes and tips — I really appreciate it!