
Easy Baked Falafel

This post may include affiliate links. Thank you for your support.
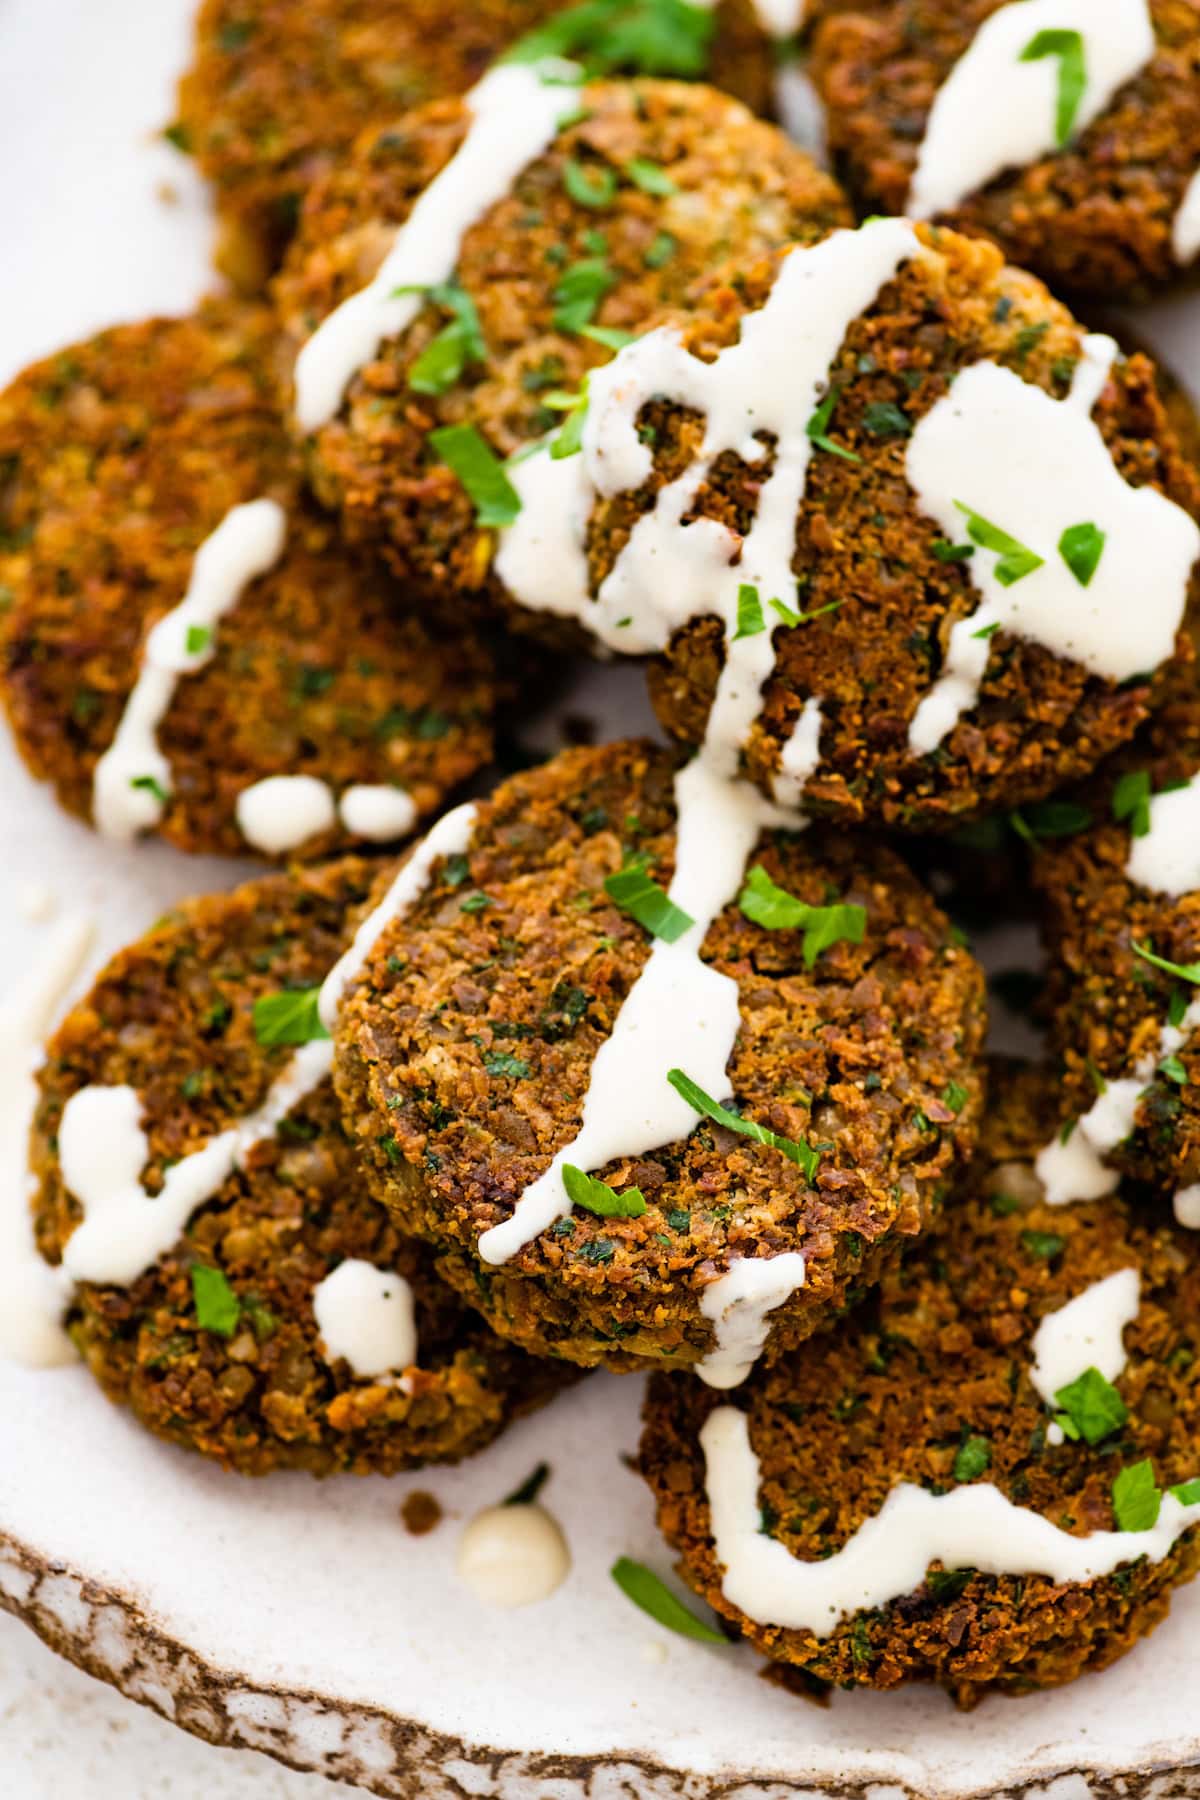
Add as Google Trusted SourceCrispy, flavorful and easy to make, this baked falafel recipe is a healthy vegan option for wraps, bowls and salads. It’s perfect for meal prep and gives you that classic falafel texture without the frying.
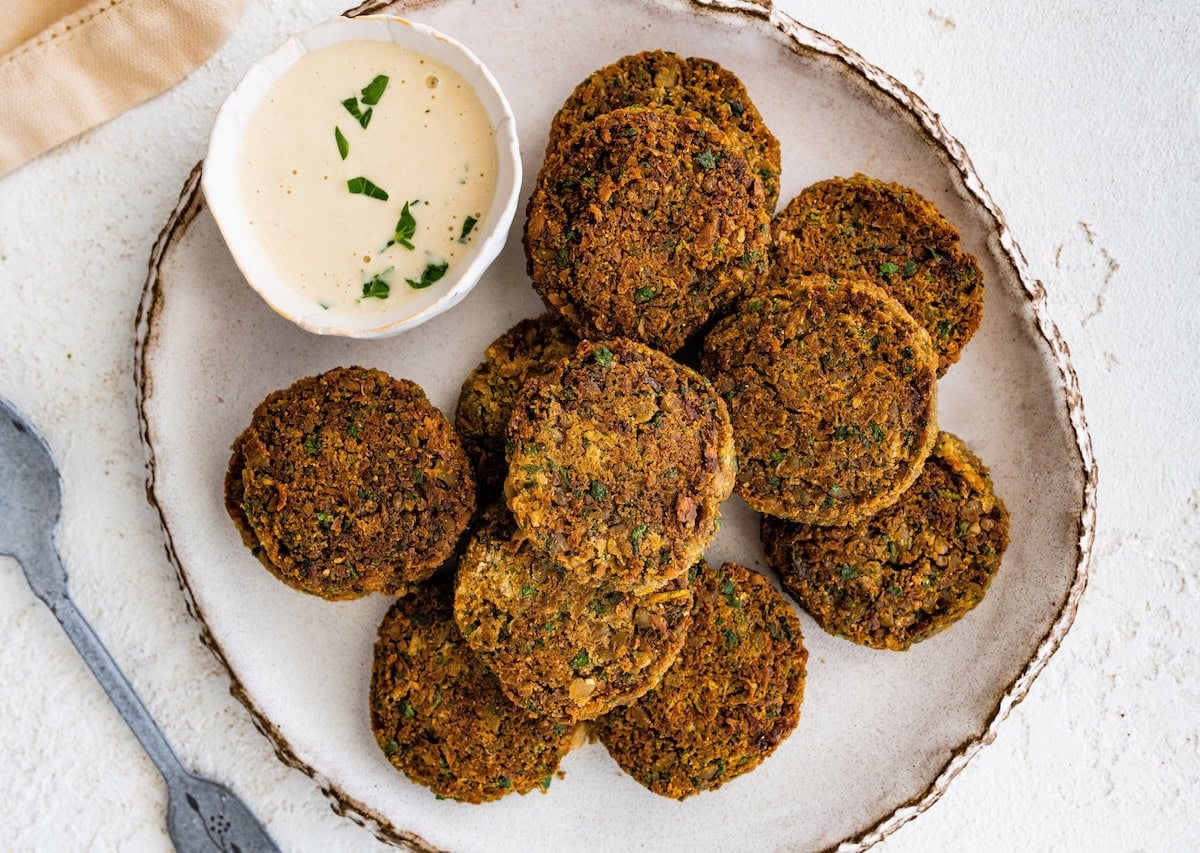
After a trip to Israel years ago, I fell in love with the fresh herbs and bold flavors in dishes like falafel. I originally shared this baked falafel recipe back in 2018, and since it has been a longtime reader favorite, I knew it was time for a refresh. Meals like my falafel bowls are still on repeat in my house, so it felt like the right time to update the base recipe too.
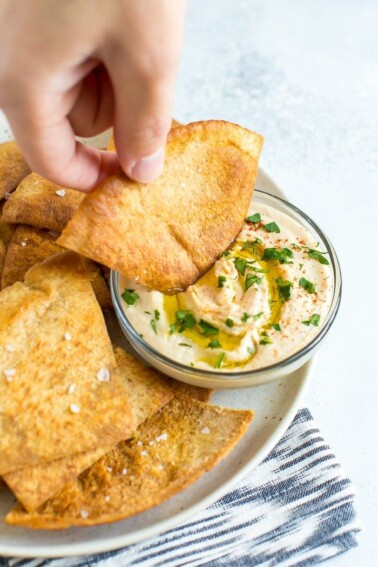
This is my easy at-home version of the classic. Traditional falafel is made with soaked dried chickpeas and fried, but here we’re using canned chickpeas and baking instead. The result is still packed with flavor, crisp on the outside and soft in the middle, especially when paired with something creamy like my hummus.
Table of Contents
Why You’ll Love This Baked Falafel Recipe

- Healthier: These are baked instead of fried, so you get all the flavor without the extra oil.
- No soaking required: We’re using canned chickpeas, which means you can skip the overnight prep and make these anytime.
- Great for meal prep: Make a batch ahead of time and enjoy them all week in different meals.
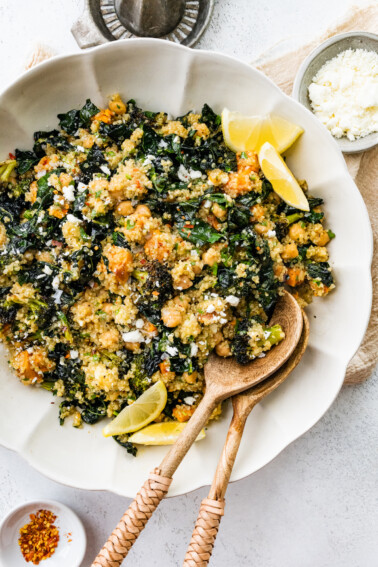
- Super versatile: They’re perfect for wraps, bowls or dipping with your favorite sauce. I like adding them to salads or pairing them with something fresh like my Greek quinoa salad.
“These might be he best falafel I’ve ever had, they were very moist and fresh tasting, which is fabulous since they were SO easy to make. Thanks for the great, and simple recipe!”
Ingredients Needed
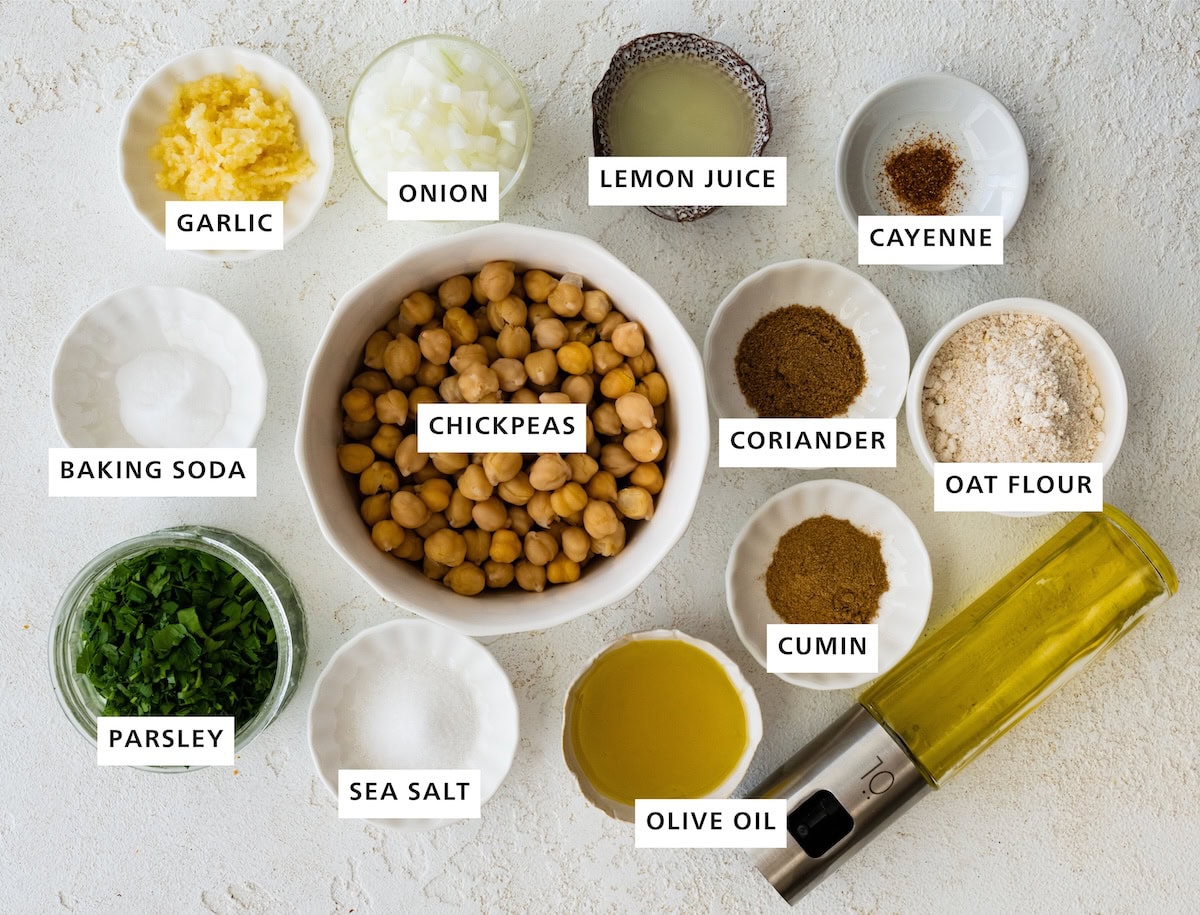
- chickpeas – canned chickpeas keep this recipe quick and easy. Just rinse and drain well.
- onion and garlic – adds flavor and that classic savory depth.
- parsley – fresh is always best! It adds brightness and tons of flavor.
- spices – cumin, coriander, cayenne and salt bring warm, classic falafel flavor.
- lemon juice – adds freshness and helps balance the spices.
- oat flour – helps bind the mixture so the falafel hold their shape while baking. All-purpose flour should also work just fine.
- baking soda – gives the falafel a lighter texture inside.
Find the full ingredient list with measurements in the recipe card below.
How to Make Baked Falafel
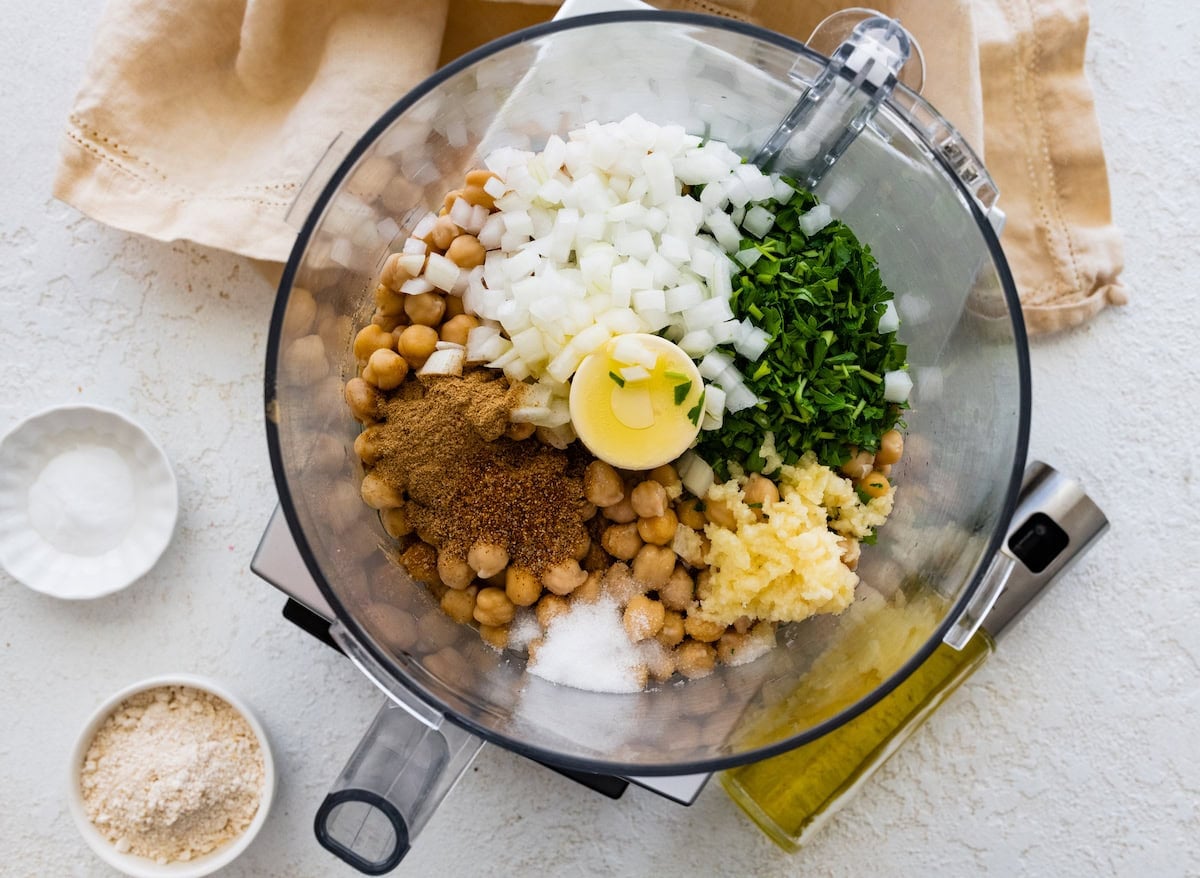
Step 1: Add the chickpeas, onion, garlic, herbs, lemon juice and spices to a food processor. Pulse until the mixture is combined but still slightly textured, not completely smooth.
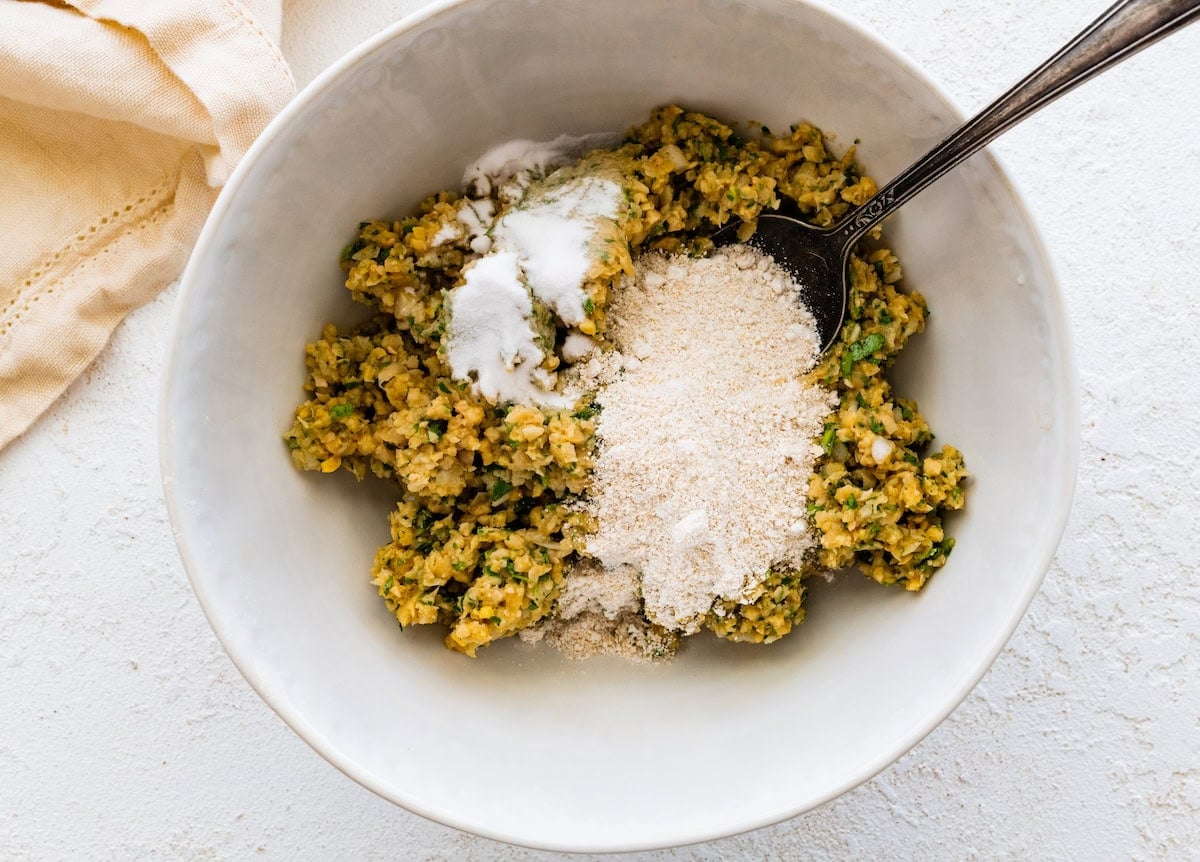
Step 2: Transfer the mixture to a bowl and stir in the oat flour, baking soda and olive oil until everything comes together and can hold its shape.
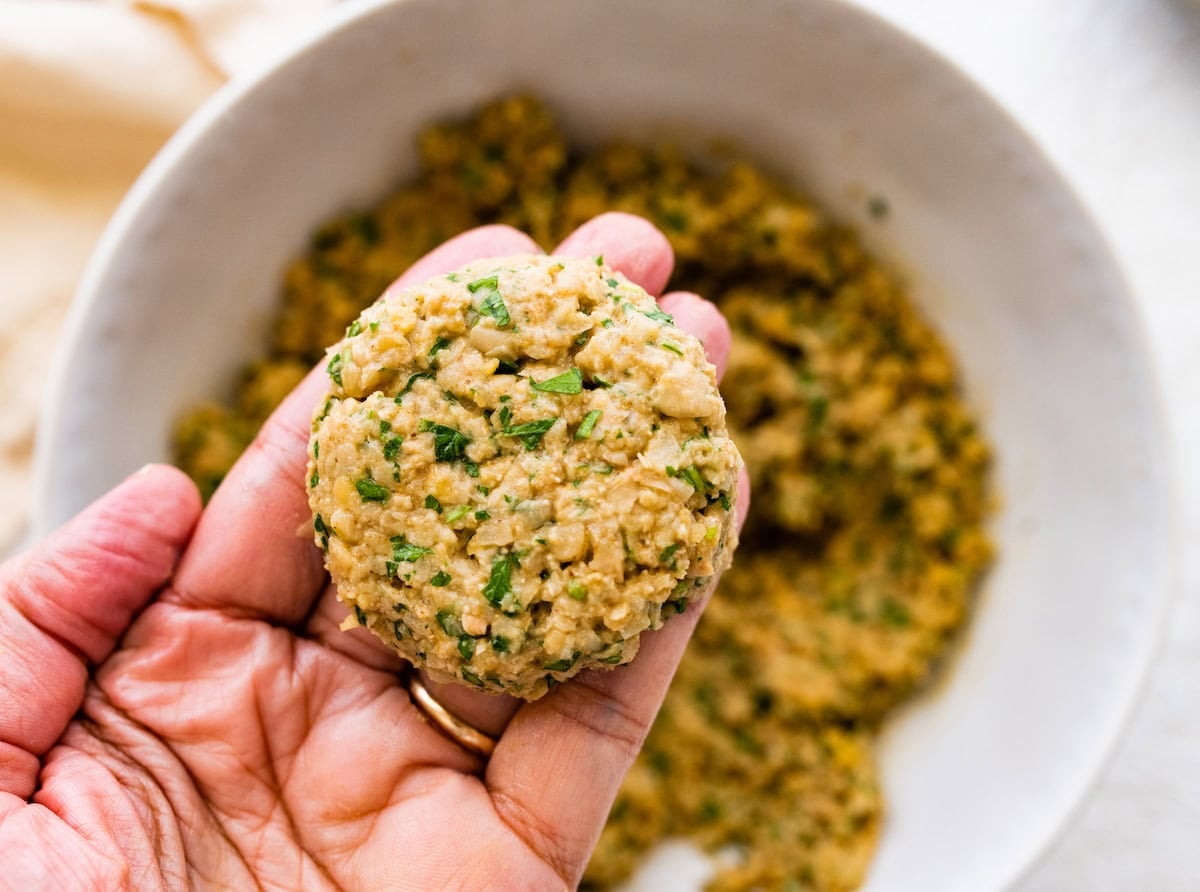
Step 3: Scoop the mixture into small portions and gently form into patties or balls. Place them on a lined or lightly greased baking sheet, spacing them evenly.
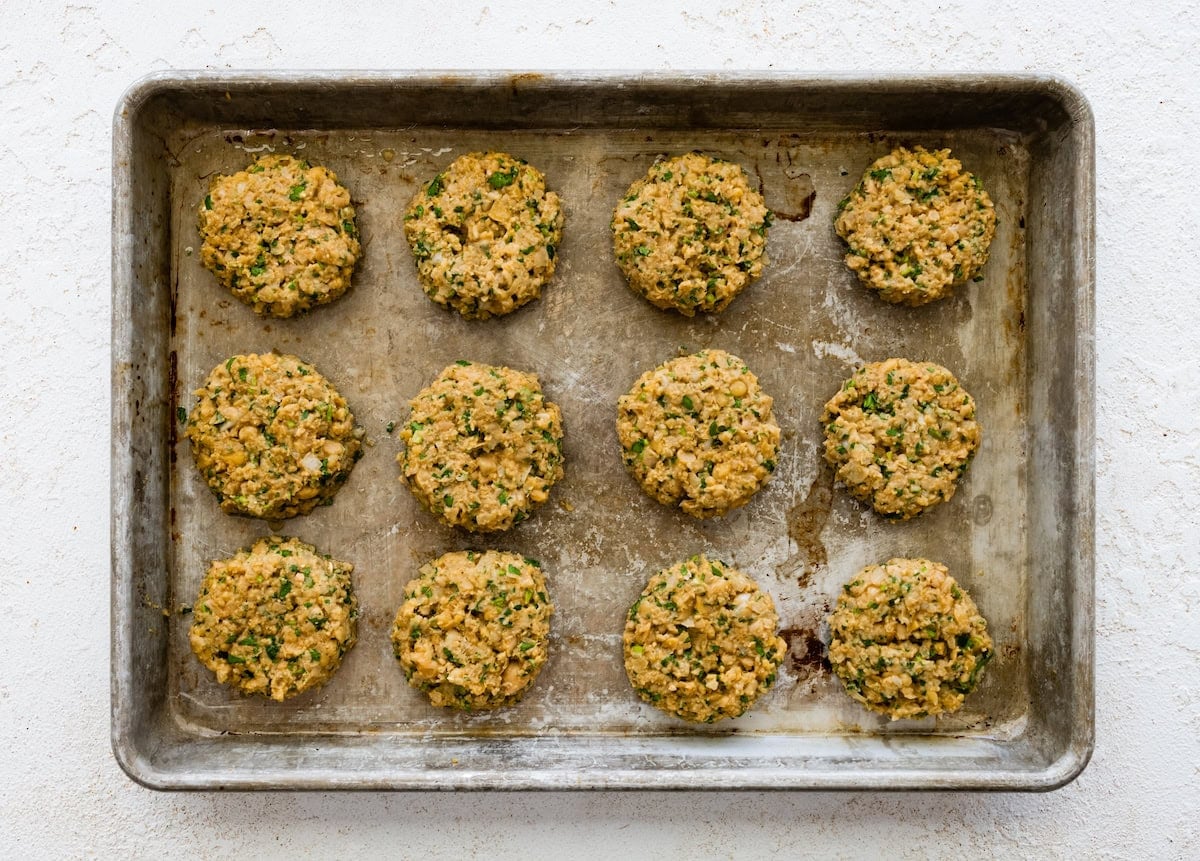
Step 4: Bake until the falafel are lightly browned and crisp on the outside, flipping halfway through for even cooking. Let them cool slightly before serving so they firm up.
Recipe Tips for the Best Baked Falafel
- Dry the chickpeas well: After rinsing, pat the chickpeas dry with a towel. Too much moisture can make the mixture soft and harder to shape.
- Do not over-process the mixture: You want a slightly textured mixture, not a smooth paste. A bit of texture helps the falafel hold together and keeps them from turning dense.
- Let the mixture rest if it feels soft: If the mixture seems sticky, let it sit for 5 to 10 minutes so the oat flour can absorb moisture.
- Flip halfway through baking: Turning them ensures both sides get golden and prevents the bottoms from getting too soft.
- Let them cool before serving: They firm up as they sit, so give them a few minutes after baking for the best texture.
How to Store and Reheat
- To store: Let the falafel cool completely, then store them in an airtight container in the refrigerator for up to 4 to 5 days.
- To freeze: Place cooled falafel in a single layer on a baking sheet and freeze until solid, then transfer to a freezer-safe bag or container. They’ll keep well for up to 3 months.
- To reheat from the fridge: Warm them in a 350°F oven, toaster oven or air fryer for a few minutes until heated through and crisp again. Microwaving works too, but they will be softer.
- To reheat from frozen: Bake or air fry straight from frozen at 350°F until hot and lightly crisp on the outside.
Baked Falafel FAQs
Yes. Traditional falafel is made with soaked dried chickpeas, and you can use them here if you prefer. Just soak them overnight and skip cooking them before blending. The texture will be slightly firmer and more traditional.
This usually happens if the chickpeas weren’t dried well after rinsing or if the mixture was over-processed. If needed, stir in a little more oat flour and let the mixture rest for a few minutes to firm up.
If the mixture is too dry or crumbly, it may need a bit more moisture or a quick pulse in the processor. If it’s too wet, adding a little more oat flour can help them hold together.
They’re great in pita sandwiches, grain bowls (like this falafel bowl), salads or on their own with dips like hummus or tahini sauce.
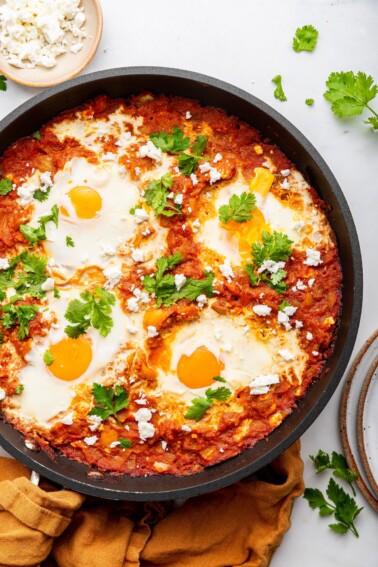
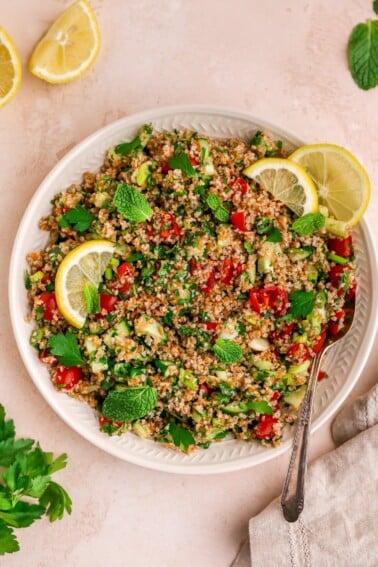
More Middle Eastern Recipes to Try
If you enjoyed this recipe, please consider leaving a ⭐ star rating and let me know how it went in the 📝 comments below.
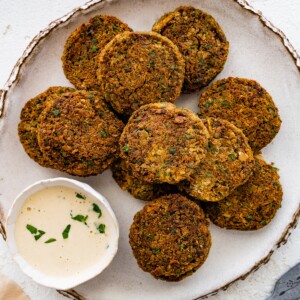
Easy Baked Falafel
Ingredients
- 1 15 oz can chickpeas, drained, rinsed and dried
- ¼ cup chopped onion
- 3 cloves fresh garlic
- ½ cup fresh parsley
- 1 Tablespoon olive or avocado oil
- 2 teaspoons lemon juice
- 1 teaspoon ground cumin
- 1 teaspoon ground coriander
- ¾ teaspoon sea salt
- pinch of cayenne
- ½ teaspoon baking soda
- 3 Tablespoons oat flour
- olive or avocado oil cooking spray
Instructions
- Preheat oven to 375°F. Spray a baking sheet with oil.olive or avocado oil cooking spray
- Add chickpeas, onion, garlic, oil, parsley, lemon juice, cumin, coriander, salt and cayenne into a food processor and pulse until just combined. You don’t want to over-process the mixture or you’ll end up with hummus. Plus, having a few chunks of chickpeas gives the falafel a nice texture.1 15 oz can chickpeas, ¼ cup chopped onion, ½ cup fresh parsley, 1 Tablespoon olive or avocado oil, 2 teaspoons lemon juice, 1 teaspoon ground cumin, 1 teaspoon ground coriander, ¾ teaspoon sea salt, pinch of cayenne, 3 cloves fresh garlic
- Stir in baking soda and oat flour. At this point your mixture should be holding together quite well.½ teaspoon baking soda, 3 Tablespoons oat flour
- Scoop spoonfuls of mixture out and form into small patties; you should get about 15. Place on prepped baking sheet.
- Bake 10-12 minutes, flip patties and bake for another 10-12 minutes or until falafel are golden and cooked through.
Video
Notes
- Be sure to dry the chickpeas well after rinsing. Too much moisture can make the mixture soft and harder to shape.
- If the mixture feels sticky, let it rest for 5 to 10 minutes so the oat flour can absorb moisture.
- Storage: Store leftovers in an airtight container in the refrigerator for up to 4 to 5 days. Reheat in the oven, toaster oven or air fryer to bring back the crisp edges.
Nutrition
Nutrition information is automatically calculated, so should only be used as an approximation.
Equipment

Like This Recipe? Rate & Comment Below!








Okay to be completely honest I used all purpose flour so they weren’t GF & I added a few mushrooms so I had to add a little more flour. However, the rest was according to the recipe and they turned out GREAT, SO DELICIOUS!! I LOVE that they are baked, not fried. They are perfectly crispy on the outside and soft enough on the inside. My toddler enjoyed them too. They’re delicious and super easy to make, totally worth making!
Ahh yay! So glad this recipe turned out for you, Rita. Thanks for making it and for coming back to leave a comment + star rating. I really appreciate it. <3
Hi! I am planning to make these falafel for the Halloween party I am going to, in some spooky shape. Do you think it will be too dry?
Ohh I bet it would work! You could always add a bit of water to help you form them into the shape you’re looking for. Keep me posted how they turn out. 🙂
I have soaked my beans. Shall I cook the chickpeas before?
Hey Marzia – if you’re using chickpeas that aren’t from the can then yes, you’ll need to cook them before.
I’ve made these loads of times and every time they’ve been amazing. I used to deep fry falafel, which was really unhealthy and a huge faff. These ones taste just as good and are so easy to make. Thank you!
You’re so welcome, Victoria. I’m so glad this recipe was a hit! Thanks for making it and for coming back to leave a comment + star rating. I so appreciate it. 🙂
I love trying new recipes so I find myself hardly doing any repeats (obviously I’ve had lots of time during the pandemic!), but I have made this 3 times now?! So good!! I would definitely give it a try. I love that these are baked rather than fried. I do have to say I find myself baking them for a bit longer than the instructed time, could be a personal preference too! I would definitely give these a try!
I was surprised by how delicious these are. Mine were very crumbly and fell apart so I’m wondering what I did wrong? I was worried about making hommous so maybe I didn’t mix it enough?
Oh no, sorry to hear that! Did you change anything about the recipe? I’m thinking maybe adding a little bit of water to the dough before forming could have helped if it seemed to dry.
Brilliant recipe, I originally tried a baked falafel recipe but had to soak dried chickpeas, it was a failure. I had a different recipe where I deep-fried the chickpeas, I wasn’t happy with the oiliness and they fell apart.
This recipe is perfection!! I made them at lunchtime to eat for dinner, couldn’t stop eating them throughout the afternoon!
I cut down on the salt, halved the garlic and used a good sprinkling of onion powder instead of fresh onion as my husband can’t tolerate it, also used a good sprinkle of dried parsley.
I doubleD the quantities and got 31 pieces. I used a small cookie scoop. Yum yum yum
Yay!! That makes me so happy to hear, Miriam. I’m so glad you enjoyed this recipe. Thanks for making it and for coming back to leave a comment + star rating. I so appreciate it. 🙂
I did sauté instead of bake these. But all four kids AND my picky husband all enjoyed them with tzatziki (how the heck to spell) sauce.
Woot woot! That’s definitely a win in my book if everyone enjoyed them. Thanks for coming back to leave a comment + star rating. I so appreciate it. 🙂
Hi! Recipe looks great and is in progress. How long would you say these are good for in the fridge?
Hey Caroline – They should stay fresh in the fridge about 5 days in an airtight container. 🙂
Great, just wanted to double check! They’re amazing with tahini sauce!
This recipe was so easy. canned chickpeas and no refrigeration necessary. Delish!! My very picky 12 year old even liked it. He was pleasantly surprised! LOL. But I did need to bake for a little longer than suggested.
That’s awesome!! So glad this recipe was a hit, Francesca. Thanks for making it and for coming back to leave a comment + star rating. I so appreciate it. 🙂