
Easy Creamed Corn

This post may include affiliate links. Thank you for your support.
Add as Google Trusted SourceThis easy creamed corn comes together in one skillet in about 20 minutes. Unlike the canned version, there is no added sugar, just corn, milk, butter, and a little garlic and onion.

Growing up, my only experience with creamed corn was from a can, and honestly? It never really impressed me. Somewhere along the way I realized that homemade creamed corn is a completely different experience: creamier, fresher and made with real, whole ingredients you can actually pronounce. It comes together in about 20 minutes and has earned a permanent spot on our holiday table next to my green bean casserole and roasted brussels sprouts.
My version skips the heavy cream that a lot of recipes call for and uses whole milk plus a little arrowroot to create that classic creamy texture without weighing it down. Sautéed onion and garlic add so much flavor, and blending a portion of the corn at the end is my go-to trick for that extra creamy consistency.
Table of Contents
“My husband grew up eating canned creamed corn but can no longer have it because of the added sugar content. I tried this recipe as a homemade substitute and he loved it. This dish has always been one of his comfort foods – so happy he can enjoy it again. Thx for the easy recipe!”
Why You’ll Love This Creamed Corn Recipe

- No added sugar: Canned creamed corn almost always has sugar or high fructose corn syrup in it. This version gets all its sweetness from the corn, which means it tastes like corn rather than dessert.
- You control the texture: Blend a cup of it for something thick and creamy, or leave it whole for a looser, brothier side. Same recipe, two completely different dishes depending on your mood.
- One skillet, twenty minutes: On a holiday when the oven and every burner are spoken for, a side that needs one pan and no oven space is worth a lot.
Ingredients Needed
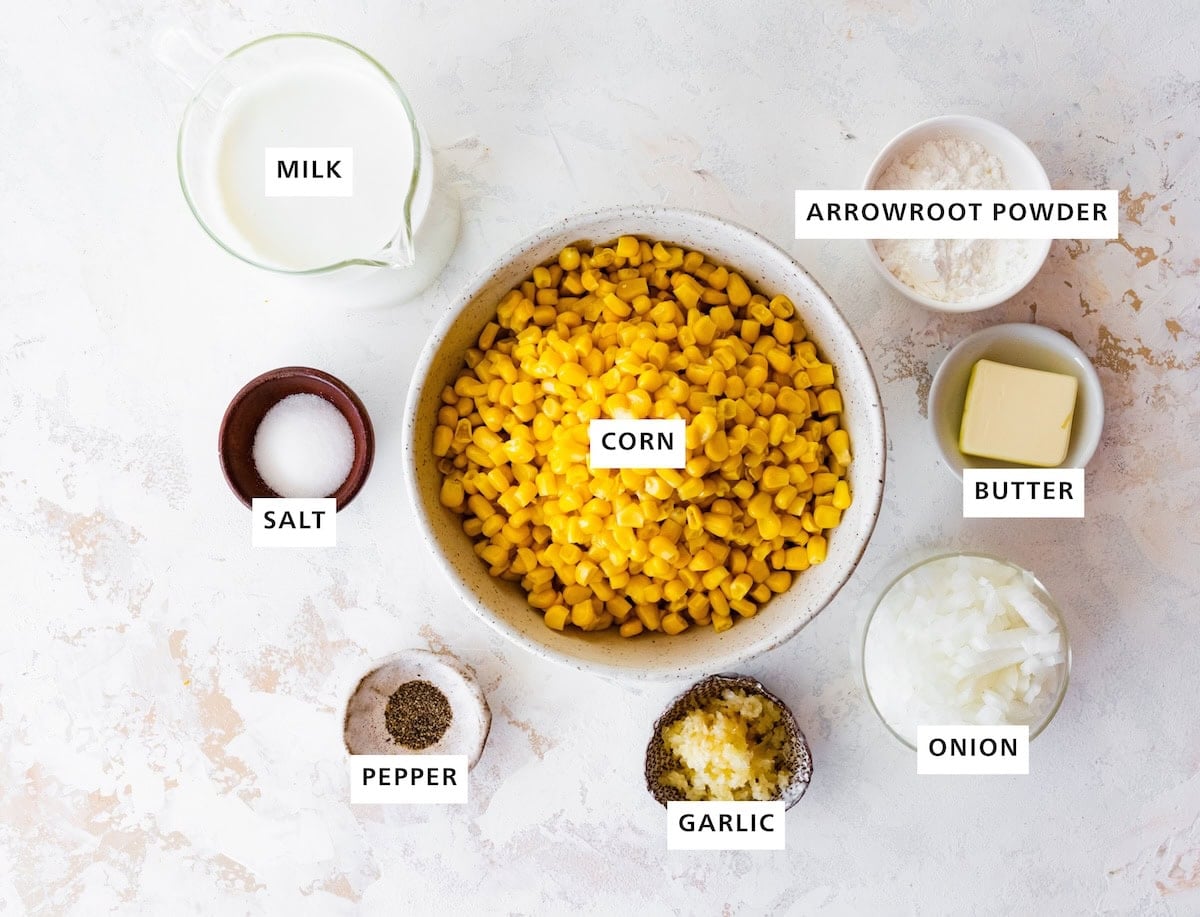
- unsalted butter – adds richness and flavor to the base of the dish. If you’re using salted butter, just adjust the salt in the recipe to taste.
- onion and garlic – two essentials that add a ton of flavor to this dish.
- frozen corn – using frozen corn makes this recipe super convenient! No need to wait for fresh corn, just thaw and you’re good to go.
- milk – helps create the creamy base for the corn. I love using whole milk for extra creaminess, but feel free to use your favorite dairy-free option like almond or oat milk.
- arrowroot powder, cornstarch or all-purpose flour – helps thicken the sauce, giving it that rich, creamy consistency. You can use arrowroot powder, cornstarch or all-purpose flour, depending on what you have on hand.
Find the full ingredient list with measurements in the recipe card below.
Recipe Substitutions
- Frozen corn: Fresh or canned corn can also be used! If using fresh corn, you’ll need about 4-5 ears. For canned corn, just drain and rinse it before using.
- Make it dairy-free: For a dairy-free option, you can substitute real deal butter with a plant-based butter and regular milk with a dairy-free milk like almond milk.
How to Make Creamed Corn
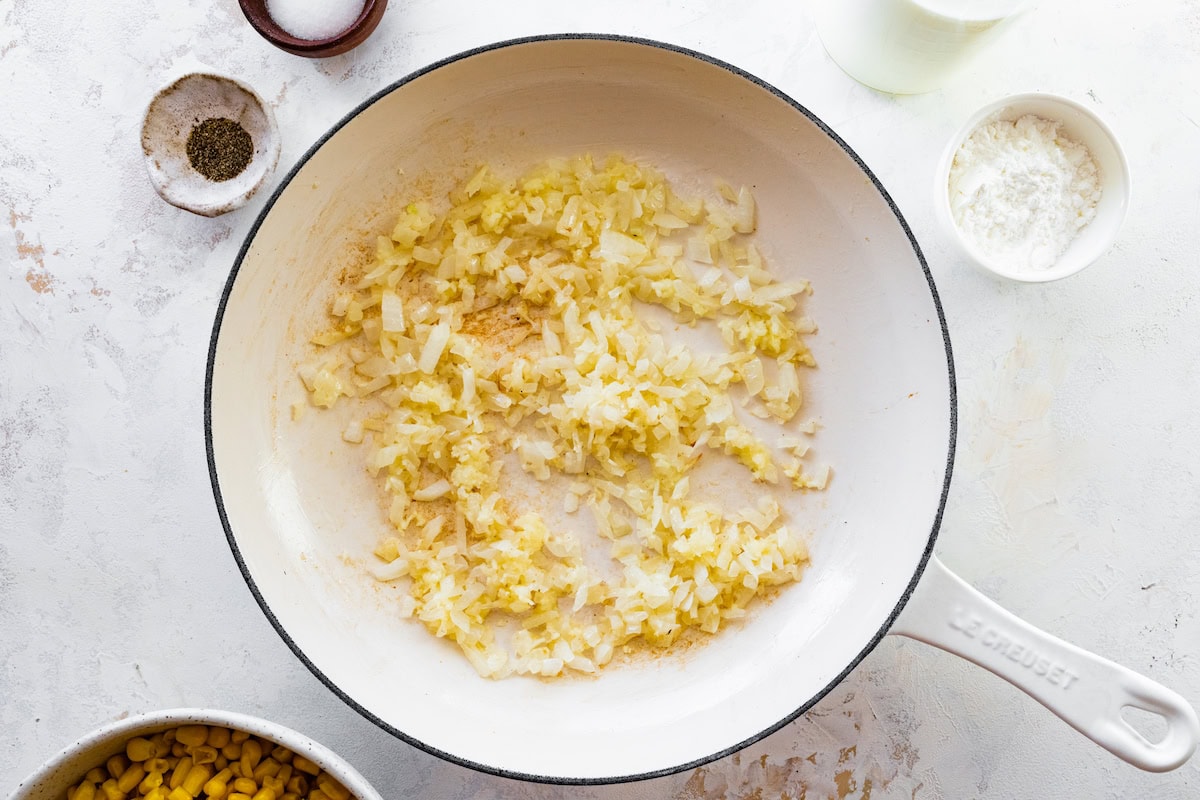
Step 1: Add butter to a skillet and heat over medium heat. Add onion and garlic and sauté until fragrant, about 5-6 minutes.
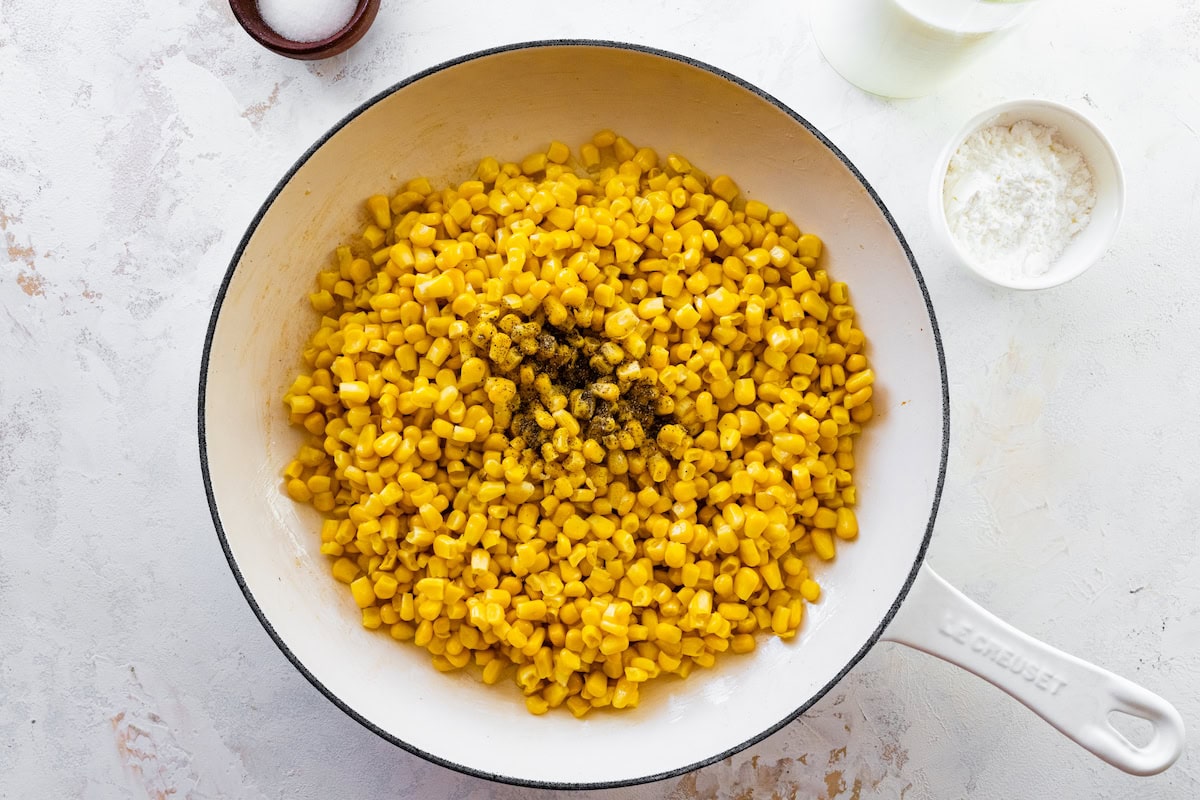
Step 2: Add corn, salt and black pepper and cook until the corn softens, about 5 minutes.
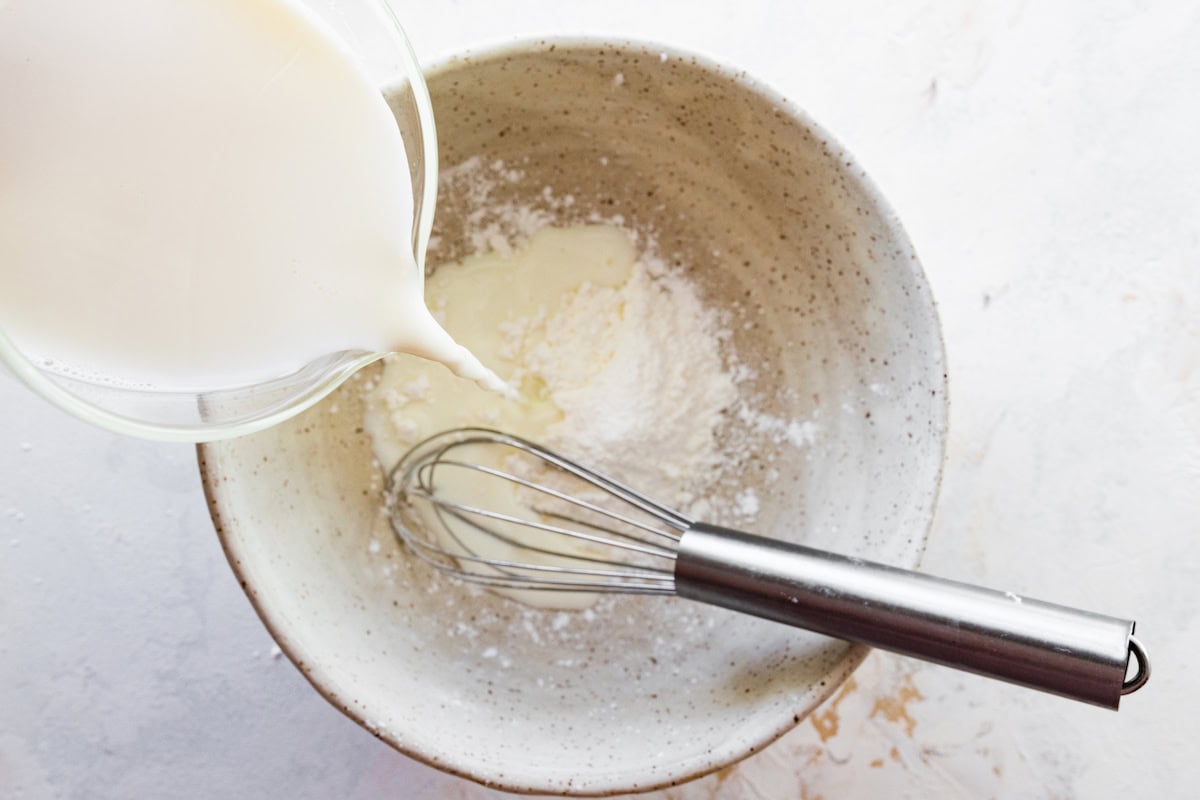
Step 3: While the corn is cooking, whisk the milk and arrowroot powder or cornstarch together in a small bowl.
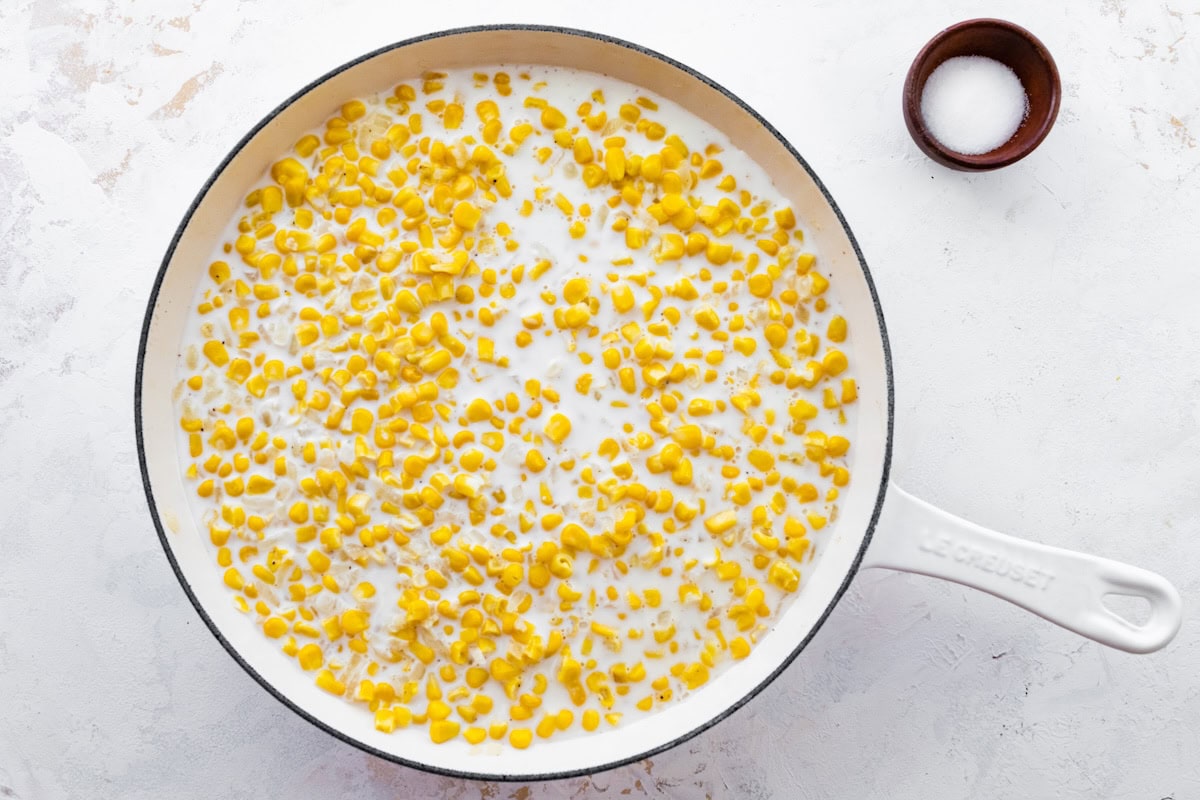
Step 4: Add the milk mixture to the skillet with the corn. Bring to a boil then reduce the heat to a simmer and cook until the sauce thickens, about 3-5 minutes.

Step 5: If you want thicker/creamier corn you can puree some of the mixture with an immersion blender, until it reaches your desired consistency.

Step 6: Taste and add any additional salt or pepper if needed. You can also stir in ¼ cup freshly grated parmesan if you want to add some cheesiness to your corn. Serve warm.
Tips for the Best Homemade Creamed Corn
- Whisk the thickener into cold milk first: Arrowroot and cornstarch seize instantly in a hot pan. Dissolve it in the cold milk in a separate bowl, then pour it in. This is the difference between a smooth sauce and a lumpy one.
- Thaw and drain the corn: Frozen corn added straight from the bag drops the pan temperature and releases a lot of water, which thins out the sauce.
- Blend just a cup, not the whole pan: Blend about a cup with an immersion blender and stir it back in. You get a creamy base with whole kernels still in it. Blend it all and you have corn purée.

What to Serve with Creamed Corn
This creamed corn is seriously the perfect side dish for just about any meal. Here are a few of my favorite ways to serve it:
- With your favorite proteins: Pair it with roasted chicken, or even a juicy steak. I love serving it alongside my chicken marinade for a wholesome, flavorful meal.
- Holiday must-have: This dish is a total crowd-pleaser, making it ideal for your holiday table. Serve it with roasted turkey, sweet potato casserole, or sourdough stuffing for a comforting, festive spread.
- BBQ side: Creamed corn is also a great side for BBQs. Serve it alongside grilled turkey burgers, BBQ jackfruit sandwiches, grilled BBQ chicken breasts, or chicken kabobs to add a creamy side to the meal.
- Simple snack: Honestly, you could even enjoy this as a cozy, comforting snack on its own. Warm, creamy, and slightly sweet; it’s satisfying all by itself!

How to Store and Reheat Creamed Corn
- Fridge: Store leftovers in an airtight container for 3 to 4 days. It will thicken considerably as it chills, which is normal.
- Reheating: Warm it gently on the stovetop over low heat with a splash of milk stirred in to loosen it back up. The microwave works too, just go in short bursts and stir between each one so the sauce does not break.
- Make ahead: You can make this a day before and reheat it, which is what I do when it is going on a holiday table. Add the parmesan after reheating rather than before so it stays smooth.
Frequently Asked Questions
Use two 15 oz cans, drained and rinsed well. Rinsing matters because the canning liquid is starchy and usually salted, and it will throw off both the texture and the seasoning. Since canned corn is already soft, cut the cooking time in step two down to about two or three minutes instead of five. Everything else stays the same.
It depends on the brand, but most canned creamed corn contains added sugar or high fructose corn syrup. This version has none, so the sweetness comes entirely from the corn itself. You also control the salt, which is worth noting since canned versions tend to run high.
Yes, and it is excellent in the summer. You will need about four to five ears. After cutting the kernels off, run the back of your knife down the bare cob to scrape out the milky liquid and add that to the pan. It adds real flavor and helps thicken the sauce.
Usually the corn was not fully thawed or drained, so it released water into the pan. It can also happen if the sauce was boiled hard for too long, since arrowroot breaks down and thins out at a rolling boil. Bring it to a boil briefly to activate, then drop straight to a simmer.
Yes. Make it a day ahead, refrigerate, and reheat gently on the stovetop with a splash of milk. Stir the parmesan in after reheating rather than before.
More Easy Side Dishes




If you enjoyed this recipe, please consider leaving a ⭐ star rating and let me know how it went in the 📝 comments below.

Easy Homemade Creamed Corn
Ingredients
- 1 Tablespoon unsalted butter
- 1 small yellow onion, chopped
- 2 cloves garlic, minced
- 1 16 oz bag frozen corn kernels, thawed
- ½ teaspoon salt, plus more to taste
- ¼ teaspoon freshly ground black pepper
- 1 ½ cups whole milk or dairy-free milk
- 1 Tablespoon arrowroot powder, cornstarch or all-purpose flour
- Freshly grated parmesan, optional
- Fresh parsley, for serving
Instructions
- Heat butter in a medium skillet over medium heat. Add onion and garlic and saute until fragrant, about 5-6 minutes.1 Tablespoon unsalted butter, 1 small yellow onion, 2 cloves garlic
- Add corn, salt and black pepper and cook until the corn softens, about 5 minutes.1 16 oz bag frozen corn kernels, ½ teaspoon salt, ¼ teaspoon freshly ground black pepper
- While the corn is cooking, whisk the milk and arrowroot powder or cornstarch together in a small bowl.1 ½ cups whole milk or dairy-free milk, 1 Tablespoon arrowroot powder
- Once the corn has softened add the milk mixture to the skillet. Bring to a boil then reduce the heat to a simmer and cook until the sauce thickens, about 3-5 minutes.
- This is optional, but if you want thicker/creamier corn you can puree some of the mixture with an immersion blender, until it reaches your desired consistency. Alternatively, you can take about 1 cup of the corn mixture and transfer it to a blender or food processor to blend. Then add the blended corn back to the skillet and stir everything together.
- Taste and add any additional salt or pepper if needed. You can also stir in ¼ cup freshly grated parmesan if you want to add some cheesiness to your corn. Serve warm.Freshly grated parmesan
Notes
- Make it dairy-free: Use a dairy-free milk and vegan butter.
- Storing: Store any leftover creamed corn in an airtight container in the fridge for up to 3-4 days. When reheating, gently warm it on the stovetop over low heat or in the microwave, adding a splash of milk if needed to bring back that creamy texture.
Nutrition
Nutrition information is automatically calculated, so should only be used as an approximation.

Like This Recipe? Rate & Comment Below!












My husband grew up eating canned creamed corn but can no longer have it because of the added sugar content. I tried this recipe as a homemade substitute and he loved it. This dish has always been one of his comfort foods – so happy he can enjoy it again. Thx for the easy recipe!
Oh yay! That makes me so happy to hear. I’m so glad this was husband-approved, especially since he grew up with the real deal. Thanks for making my recipe and for coming back to leave a review. I so appreciate it!