
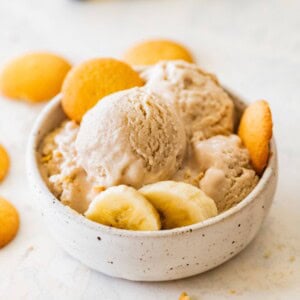
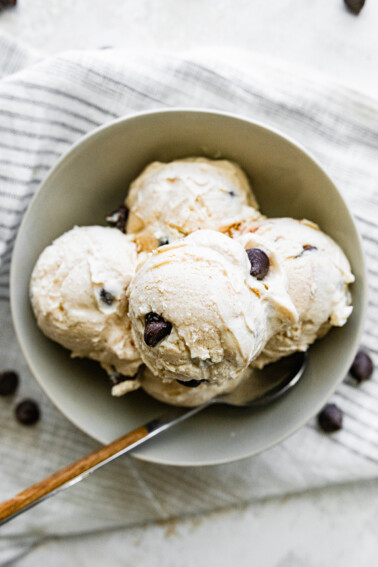
High-Protein Banana Pudding Ice Cream (Ninja Creami)
This post may include affiliate links. Thank you for your support.
This banana pudding ice cream is made with just 4 simple ingredients in your Ninja Creami, but tastes like the real deal. It’s creamy, refreshing, and packed with protein for an easy treat you’ll want on repeat.
With summer right around the corner, I knew it was time to pull out my Ninja Creami and test a new flavor.
I love my chocolate peanut butter protein ice cream, but lately I’ve been on a major banana kick between my caramelized banana yogurt bowl and cottage cheese banana pudding… so a banana pudding ice cream just had to happen.
Table of Contents

Why I Love This Banana Pudding Ice Cream
- Just 4 ingredients: This recipe is super simple and comes together with minimal effort.
- High-protein: About 17g protein per serving so it actually keeps you full.
- Creamy + refreshing: Thick, smooth, and perfect for warm summer days
- Tastes like the real deal: That classic banana pudding flavor with nostalgic vanilla wafer vibes.
If you love banana pudding, you also have to try my healthy banana pudding and peanut butter banana pudding. They’re both perfect summer desserts and great for serving a crowd.
Ingredients Needed
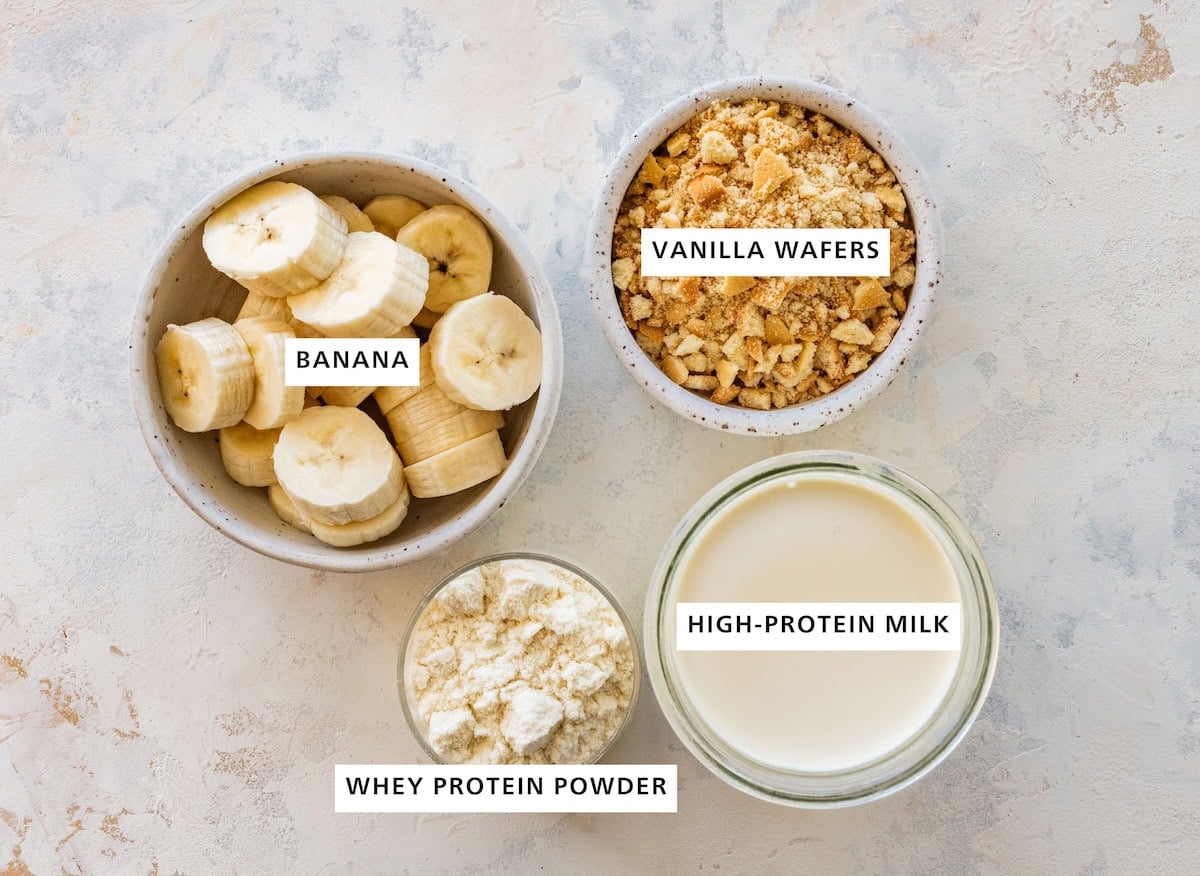
You only need 4 simple ingredients to make this creamy banana pudding ice cream in the Ninja Creami:
- banana – the riper, the better! This adds natural sweetness and that classic banana pudding flavor.
- vanilla protein powder – boosts the protein and adds sweetness. I used Clean Simple Eats vanilla whey protein powder (use the code EBF for 10% off), but feel free to use your favorite protein powder. I haven’t tested this with plant-based protein powder, so I’m not sure how it will turn out.
- milk of choice – helps everything blend smoothly. I used Organic Valley Protein Plus 2% milk for an extra protein boost, but any milk will work.
- vanilla wafers – for that nostalgic banana pudding flavor and a little texture. I like to crush and mix them in after spinning. Use a gluten-free option like Partake vanilla wafers if you need this recipe to be gluten-free.
How to Make Banana Pudding Ice Cream
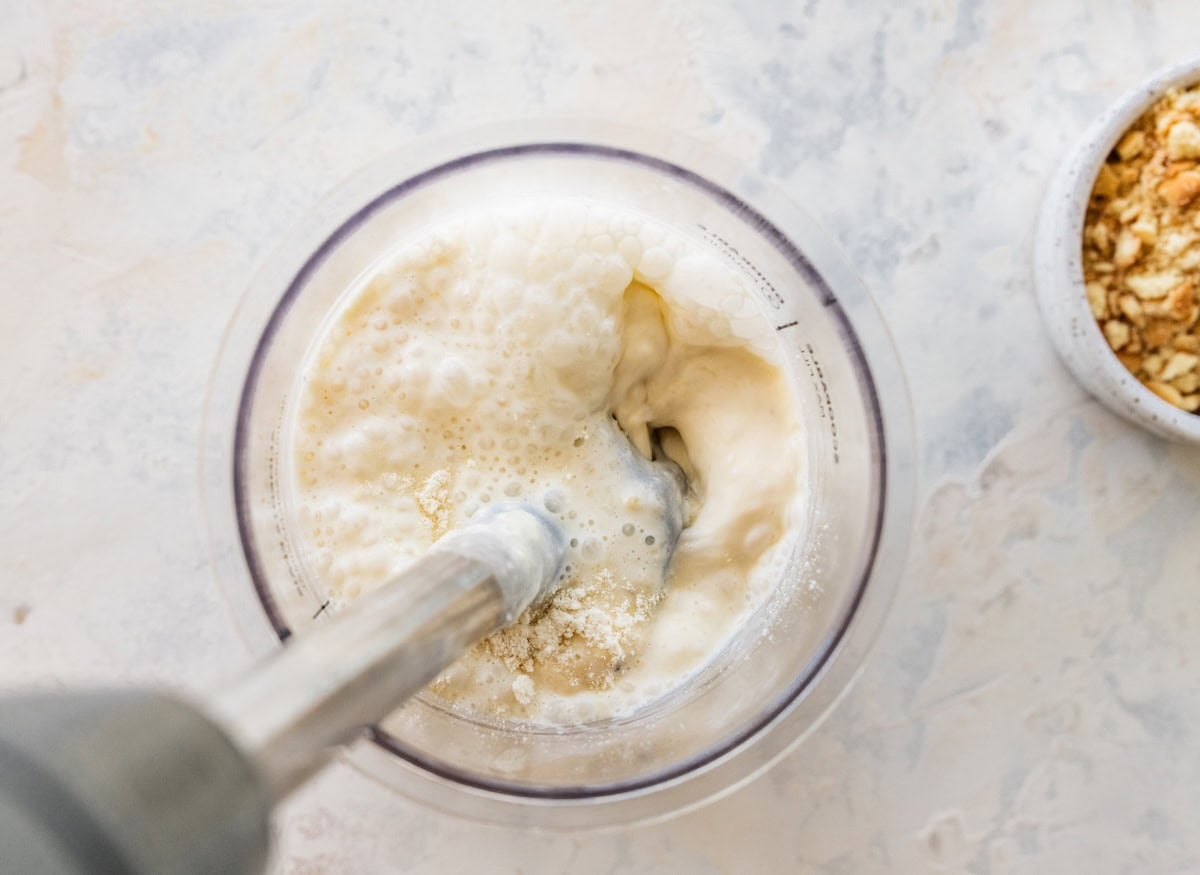
Step 1: Add the milk, banana and protein powder to a Ninja Creami pint. Use an immersion blender to blend until smooth, then freeze the pint for 8-24 hours, or until fully frozen.
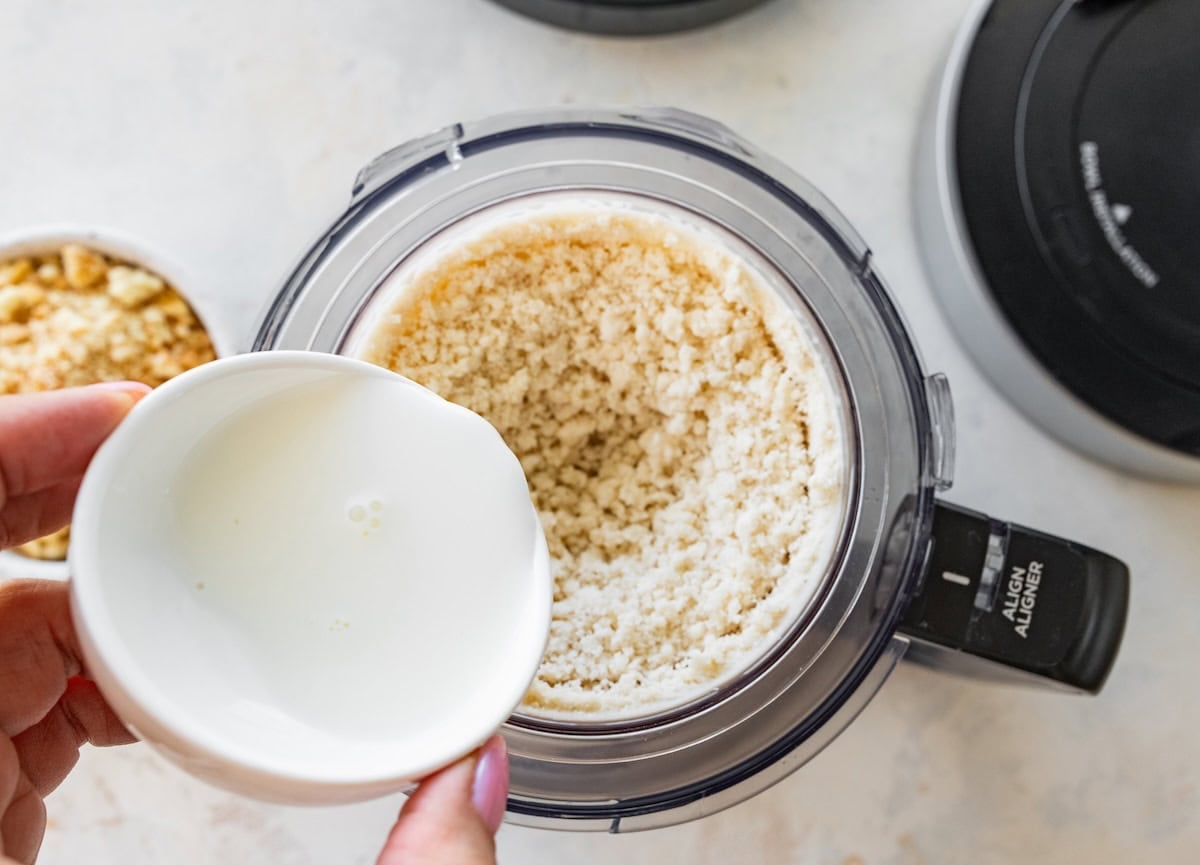
Step 2: Place the frozen pint in the Ninja Creami and run the Lite Ice Cream cycle. Add 1 tablespoon of milk, then run the Re-spin cycle until creamy.
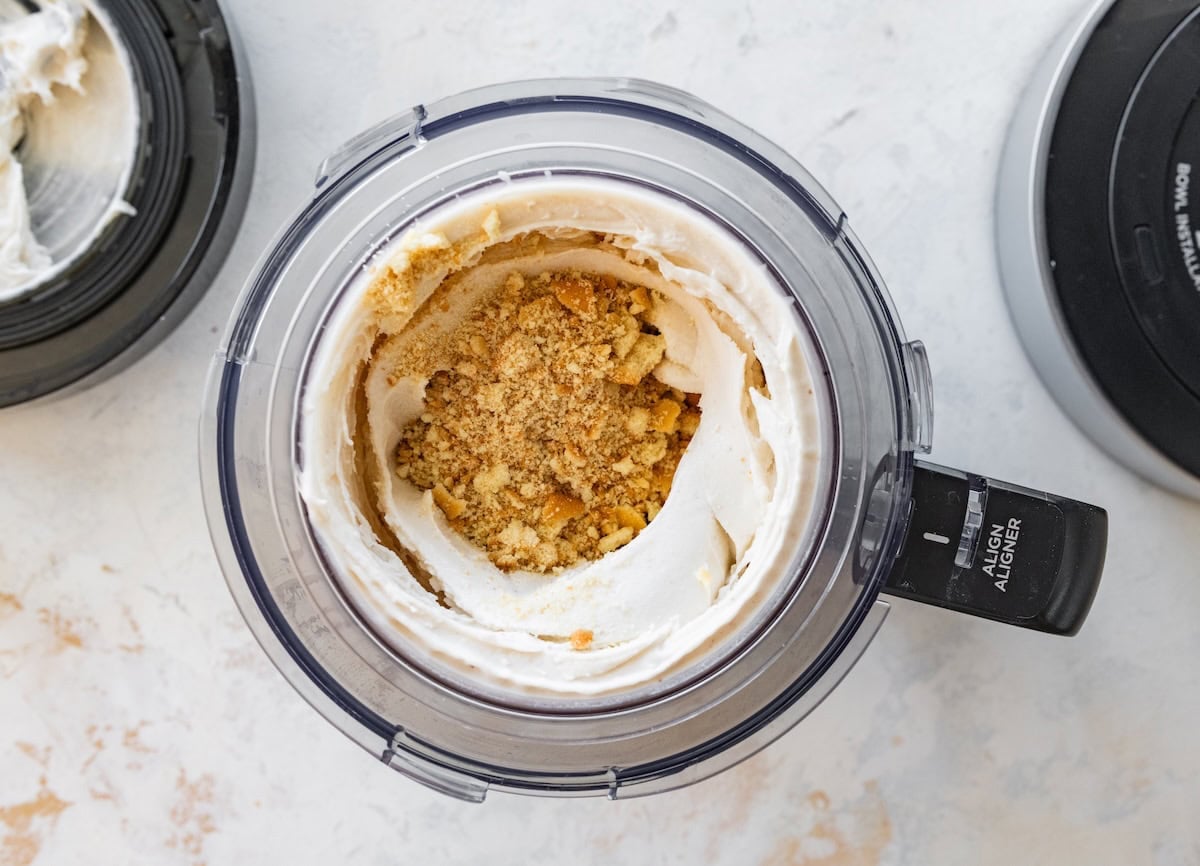
Step 3: Make a small well in the center, add the crushed vanilla wafers and run the Mix-In cycle. If the ice cream is still powdery, add another splash of milk and re-spin.
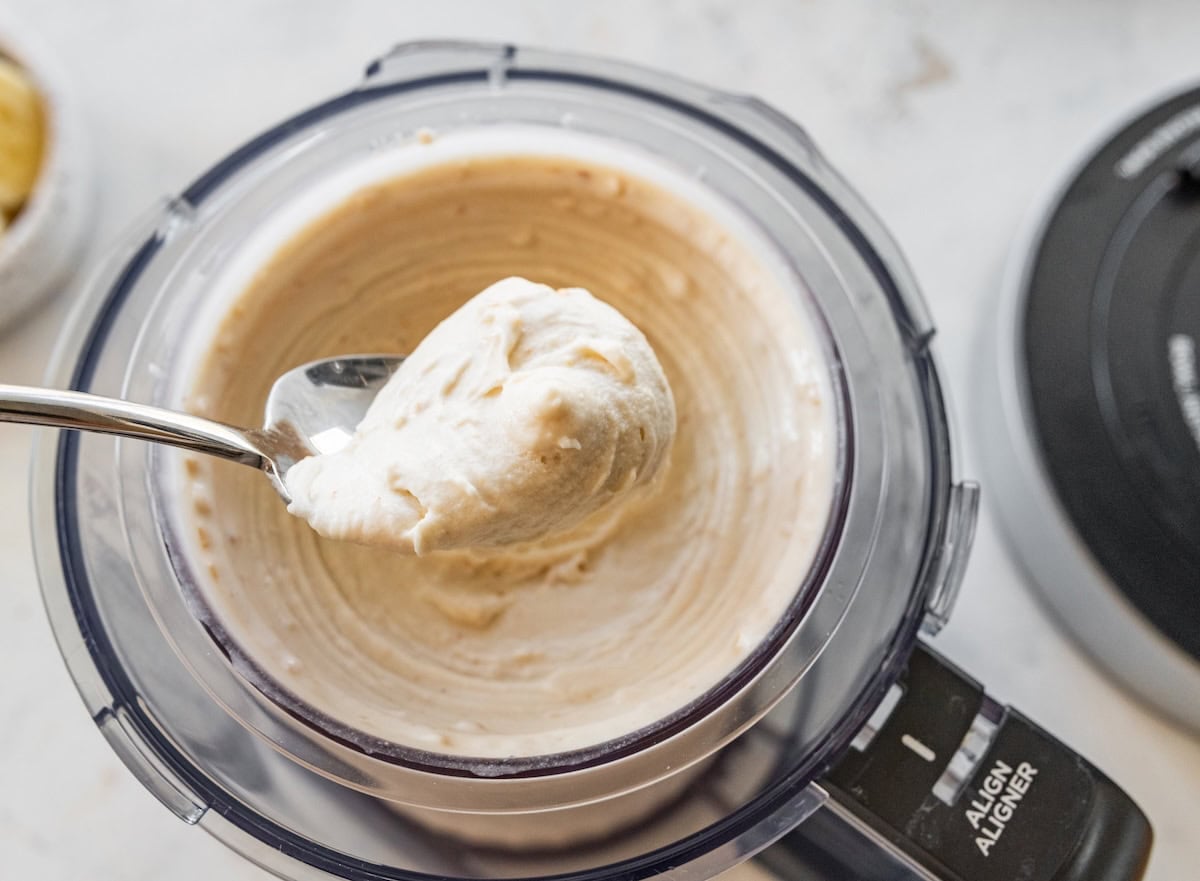
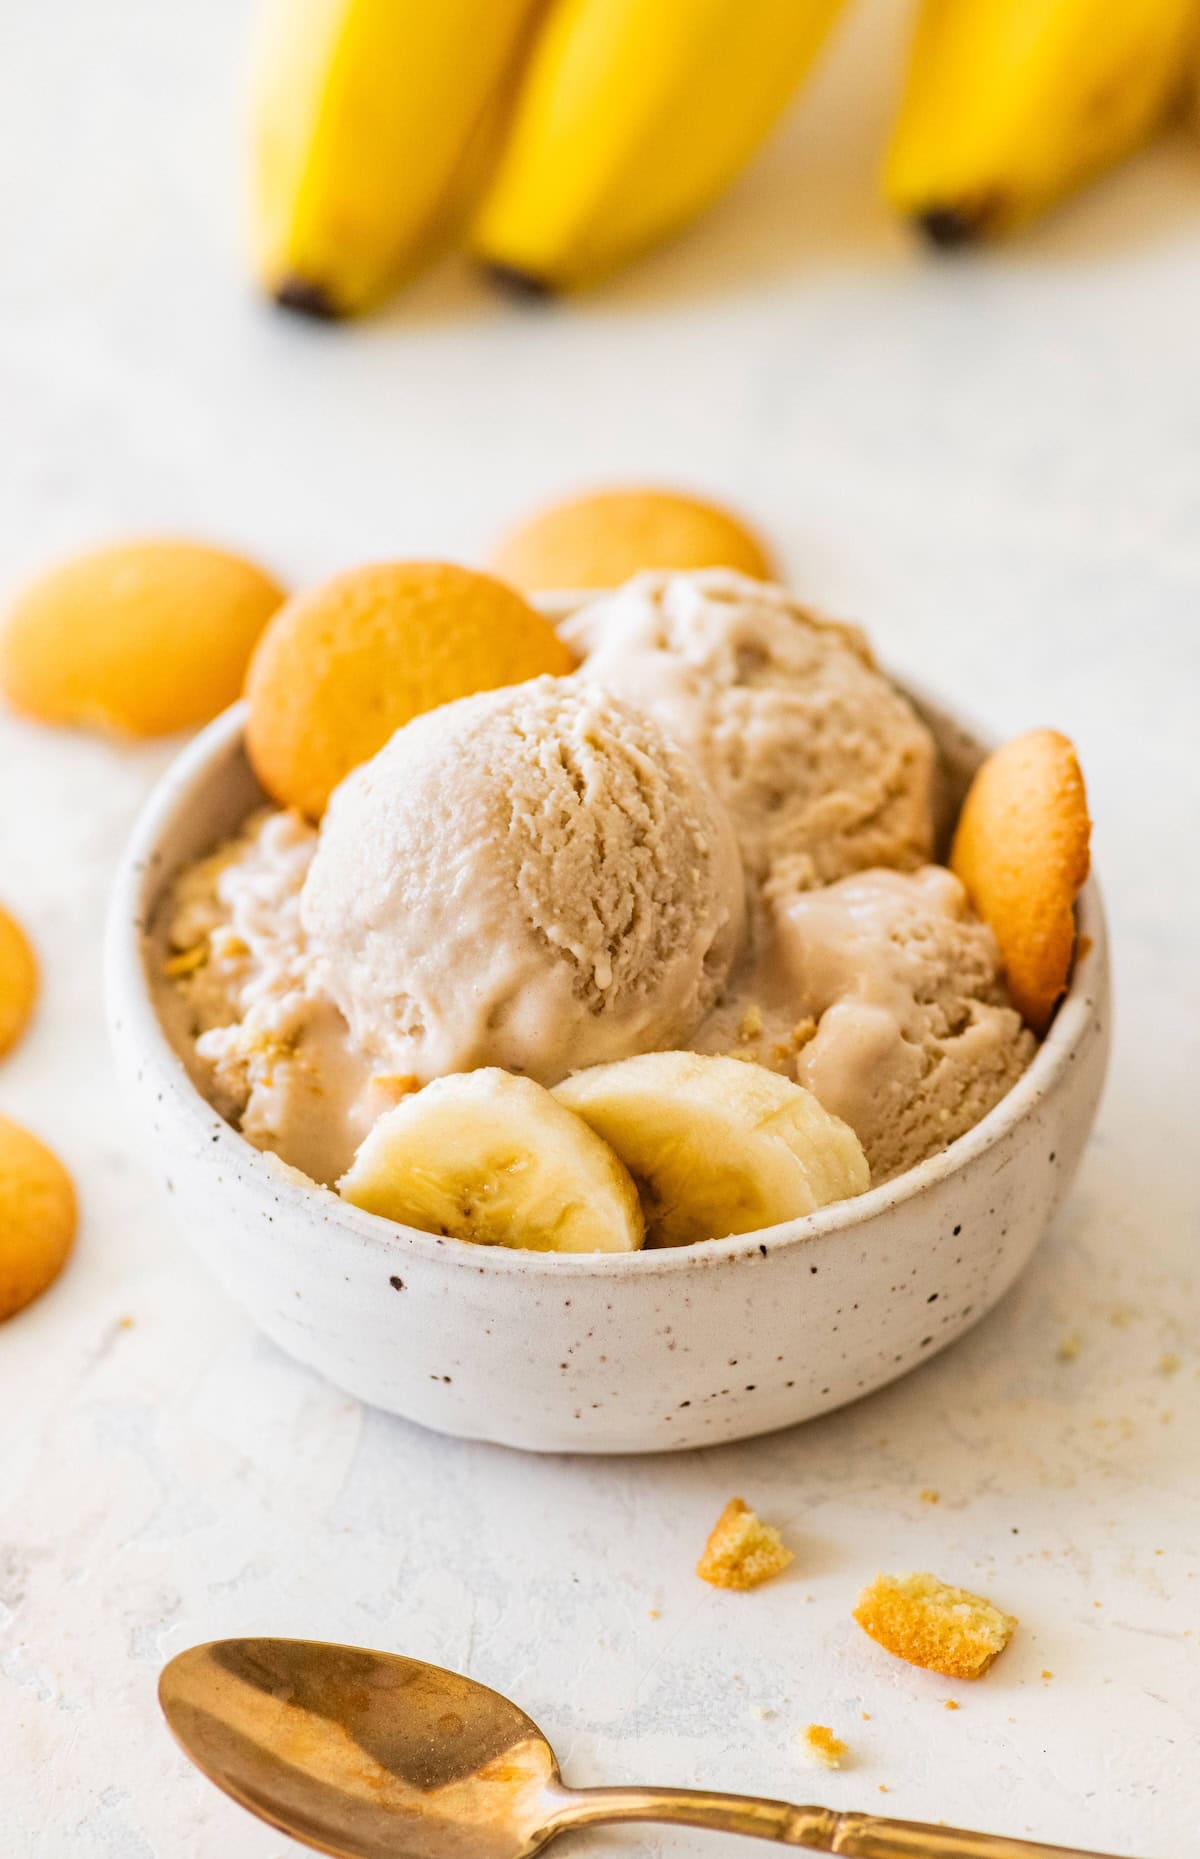
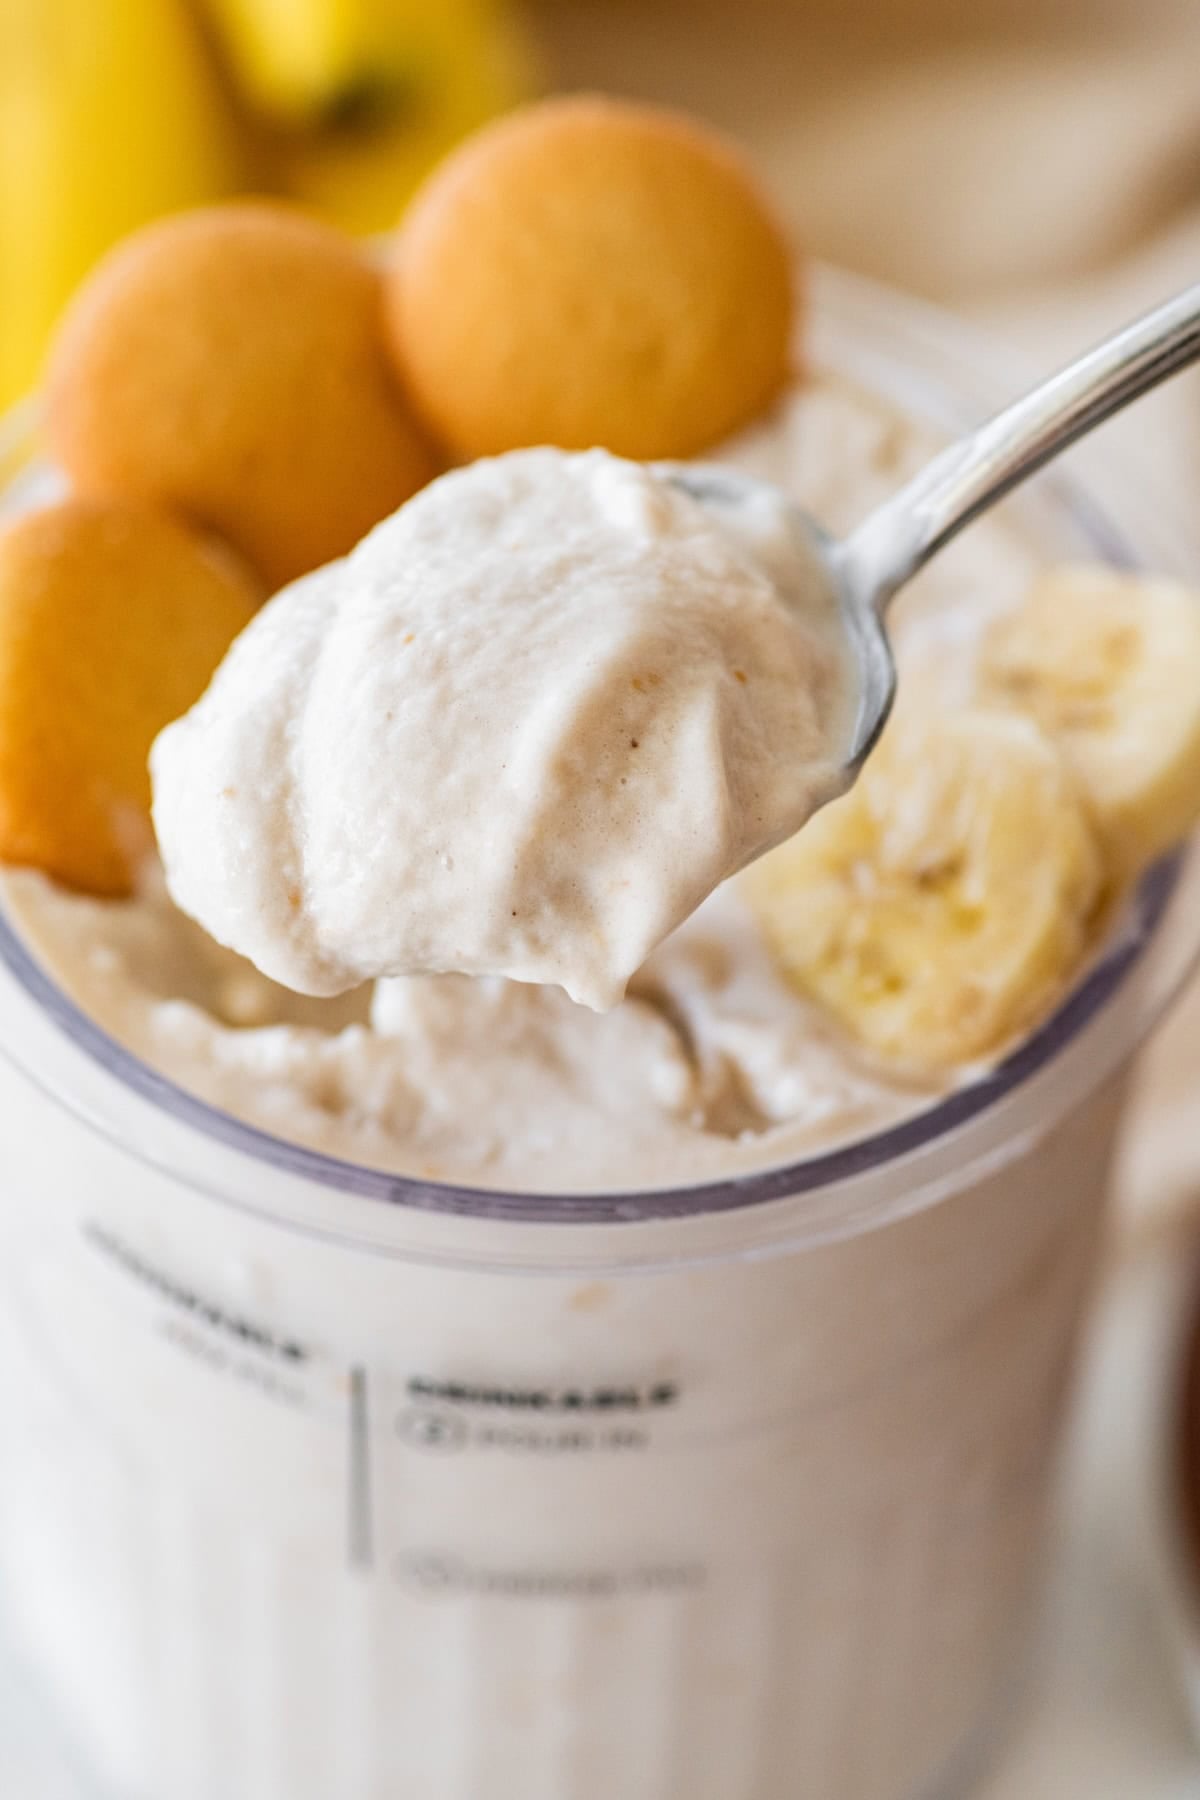
Step 4: Once the ice cream is thick and creamy, scoop it into bowls or cones and add any extra toppings you like, such as crushed wafers, banana slices or whipped topping.
Brittany’s Recipe Tips
- Use a ripe banana: The riper your banana, the sweeter and more flavorful your ice cream will be. Think lots of brown spots.
- Use a protein powder you love: The flavor really comes through here. I used a vanilla whey protein for the creamiest texture. I haven’t tested this with plant-based protein powder, so results may vary.
- Mix in the wafers last: Stir them in after spinning so they keep some texture and don’t get soggy.
- Adjust texture to your liking: Want it softer? Add a small splash of milk and re-spin. Prefer it thick and scoopable? Skip the extra liquid.
How to Store
This ice cream is best enjoyed right after spinning, but you can definitely save leftovers:
- Freezer: Store leftovers right in the Ninja Creami pint with the lid on. It will freeze solid again.
- Before serving again: Let it sit at room temp for about 5–10 minutes, then re-spin until creamy. You may need to add a small splash of milk to bring it back to life.
Frequently Asked Questions
Yes, this recipe is specifically designed for the Ninja Creami, so you won’t get the same texture with a regular ice cream maker. If you don’t have a Creami, you can try my one-ingredient banana ice cream or my high-protein ice cream for similar flavors without the machine.
This is totally normal for protein ice cream! Just run a re-spin cycle (or two) until it’s smooth and creamy.
I haven’t tested it without protein powder, and since it helps with both flavor and texture, I wouldn’t recommend skipping it.
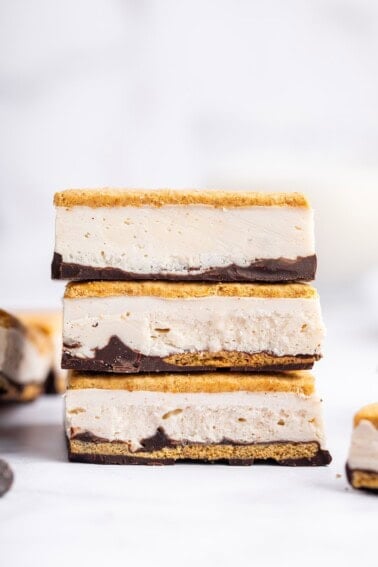
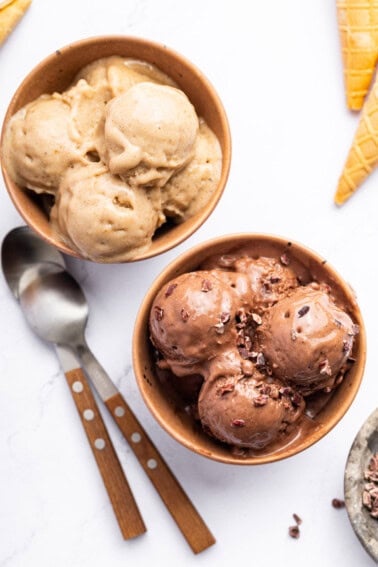
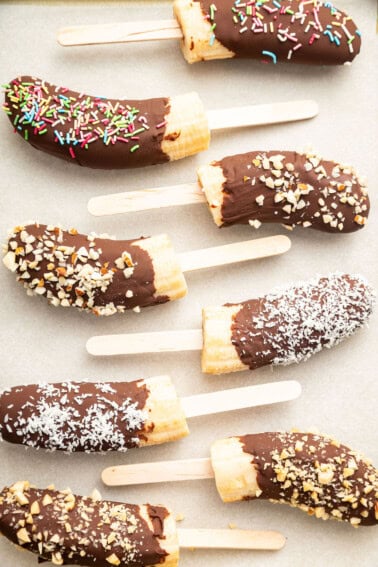
More Frozen Treats to Try
If you enjoyed this recipe, please consider leaving a ⭐ star rating and let me know how it went in the 📝 comments below.
Banana Pudding Ice Cream
Ingredients
- 1 cup high protein milk, I used Organic Valley Protein Plus Organic 2% milk
- 1 ripe banana
- 1 scoop whey vanilla protein powder, I used Clean Simple Eats
- 8 crushed vanilla wafers, I used gluten-free vanilla wafers
Instructions
- Add the high protein milk, ripe banana, and vanilla protein powder to an empty Ninja Creami pint. Use an immersion blender to combine until smooth (you can also use a regular blender for this). Freeze for 8–24 hours.1 cup high protein milk, 1 ripe banana, 1 scoop whey vanilla protein powder
- Place the pint onto the Creami machine and run the Lite Ice Cream cycle once. Remove from the machine and add 1 tablespoon of milk and run the re-spin cycle once.
- Remove from the machine, make a well in the center of the mixture, add vanilla wafers and place the pint back onto the Creami and run the Mix-In cycle. If the mixture is still powdery or not as creamy as you’d like, add another tablespoon of milk and run the Re-Spin cycle again.8 crushed vanilla wafers
- Once the ice cream reaches your desired consistency, portion into bowls (or enjoy straight from the pint!), add any extra toppings you like (extra crushed wafers, banana slices and/or whipped topping) and enjoy.
Notes
- Storage: This ice cream is best enjoyed right after spinning, but leftovers can be stored in the Ninja Creami pint with the lid on. It will freeze solid again, so let it sit at room temperature for 5–10 minutes before re-spinning. Add a small splash of milk if needed to get it creamy again.
Nutrition
Nutrition information is automatically calculated, so should only be used as an approximation.
Equipment
Like This Recipe? Rate & Comment Below!


this ninja creami is to die for!! I literally want to have it every single night🤤 killed it with this one!!
I love banana pudding, so I had to try this one. The banana flavor is so good and the vanilla wafers mixed in at the end make it taste like the real thing. So creamy and such a fun Ninja Creami recipe!!
Yay! So glad you enjoyed this recipe, Kayla. Thanks for coming back to leave a review. I really appreciate it!