
Lactation Cookies

This post may include affiliate links. Thank you for your support.
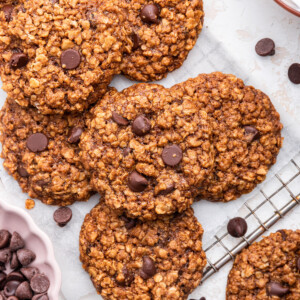
Add as Google Trusted SourceThese lactation cookies are soft, chewy and packed with oats, flaxseed, brewer’s yeast and chocolate chips. An easy snack for nursing mamas, they’re vegan and freezer-friendly, making them perfect for postpartum meal prep!
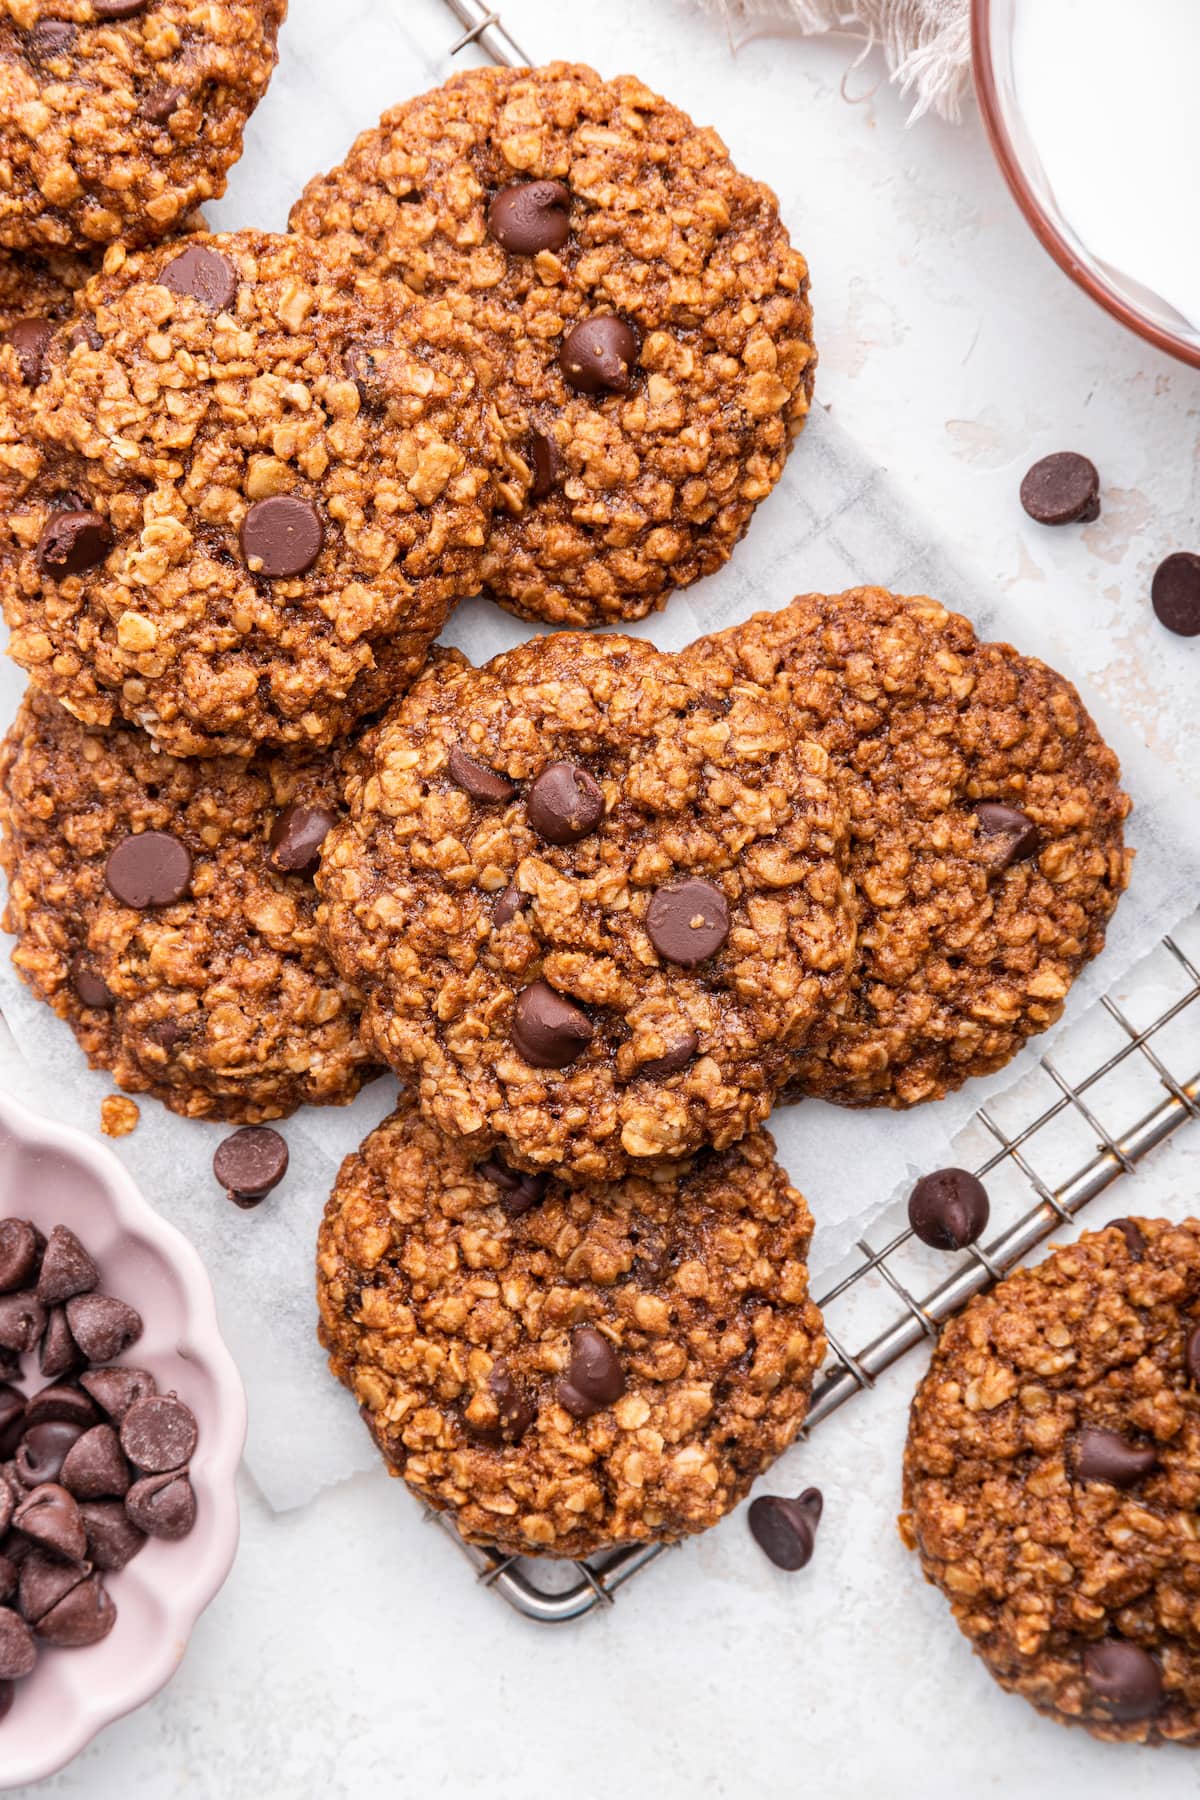
Before I was even pregnant, I remember looking up lactation cookies recipes to make for friends and I had a really hard time finding any that were actually healthy and not loaded with sugar and white flour. So I decided to created my own recipe, which is what I’m sharing with you today!
Knowing that some breastfeeding mamas are looking for dairy-free and soy-free recipes, I wanted these cookies to fit those needs while also being vegan, gluten-free and delicious! I tested several batches to get that soft, chewy texture just right.
Lucky for me, this meant that I had plenty on hand to freeze as part of my pre-baby meal prep. I also had Isaac taste-test them just to be sure the flavor was good and he LOVED them too!
Spoiler alert: it is fine for men to eat these cookies… they won’t start lactating. But feel free to tell your hubby that they will make him lactate if you want to keep all the cookies for yourself. 😉 It can be our little secret.
Table of Contents
- What Are Lactation Cookies?
- Why I Love These Lactation Cookies
- Ingredients Needed
- Ingredient Substitutions
- How to Make Lactation Cookies
- Tips for the Best Lactation Cookies
- How to Store Lactation Cookies
- Can I Make Lactation Cookies in Advance?
- Frequently Asked Questions
- More Recipes to Help with Milk Supply
- Lactation Cookies Recipe
What Are Lactation Cookies?
Lactation cookies are cookies made with ingredients like oats, brewer’s yeast and flaxseed that are traditionally used to support milk production. These ingredients are often called natural galactagogues, substances thought to promote milk production, although evidence that lactation cookies increase supply is limited. My version is a soft, chewy oatmeal chocolate chip cookie that’s easy to keep on hand for a breastfeeding snack.
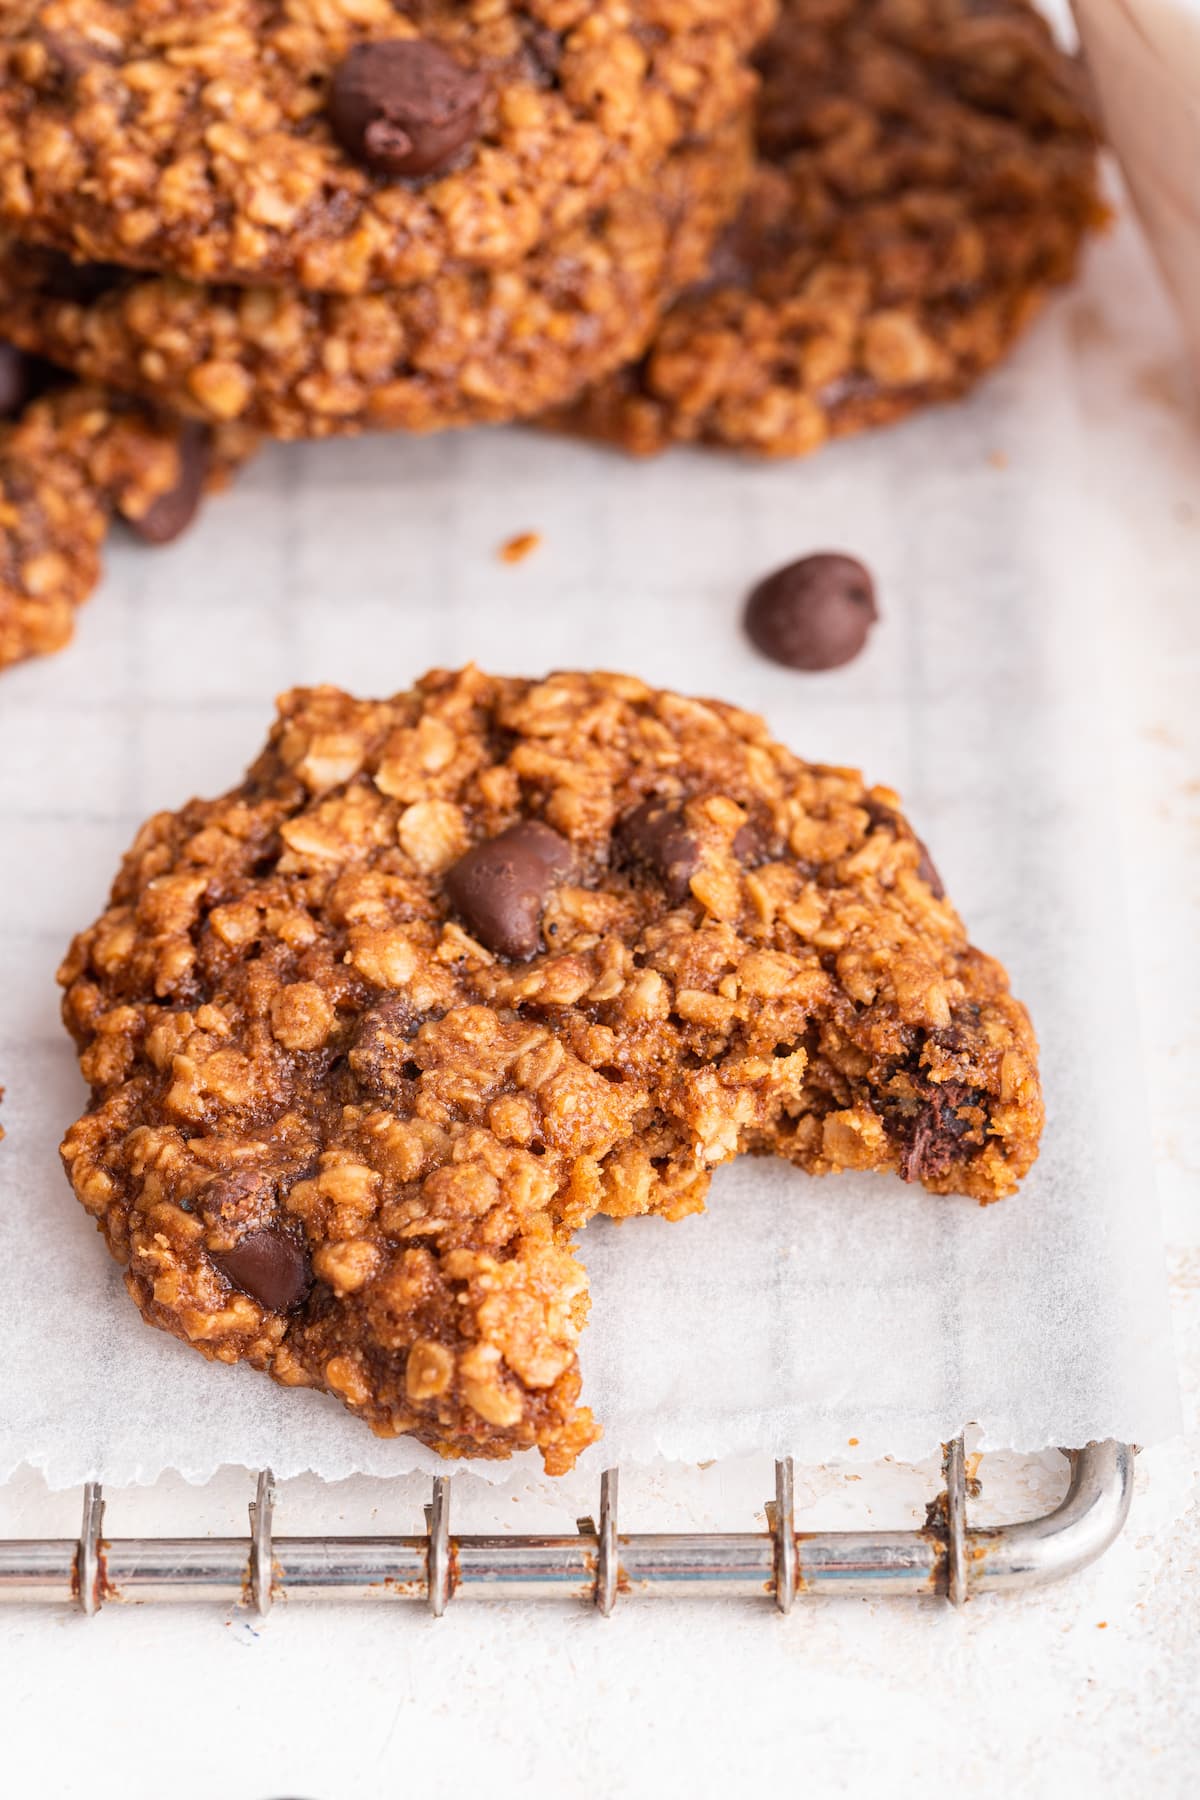
“I never leave reviews, it’s very very rare that I do. But I had to come and leave a review for these cookies! They were soooo delicious I had to stop myself from eating the whole batch! I ate about 3 a day and definitely notified that I pumped about an 1-2 more oz per pump session…I definitely think the cookies helped though. The cookies are so yummy and chewy, the brewers yeast isn’t even detectable.”
Why I Love These Lactation Cookies

- Soft and chewy: With chocolate chips in every bite, these taste like a cookie you’ll actually look forward to eating!
- Made with simple ingredients: Oats, oat flour and ground flaxseed form the base, with coconut sugar for sweetness.
- Easy to fit your dietary needs: These cookies are vegan, with gluten-free, dairy-free and soy-free options when you choose appropriately labeled ingredients.
- Perfect for meal prep: Make a batch for pre-baby meal prep and freeze them for an easy snack during busy postpartum days.
Ingredients Needed
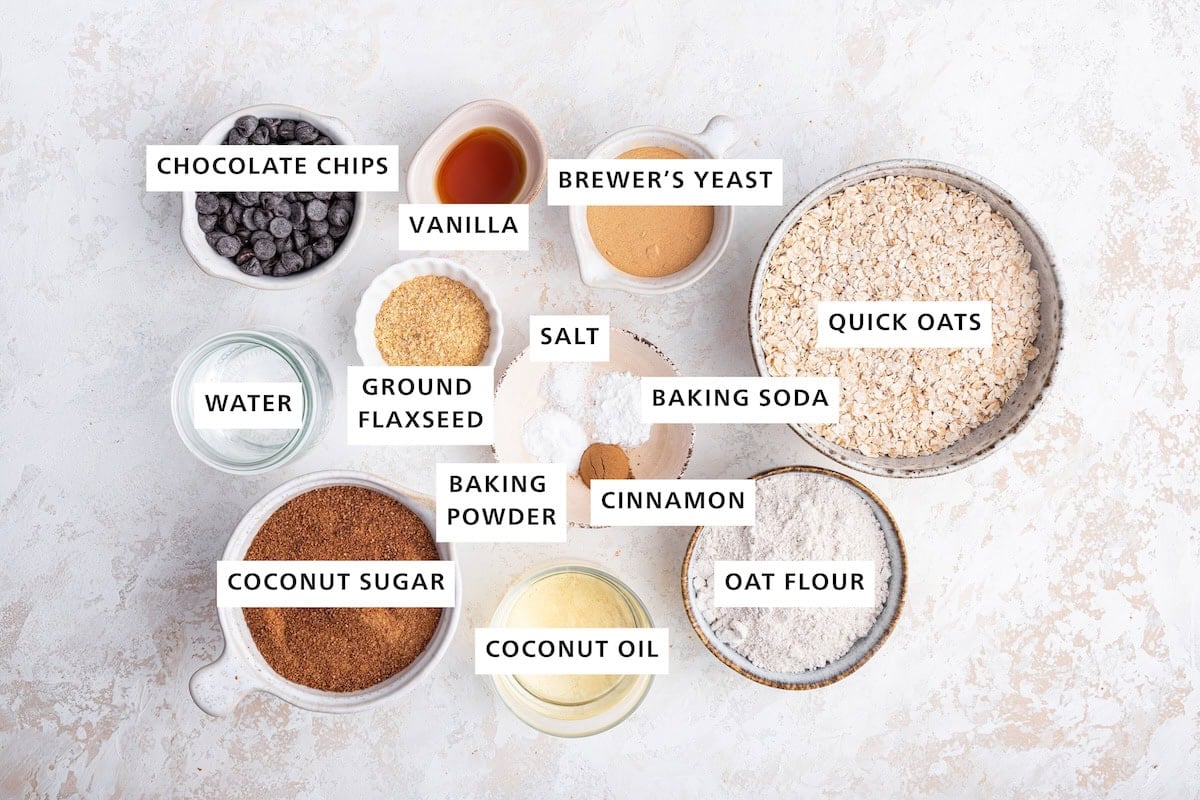
- quick cooking oats – their smaller pieces give these cookies a soft texture. Choose certified gluten-free oats if needed.
- oat flour – forms the flour base of these cookies. Use store-bought or homemade oat flour, made with certified gluten-free oats if needed.
- brewer’s yeast – a common ingredient in lactation cookies that can taste slightly bitter. Use brewer’s yeast powder, not active dry or instant baking yeast. My favorite brand is Anthony’s Brewer’s Yeast. For gluten-free cookies, choose a product specifically labeled gluten-free. Check with your doctor before using it if you take medications, since brewer’s yeast can interact with some medications.
- coconut oil – helps to keep these cookies moist.
- coconut sugar – sweetens the cookies and adds a subtle caramel-like flavor that pairs perfectly with the oats and chocolate chips.
- ground flaxseed meal – mixes with water to make flax eggs, which help bind the dough together without eggs. Use ground flaxseed rather than whole seeds.
- chocolate chips – I love the addition of chocolate chips in these cookies! I recommend Enjoy Life dark chocolate chips which are allergen-friendly or Lily’s chocolate chips because they are low in sugar and calories.
Find the full ingredient list with measurements in the recipe card below.
Ingredient Substitutions
- Quick oats: Use rolled oats as-is for chewier cookies, or pulse them in a food processor until they resemble quick oats.
- Oat flour: Readers have had success with all-purpose flour, but I haven’t tested this swap.
- Flaxseed: Use chia eggs instead, or replace the flaxseed and water with 2 large eggs if you don’t need vegan cookies.
- Coconut sugar: Cane sugar or brown sugar should work well.
- Coconut oil: Use an equal amount of avocado oil, mild olive oil or melted vegan or regular butter.
- Chocolate chips: Omit or swap for dried cranberries, raisins or chopped nuts.
How to Make Lactation Cookies
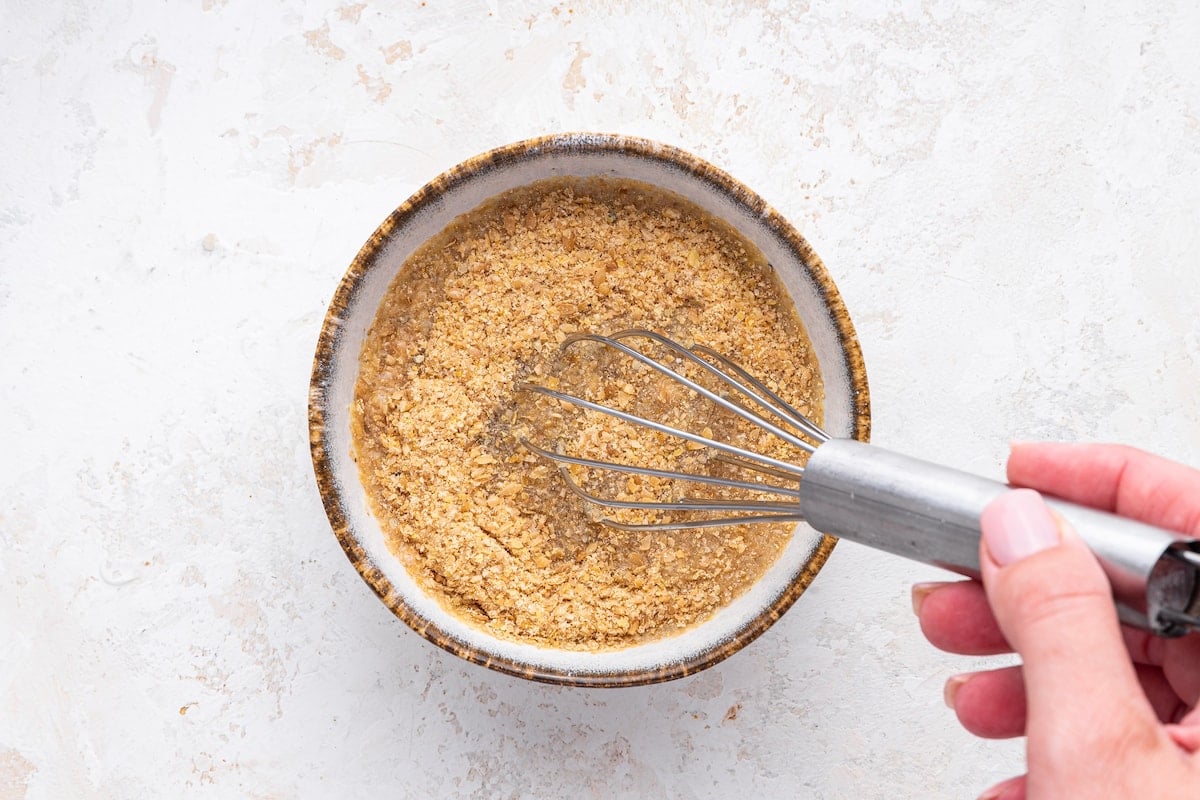
Step 1: Start by whisking together your ground flaxseed and water in a small bowl to make your flax eggs. Set aside to let the flax eggs gel up for about 5 minutes.
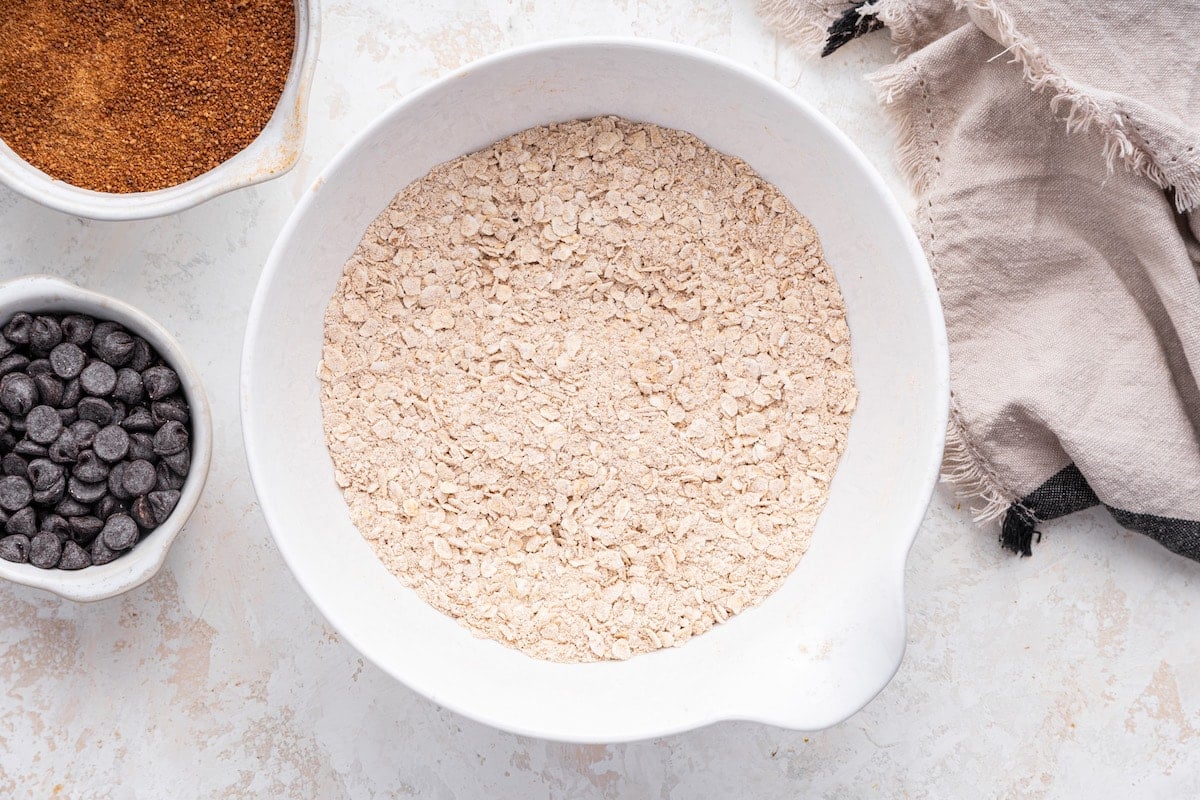
Step 2: In a medium bowl add your quick oats, oat flour, brewer’s yeast, baking soda, baking powder, cinnamon and salt. Stir together to combine.
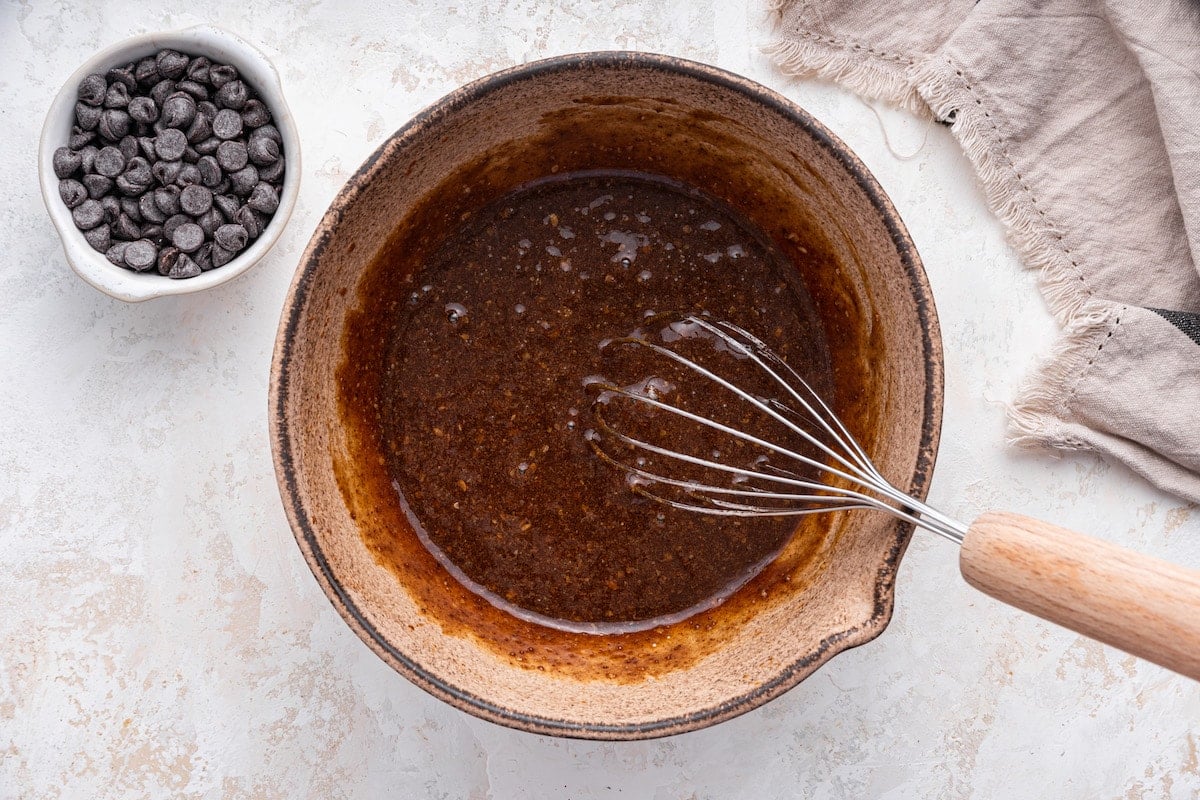
Step 3: In a separate large bowl, whisk together the wet ingredients: oil, sugar, flaxseed eggs and vanilla extract until smooth.
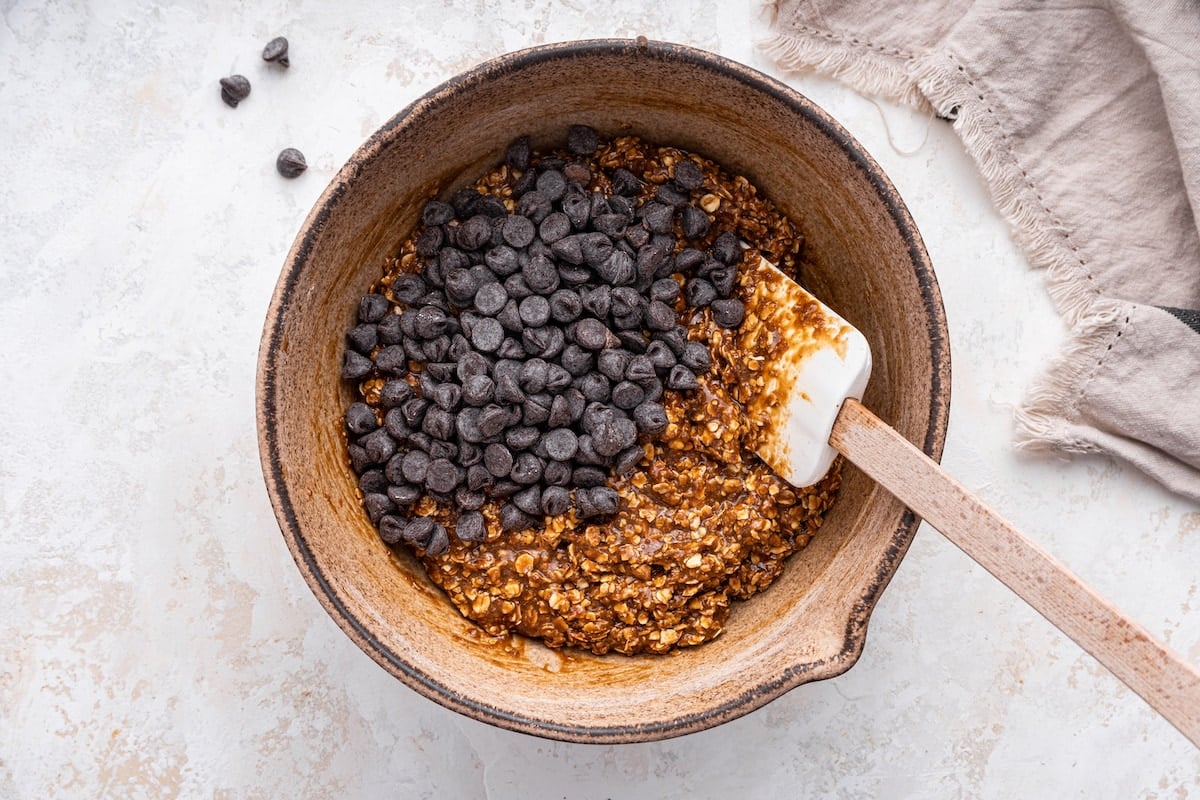
Step 4: Add the dry ingredients to the wet ingredients and stir until just combined. Gently stir in the chocolate chips.
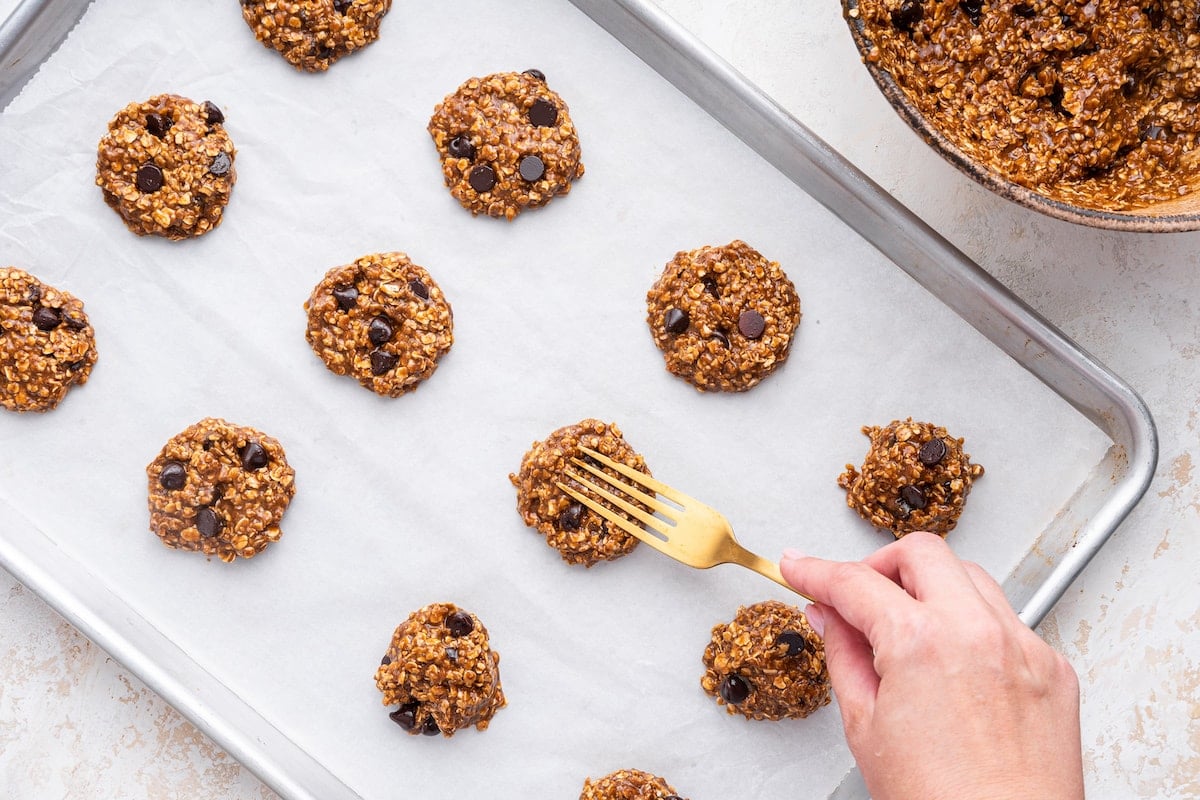
Step 5: Take about a tablespoon of dough and round into a cookie, placing about two inches apart on a prepared baking sheet. Press each cookie down with a fork a bit to make more of a cookie shape.
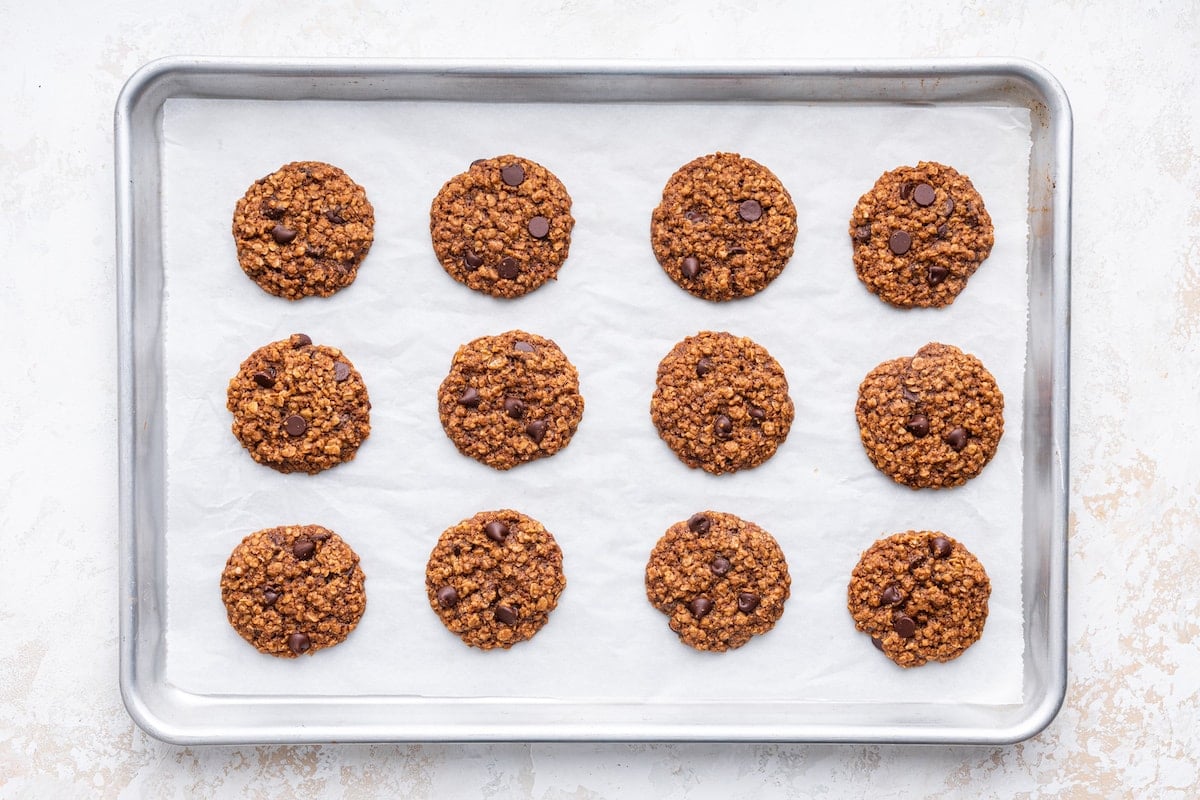
Step 6: Bake at 350°F for 10 minutes or until edges are golden brown.
Tips for the Best Lactation Cookies
- Measure the oat flour carefully: Spoon it into your measuring cup and level it off rather than scooping directly from the bag. Too much flour can make the cookies dry.
- Let the flax eggs thicken: Give the flaxseed and water about 5 minutes to gel before mixing them with the other wet ingredients.
- Flatten before baking: Gently press each dough ball down with a fork to help give the cookies their shape.
- Don’t over-bake: The cookies may seem a little soft when you take them out from the oven, but don’t over bake or they’ll get too crisp. They will continue to set as they cool..
- Let them set on the baking sheet: Wait about 5 minutes before transferring them to a wire rack so they don’t fall apart.
How to Store Lactation Cookies
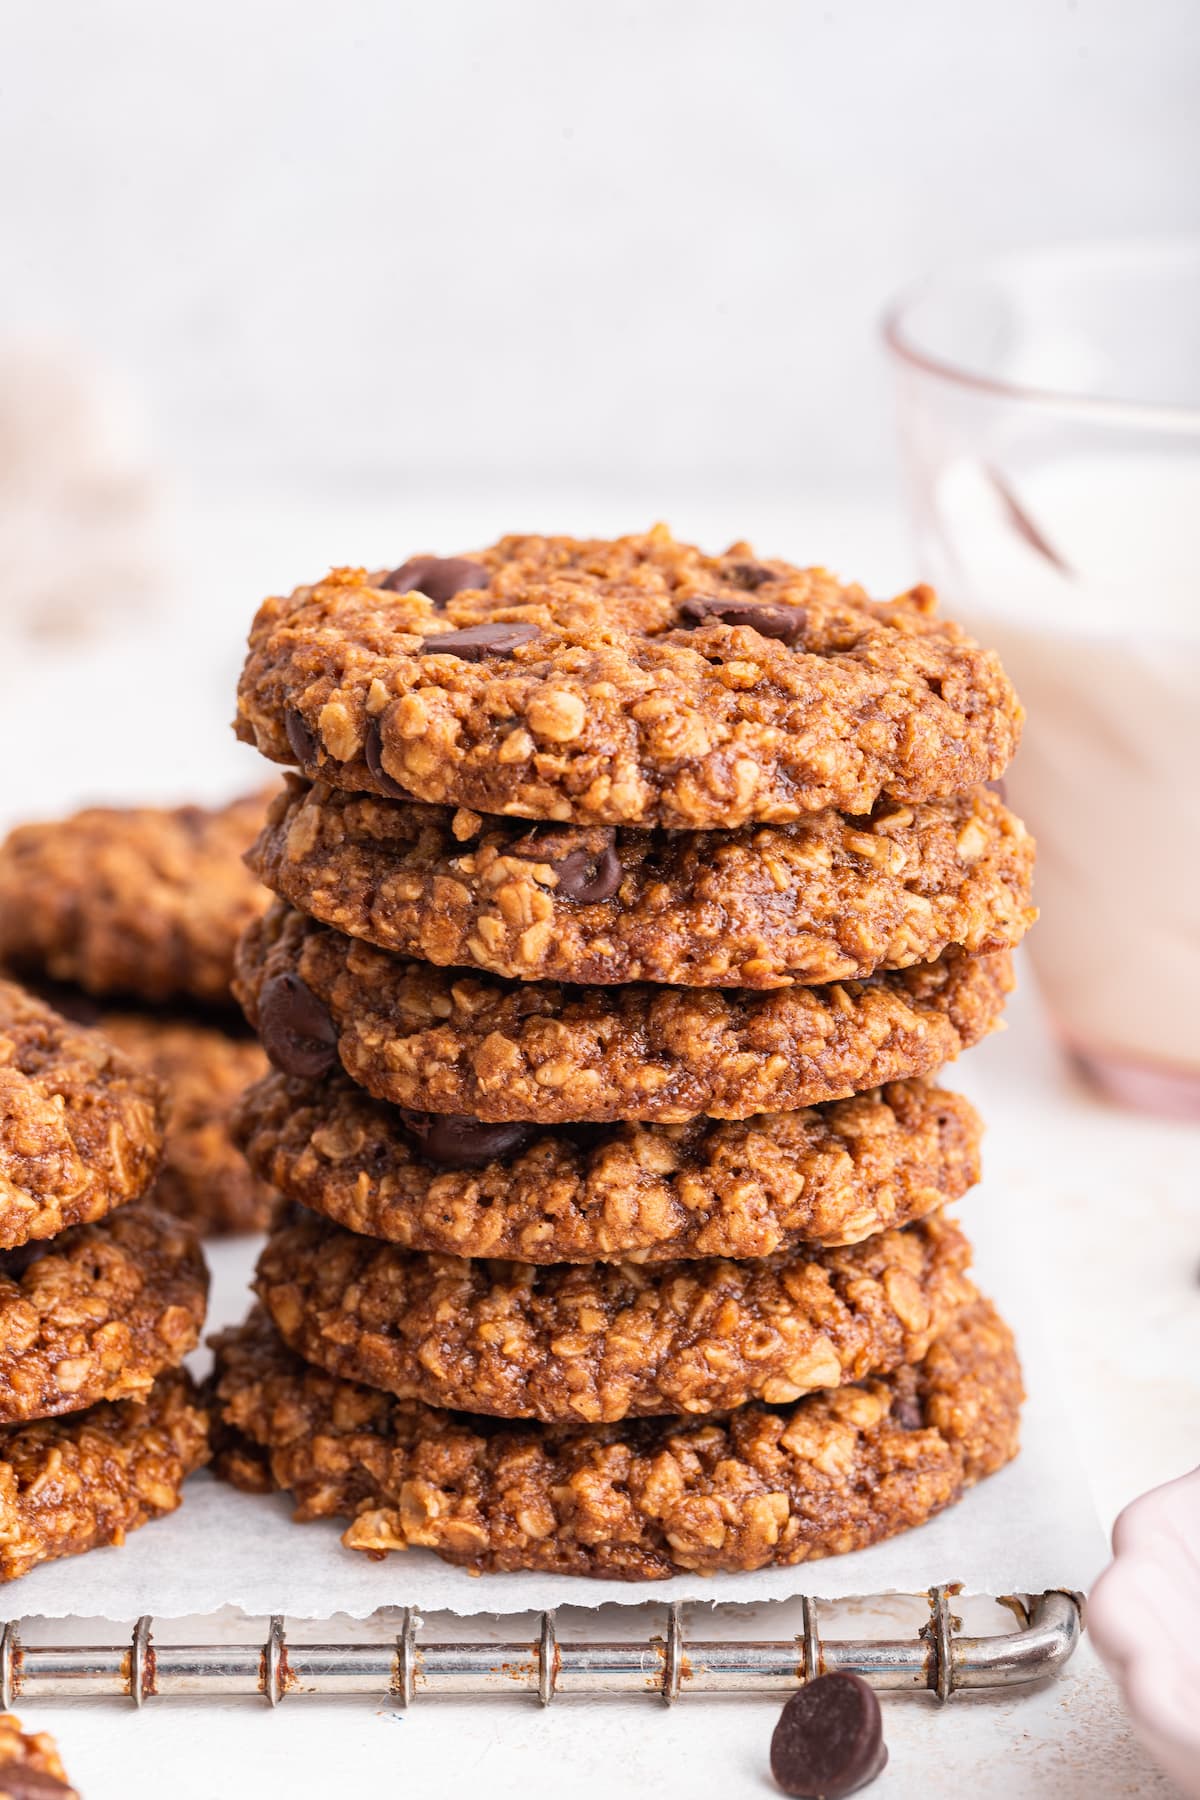
Store these cookies in an airtight container at room temperature for 2-3 days, in the fridge for up to 10 days or in the freezer for up to 3 months.
Can I Make Lactation Cookies in Advance?
Yes! These cookies are perfect for pre-baby meal prep. I recommend baking them before freezing so you have a ready-to-eat snack during those busy postpartum days.
Let the cookies cool completely, then transfer them to a freezer-safe bag or container, placing parchment paper between layers to prevent sticking. Freeze for up to 3 months.
To enjoy, take out as many cookies as you need and thaw at room temperature until softened. For a warm cookie, microwave in short 10-second intervals until warmed through.
I made several batches while testing this recipe and stocked my freezer before Olivia arrived. They were one of my favorite easy snacks while I was pumping every few hours during her hospital stay.
Frequently Asked Questions
Brewer’s yeast is a traditional ingredient in lactation cookies. If you’d like to leave it out, you could try replacing it with 3 tablespoons of oat flour, but I haven’t tested this swap, so the texture may differ.
Scientific evidence that lactation cookies increase milk supply is limited. Personally, I noticed a boost while eating them, but I was also staying hydrated and eating nutritious meals, so I can’t say the cookies were responsible. Either way, they were a delicious, easy snack to have on hand while breastfeeding!
There’s no established daily amount for increasing milk supply. Enjoy these as a snack based on your appetite, rather than aiming for a specific number to get results.
No! As I mentioned above, Isaac tested these cookies when I first made them and I know many moms who have made these and said their kids ended up loving them!
More Recipes to Help with Milk Supply
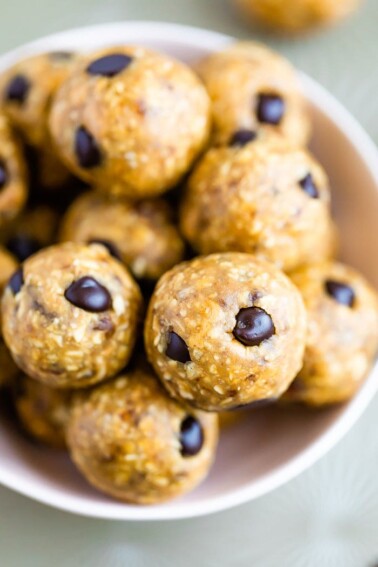
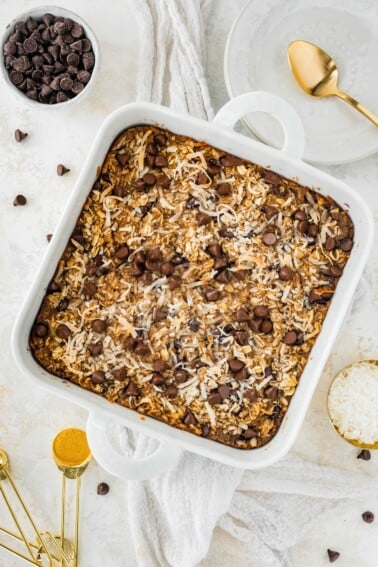
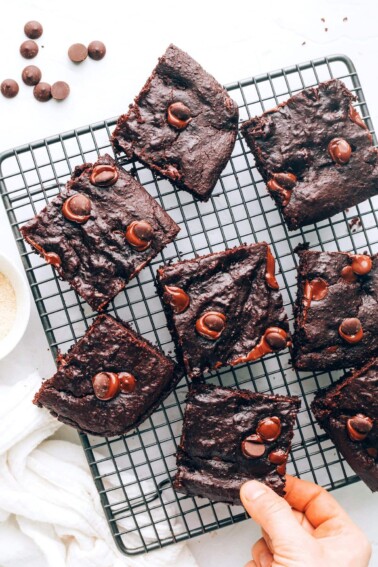
Be sure to check out my full list of the best breastfeeding snacks and all of my healthy snack recipes!
If you enjoyed this recipe, please consider leaving a ⭐ star rating and let me know how it went in the 📝 comments below.
Lactation Cookies
Ingredients
- 2 Tablespoons ground flaxseed
- ⅓ cup water
- 2 ¼ cups quick cooking oats, certified gluten-free if needed
- ¾ cup oat flour, certified gluten-free if needed
- 3 Tablespoons brewer's yeast, labeled gluten-free if needed
- ½ teaspoon baking soda
- ½ teaspoon baking powder
- ½ teaspoon cinnamon
- ¼ teaspoon sea salt
- ½ cup melted coconut oil
- 1 cup coconut sugar, brown sugar works as well
- 1 teaspoon vanilla
- ½ cup chocolate chips, dairy-free, if needed
Instructions
- Preheat oven to 350°F and spray two baking sheets with cooking spray or line with parchment or Silpat and set aside.
- Make flax eggs by whisking together ground flaxseed with water. Set aside.
- In a medium bowl, mix together oats, oat flour, brewer's yeast, baking soda, baking powder, cinnamon and salt. Set aside.
- In a large mixing bowl mix together oil, sugar, flaxseed eggs and vanilla until smooth.
- Add dry ingredients into the bowl with the wet ingredients and stir until just combined.
- Gently stir in chocolate chips.
- Using a spoon or cookie scoop, drop cookie dough by rounded tablespoonfuls about 2 inches apart on baking sheets. Press each cookie down with a fork a bit.
- Bake for 10 minutes, or until golden brown. The cookies may seem a little soft, but do not over bake or they’ll get too crisp. Remove from oven and let cool on sheet for about 5 minutes or until they start to harden up a bit. At this point you can transfer the cookies to a wire rack to cool completely.
- Store cookies in an airtight container in the fridge for up to 10 days or in the freezer for up to 3 months.
Video
Notes
- Gluten-free: Use certified gluten-free oats and oat flour, plus brewer’s yeast specifically labeled gluten-free.
- Flaxseed: You can substitute 2 large eggs for the flaxseed and water if you don’t need the cookies to be vegan.
- Quick oats: Pulse rolled oats in a food processor until they resemble quick oats, about 30 seconds.
- Storage: Let cookies cool completely, then store in an airtight container at room temperature for 2–3 days or in the refrigerator for up to 10 days.
- Freezing: Freeze baked, cooled cookies in a freezer-safe bag or container for up to 3 months, with parchment between layers. Thaw at room temperature or microwave in 10-second intervals until warmed through.
Nutrition
Nutrition information is automatically calculated, so should only be used as an approximation.
Equipment

Like This Recipe? Rate & Comment Below!









About to make a few batches at 35 weeks pregnant to have ready for postpartum!! Would you recommend freezing the dough before baking or after you bake?
First off, congratulations, Shea!! I’d personally recommend baking the cookies first and then freezing them. That way you can just grab and reheat as needed during those busy postpartum days. Hope you love them!
I love these cookies! I’ve been making vegan and non-vegan versions of this recipe for my postpartum friends (and myself) for years now. We all agree they are delicious and I usually get asked for the recipe!
So glad you love these, Evelyn! I’m happy to hear they’ve been helpful for so many of your friends too. Thanks so much for making the recipe and for sharing it with others.