Easy Hibachi Chicken
This post may include affiliate links. Thank you for your support.
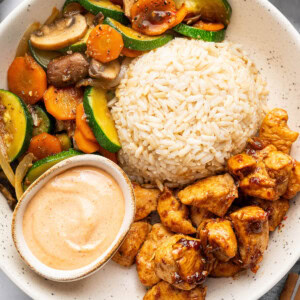
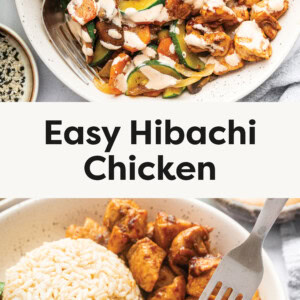
Make hibachi chicken at home with tender chicken, sautéed vegetables, and a creamy yum yum sauce. This easy, flavor-packed meal comes together quickly for a delicious weeknight dinner!
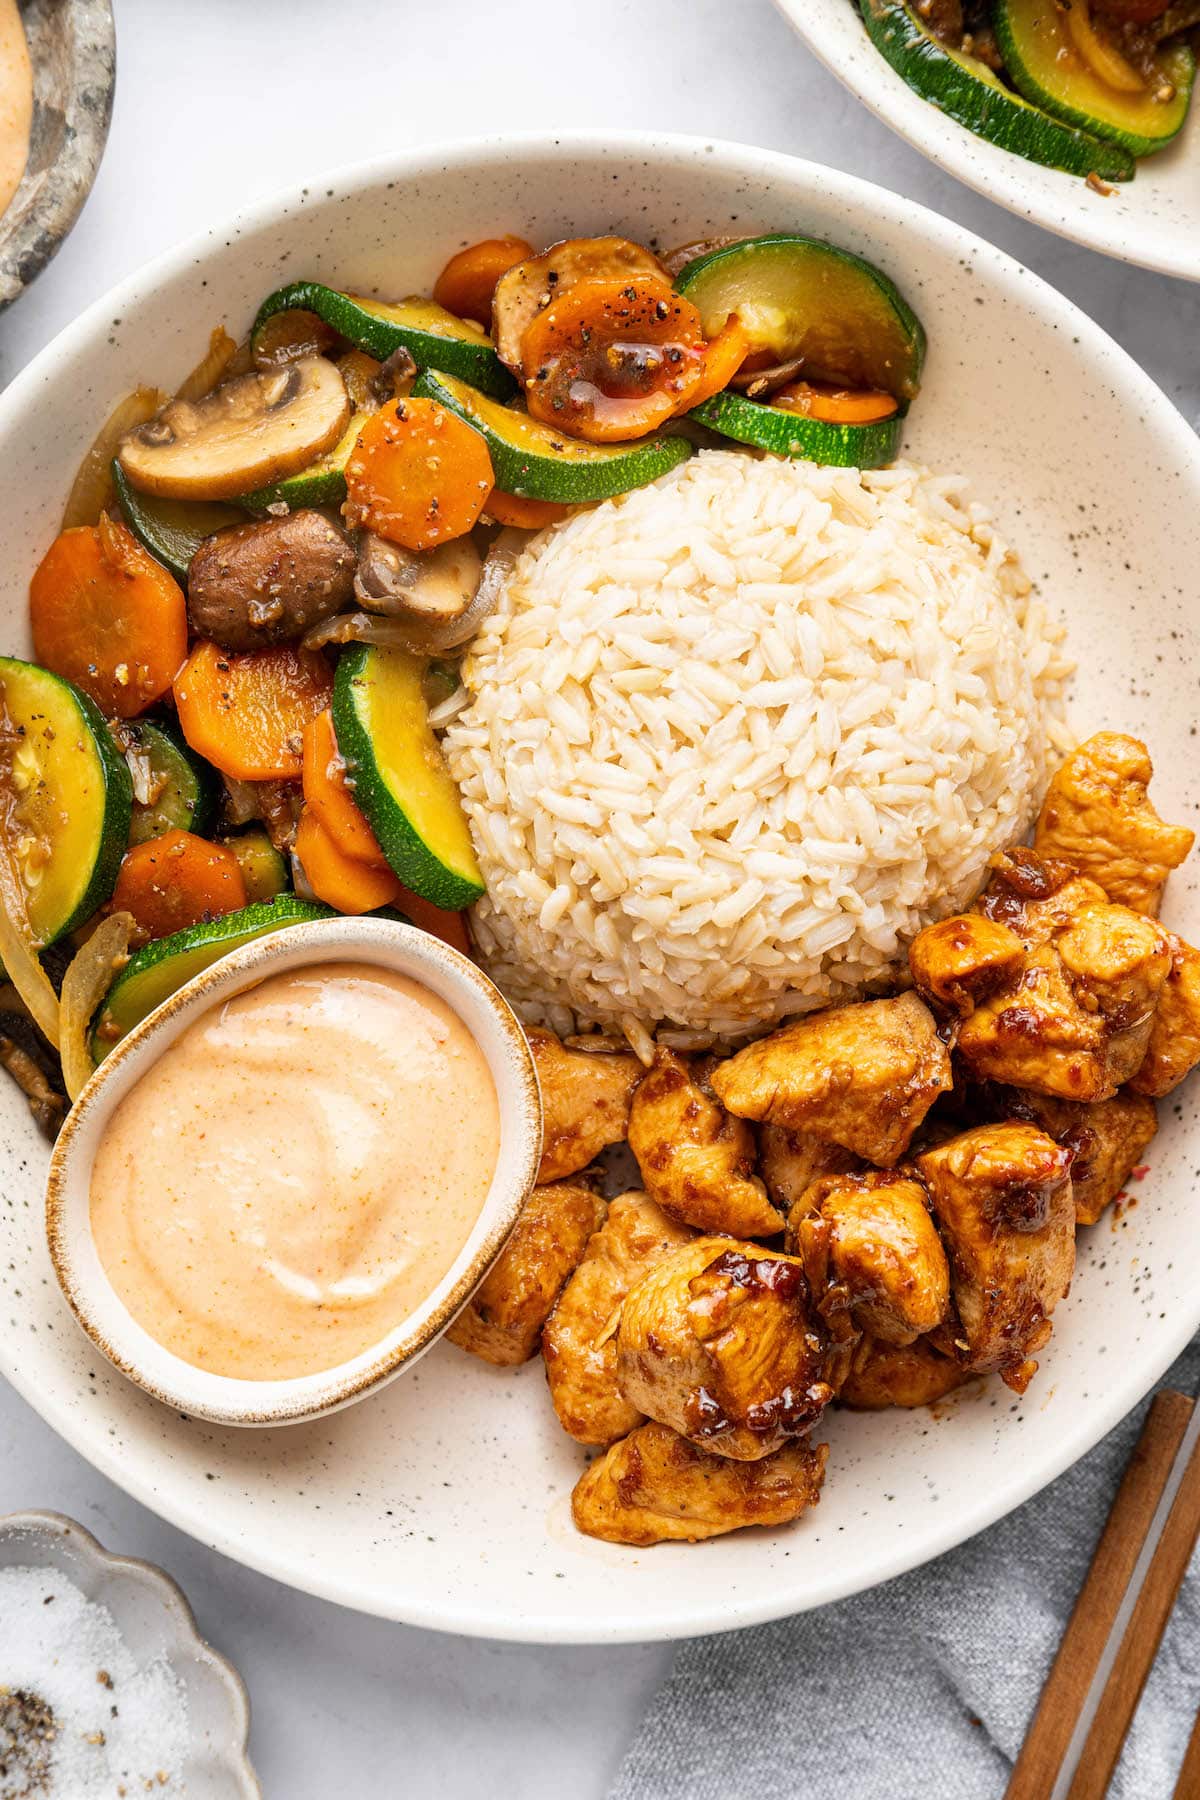
If you’ve ever been to a Japanese steakhouse, you know the magic of hibachi chicken—juicy, flavorful chicken, crisp-tender veggies, and that irresistible yum yum sauce that you drizzle over everything. But here’s the thing: you don’t need a flat-top grill or a fancy knife show to enjoy it at home. This easy hibachi chicken recipe brings all those classic flavors to your kitchen, no reservation required!
I love recreating takeout favorites at home, from healthy orange chicken to my sesame chicken, and this hibachi chicken is no exception. It’s simple, quick, and packed with restaurant-level flavor, perfect for a fun weeknight dinner or meal prep!
Table of Contents
Why You’ll Love This Recipe
- Big hibachi flavors at home – No need for a fancy grill or onion volcano—this dish delivers all the classic hibachi goodness, right from your stovetop.
- A full meal in one pan – Juicy chicken, crisp veggies, and the most delicious sauce? All you need is a side of fried rice or quinoa to complete the meal.
- Better than takeout – Less oil, less sodium, and no mystery ingredients, but all the bold flavors you love!
- Customizable – Swap the protein, adjust the spice, or use your favorite veggies—this recipe is so easy to make your own.
Ingredients Needed
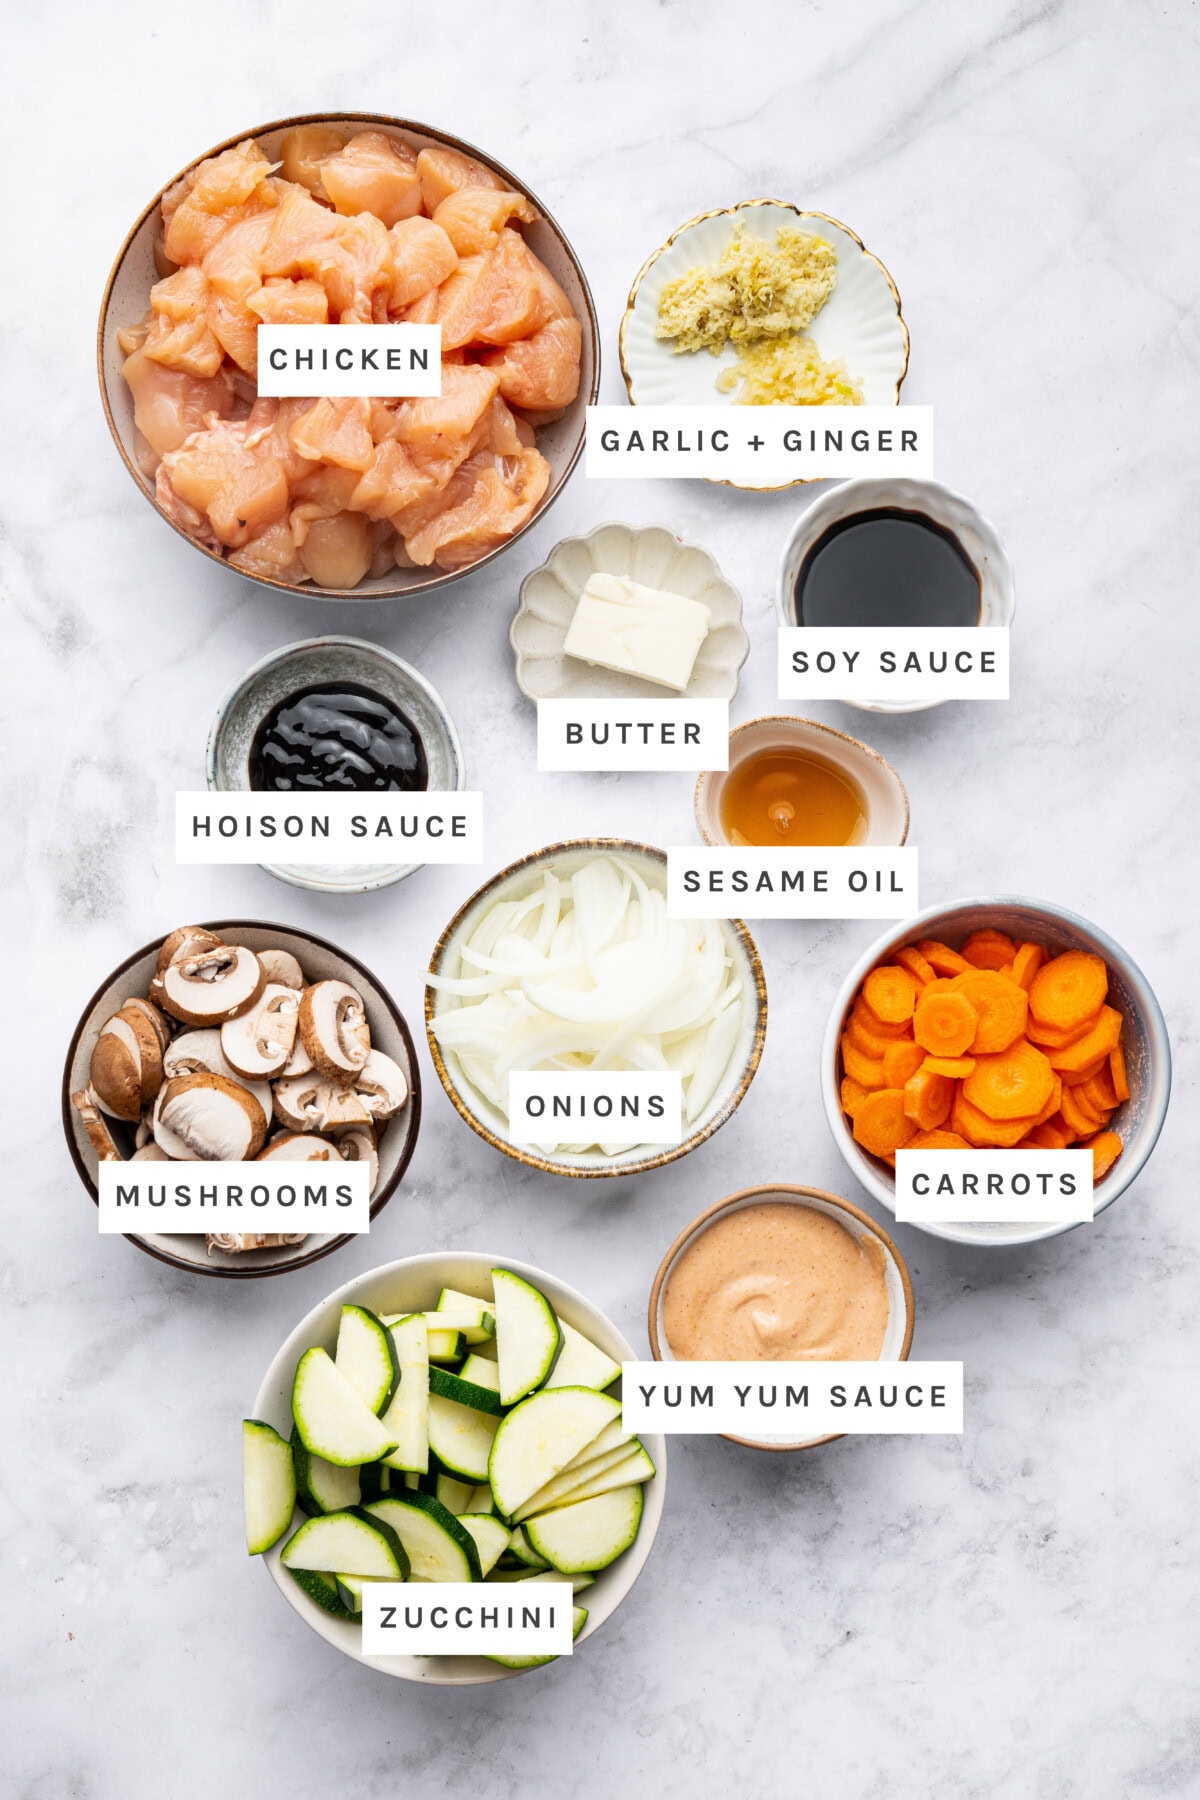
You only need a handful of simple ingredients to bring hibachi night to your kitchen!
- chicken – boneless, skinless chicken breast works great, but chicken thighs will give you an extra juicy result.
- butter – adds richness and that classic hibachi-style flavor.
- garlic & ginger – key aromatics that give this dish depth and warmth. I love using frozen ginger cubes for convenience!
- tamari or soy sauce – brings the perfect amount of umami and saltiness.
- hoisin sauce – adds a hint of sweetness and depth that balances the savory flavors.
- sesame oil – a small amount gives that signature toasted, nutty taste.
- black pepper – a little spice to bring everything together.
- veggies – a mix of fresh, colorful vegetables that cook up crisp-tender and absorb all the delicious flavors. I used zucchini, baby bella mushrooms, carrots, and onion, but feel free to swap in your favorites.
- yum yum sauce – the creamy, slightly sweet sauce that makes hibachi meals extra special! It’s made with mayo, tomato paste, rice vinegar, coconut sugar, garlic powder, paprika, onion powder, and a pinch of cayenne for a little heat.
Easy Recipe Substitutions
- Butter alternatives: Swap for ghee for a richer flavor or use olive oil for a dairy-free option.
- Swap tamari: Coconut aminos work great as a soy-free alternative with a slightly sweeter taste.
- Hoisin sauce flavor: If you don’t have hoisin, you can use a mix of soy sauce, a little honey, and a splash of rice vinegar to mimic the flavor.
- Other veggies: Stick with the hibachi classics or mix things up with bell peppers, broccoli, snap peas, or asparagus.
- Sauce swaps: To make it lighter, swap mayo for Greek yogurt. If you want a completely egg-free/dairy-free option, try vegan mayo instead.
How to Make Hibachi Chicken
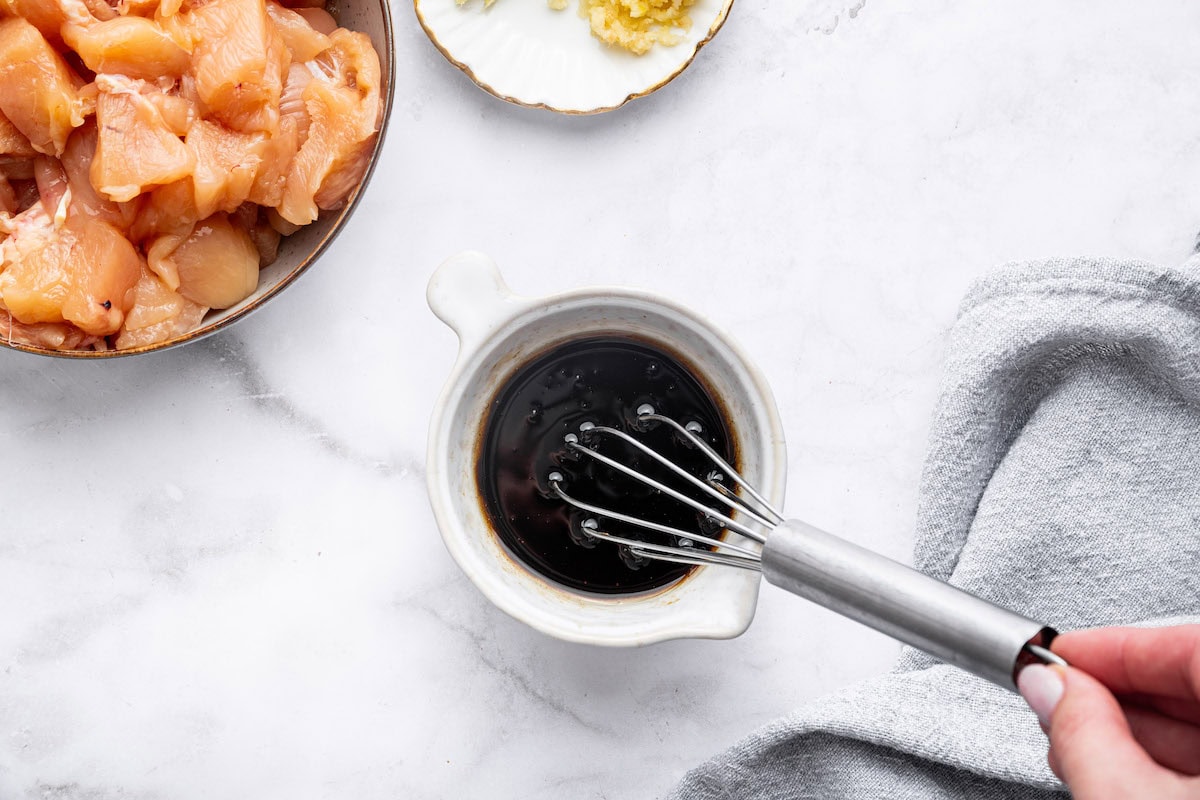
Step 1: Make sauce for chicken by whisking together tamari, hoisin and sesame oil in a small bowl. Set aside.
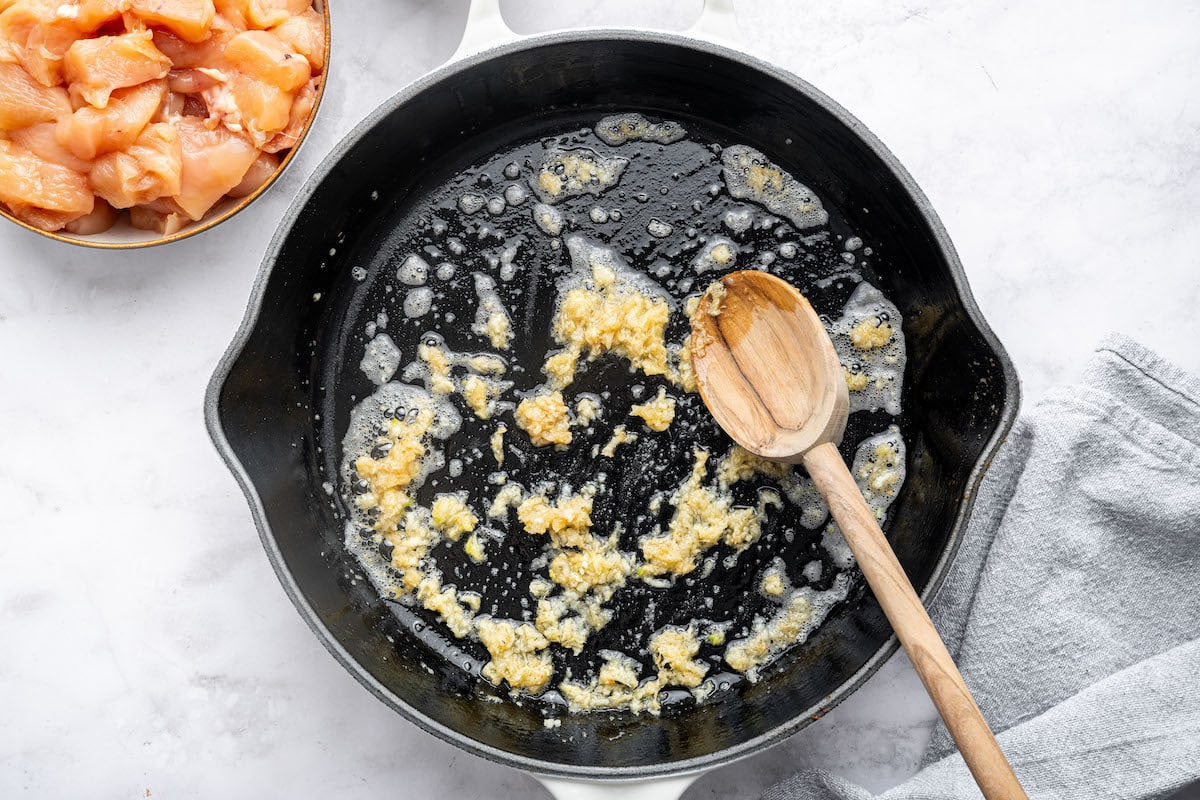
Step 2: In a large skillet, heat 1 Tablespoon butter over medium heat. Once hot, add the ginger and garlic, and sauté for 1-2 minutes until fragrant.
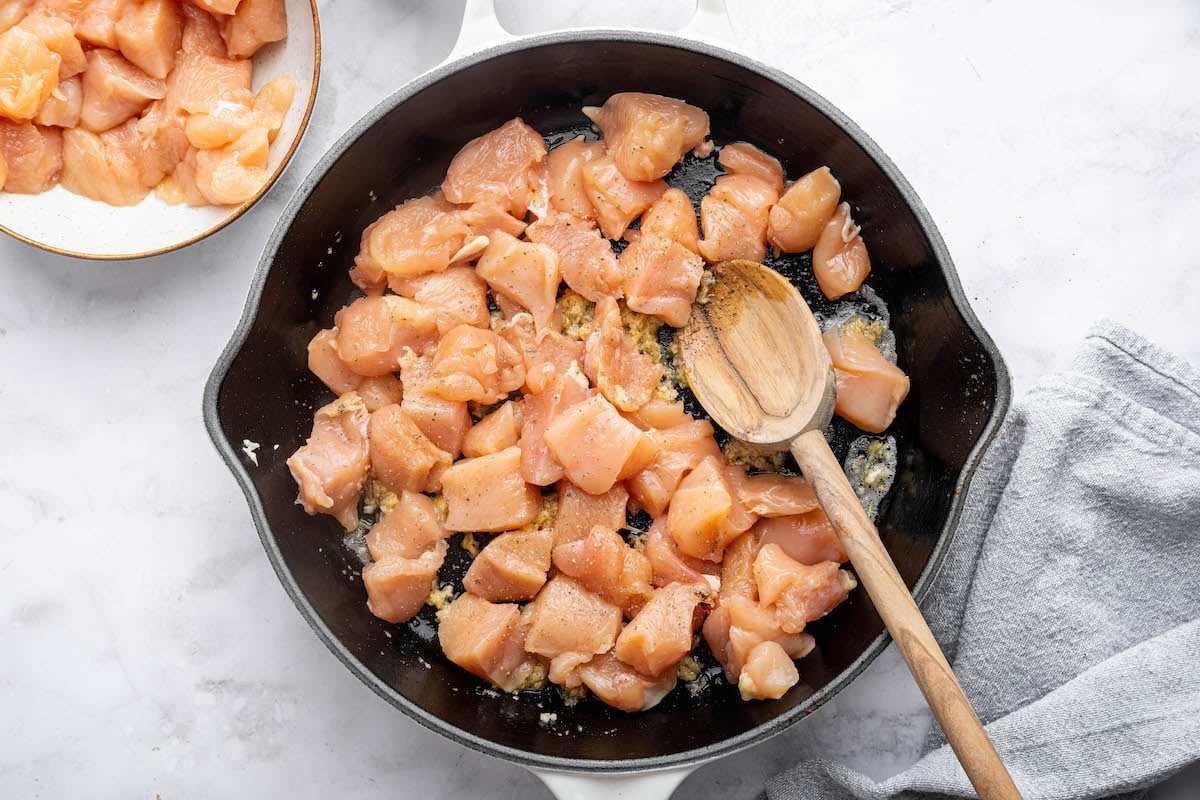
Step 3: Add chicken to the skillet. Season with pepper to taste. Stir occasionally until chicken is browned and cooked through and reaches an internal temperature of 165F, about 8-10 minutes.
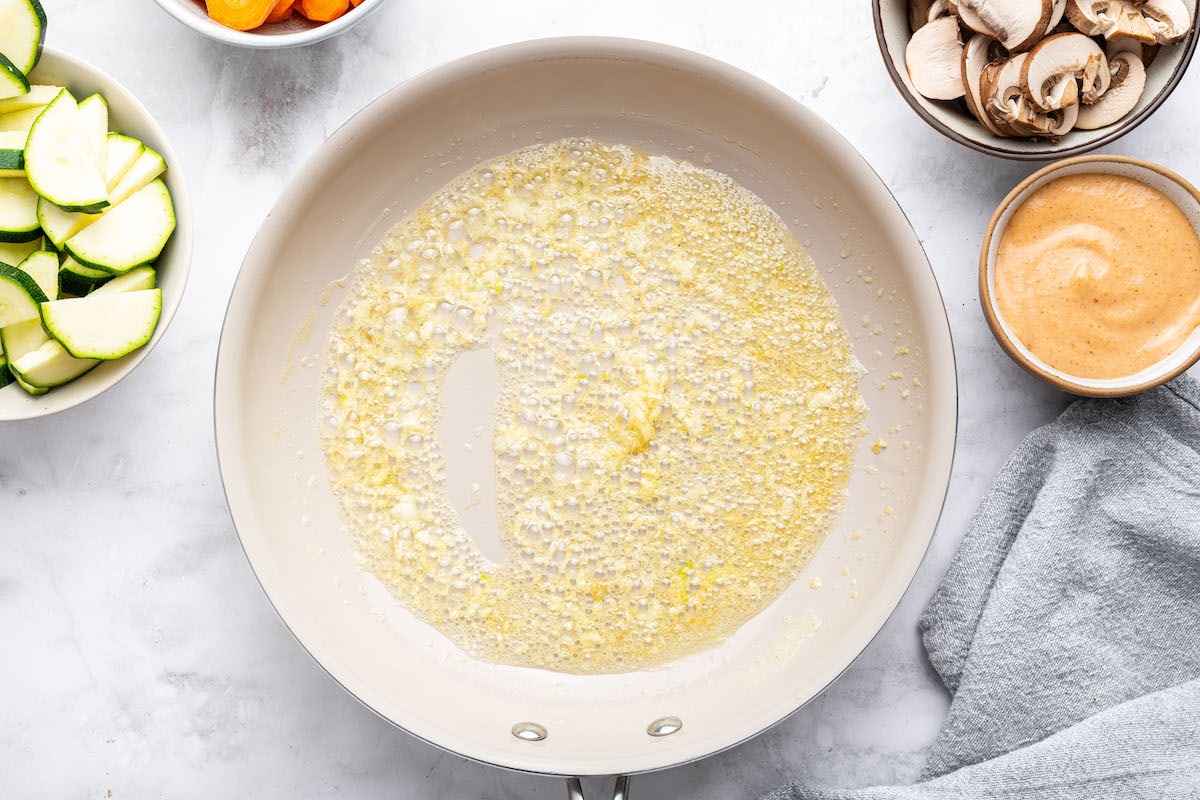
Step 4: While the chicken is cooking, heat 2 Tablespoons butter in a separate large skillet over medium-high heat. Once hot add minced garlic, stirring until fragrant, about 1 minute.
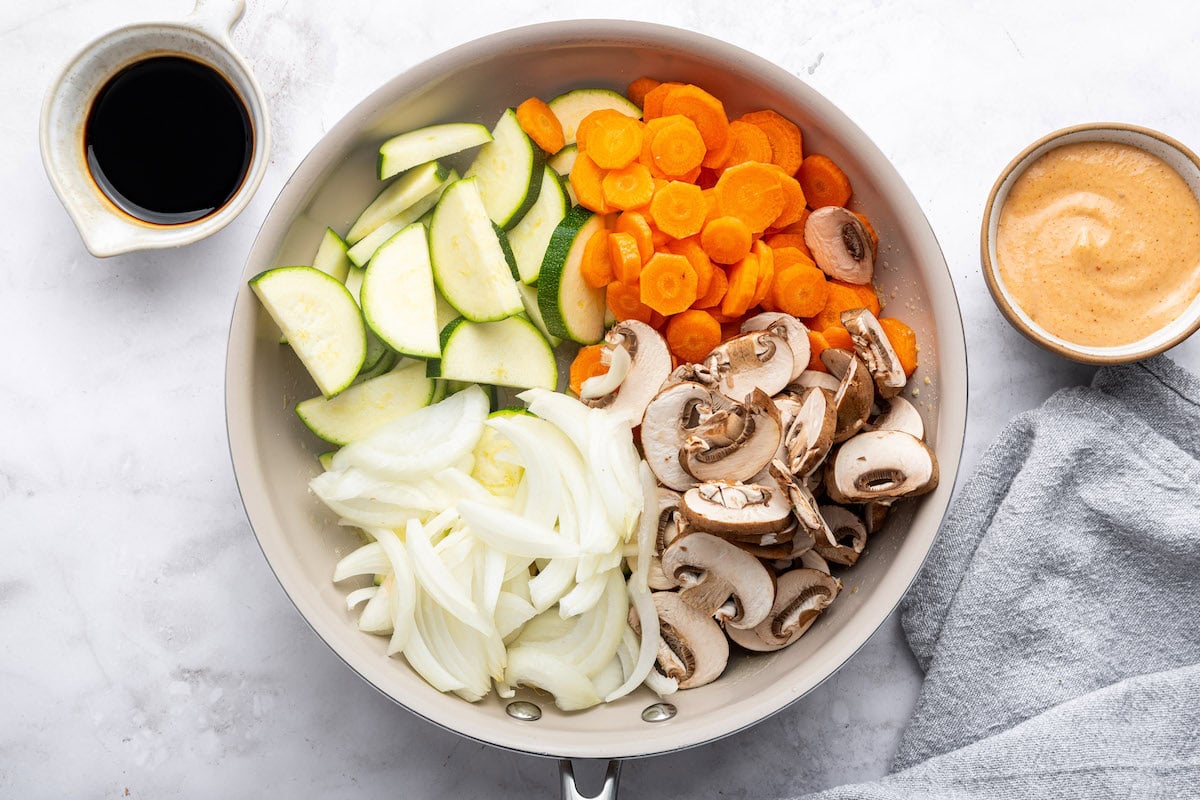
Step 5: Add veggies into the skillet, and cook for about 5-8 minutes, or until veggies are slightly soft, but still firm. You don’t want to overcook them.
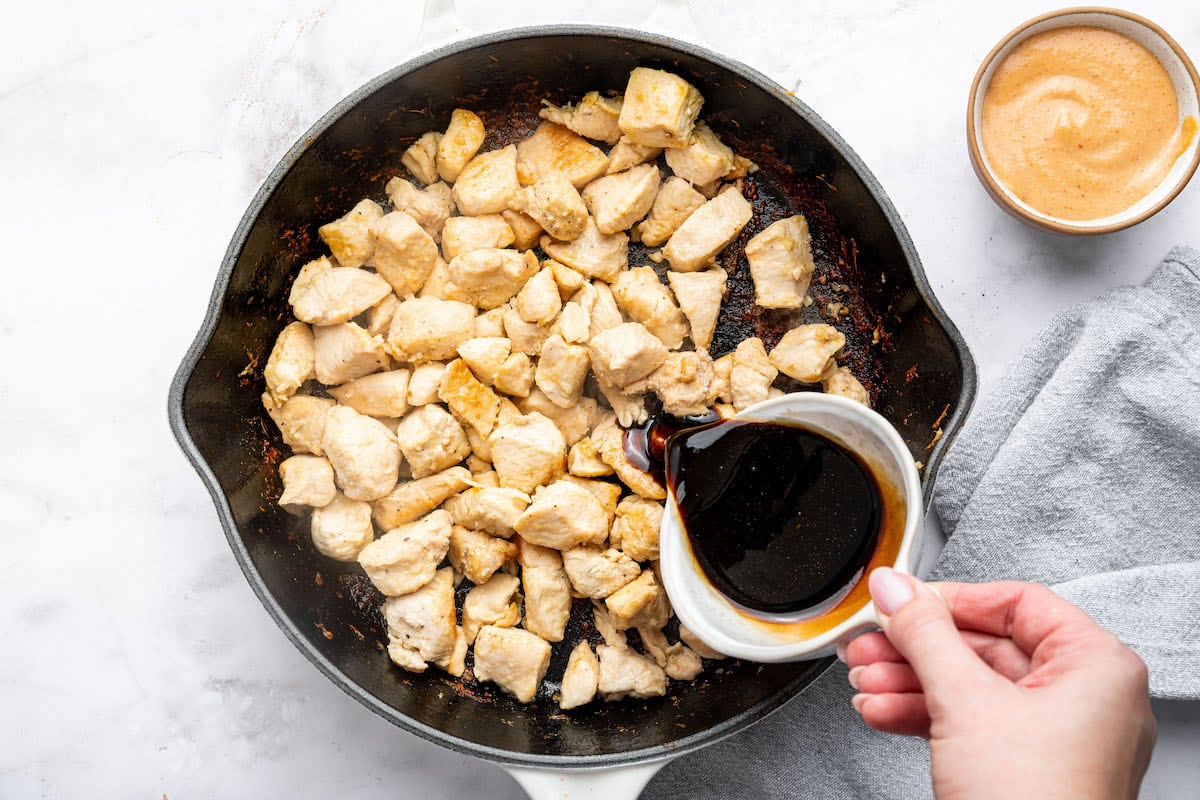
Step 6: Once the chicken is cooked, pour the sauce into the pan and let it thicken, about 1-2 minutes. Remove pan from heat and transfer chicken to a serving bowl.
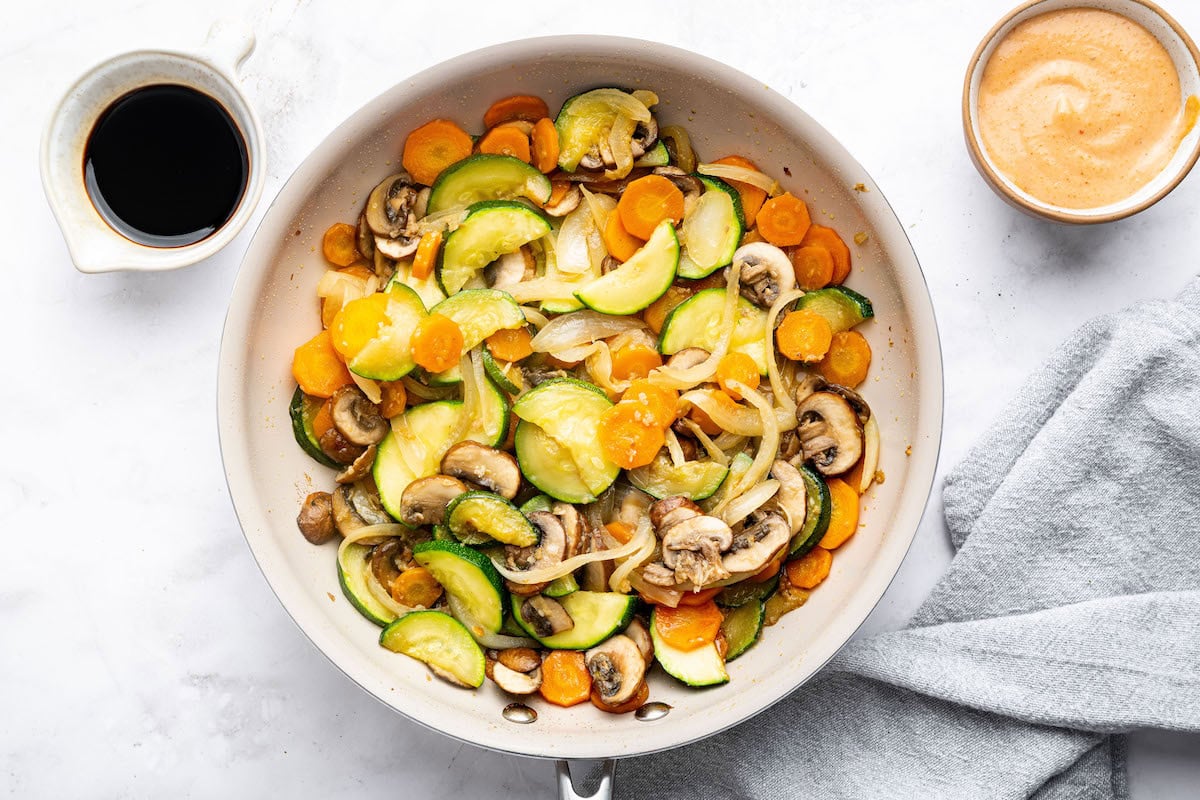
Step 7: Add soy sauce, stir-fry another minute to coat the veggies.
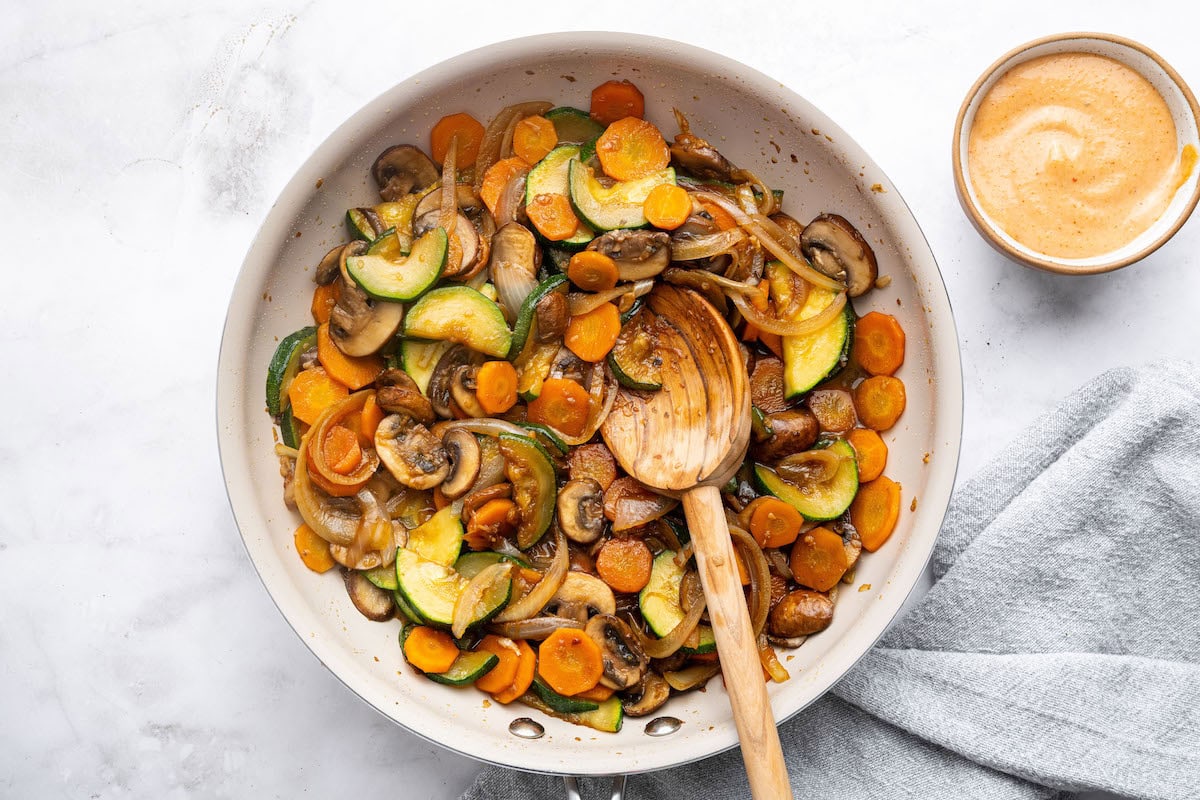
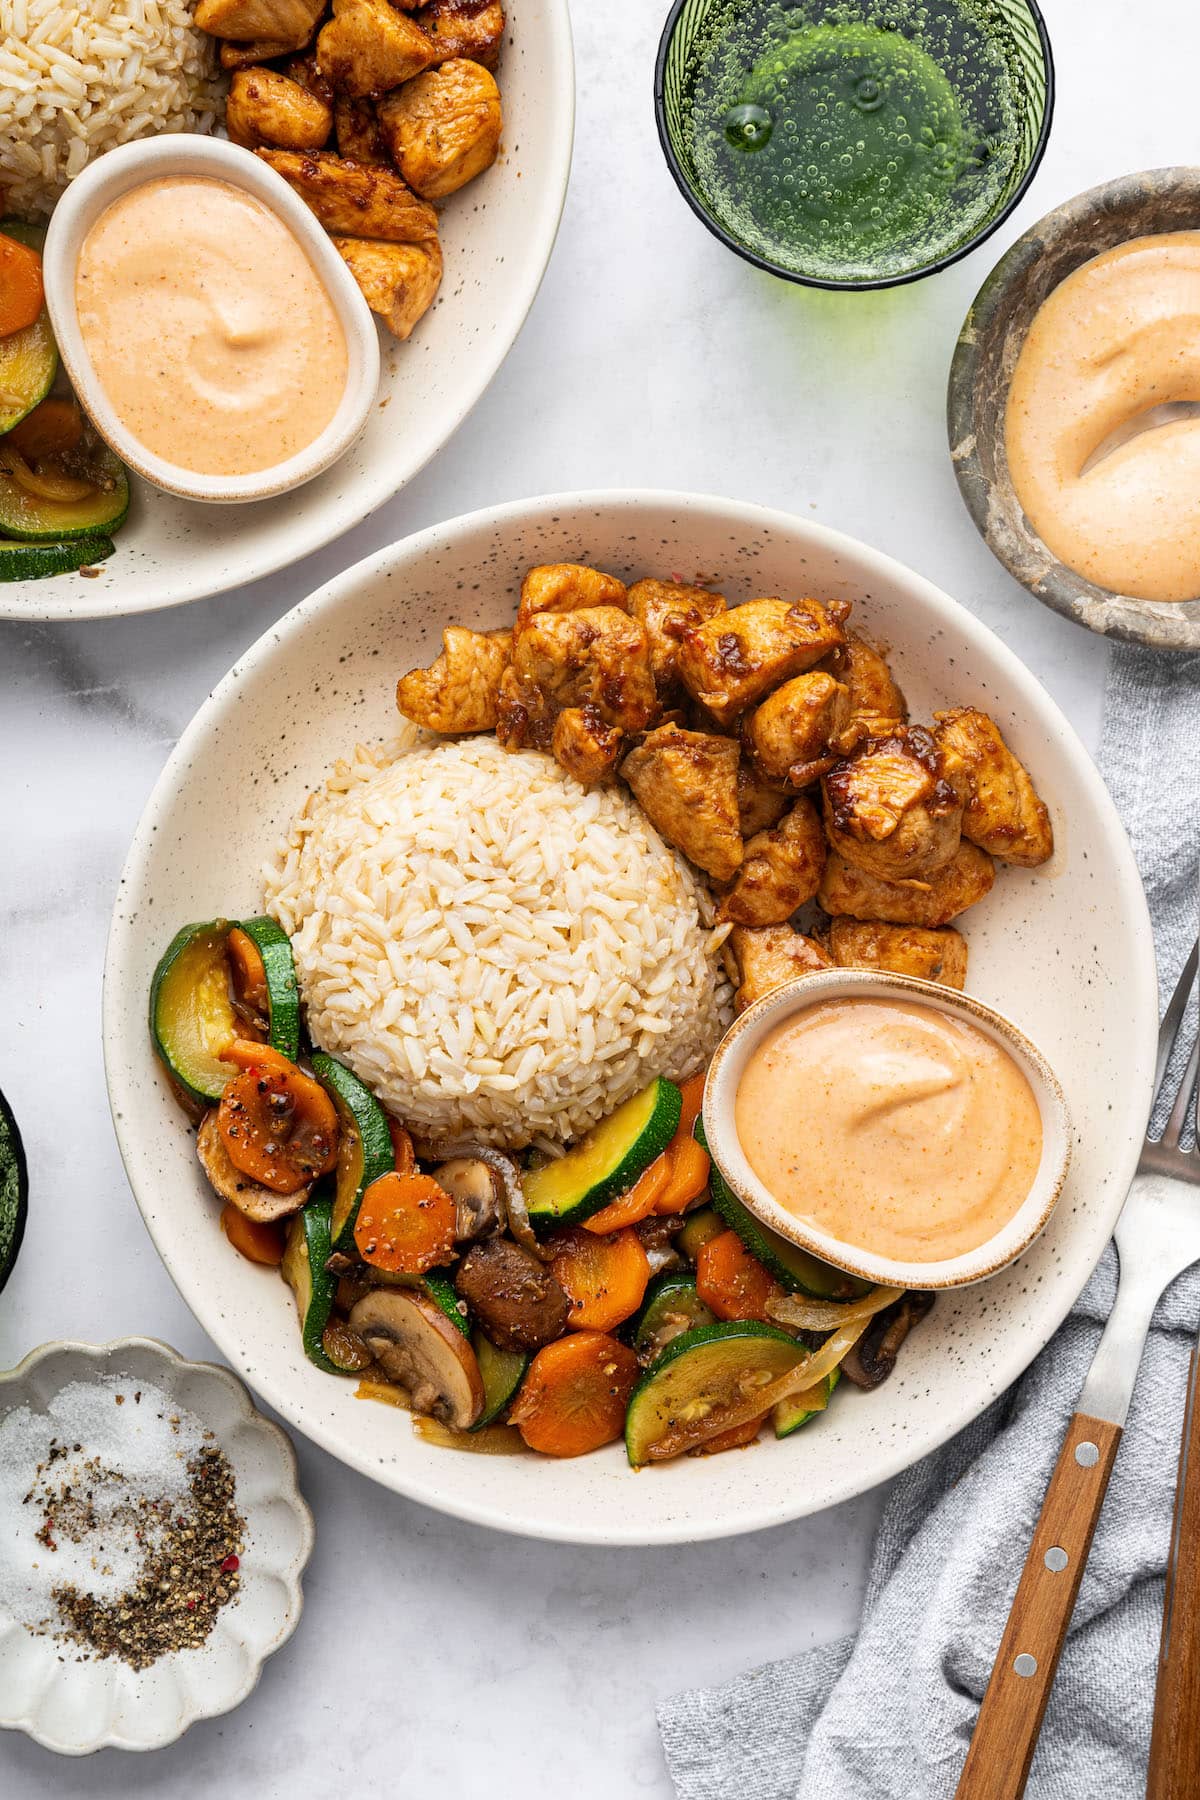
Step 8: Divide chicken and veggies between four plates. Add a serving of brown, white or fried rice, cauliflower rice, quinoa or grain of choice. Drizzle with desired amount of yum yum sauce and enjoy!
Brittany’s Pro Tips!
- Prep everything first: Hibachi-style cooking moves fast! Chop your veggies, mince your garlic and ginger, and have all your sauces ready to go before you start cooking.
- Don’t overcrowd the pan: Cook in batches if needed! Overcrowding will steam the ingredients instead of searing them, and we want caramelization, not sogginess.
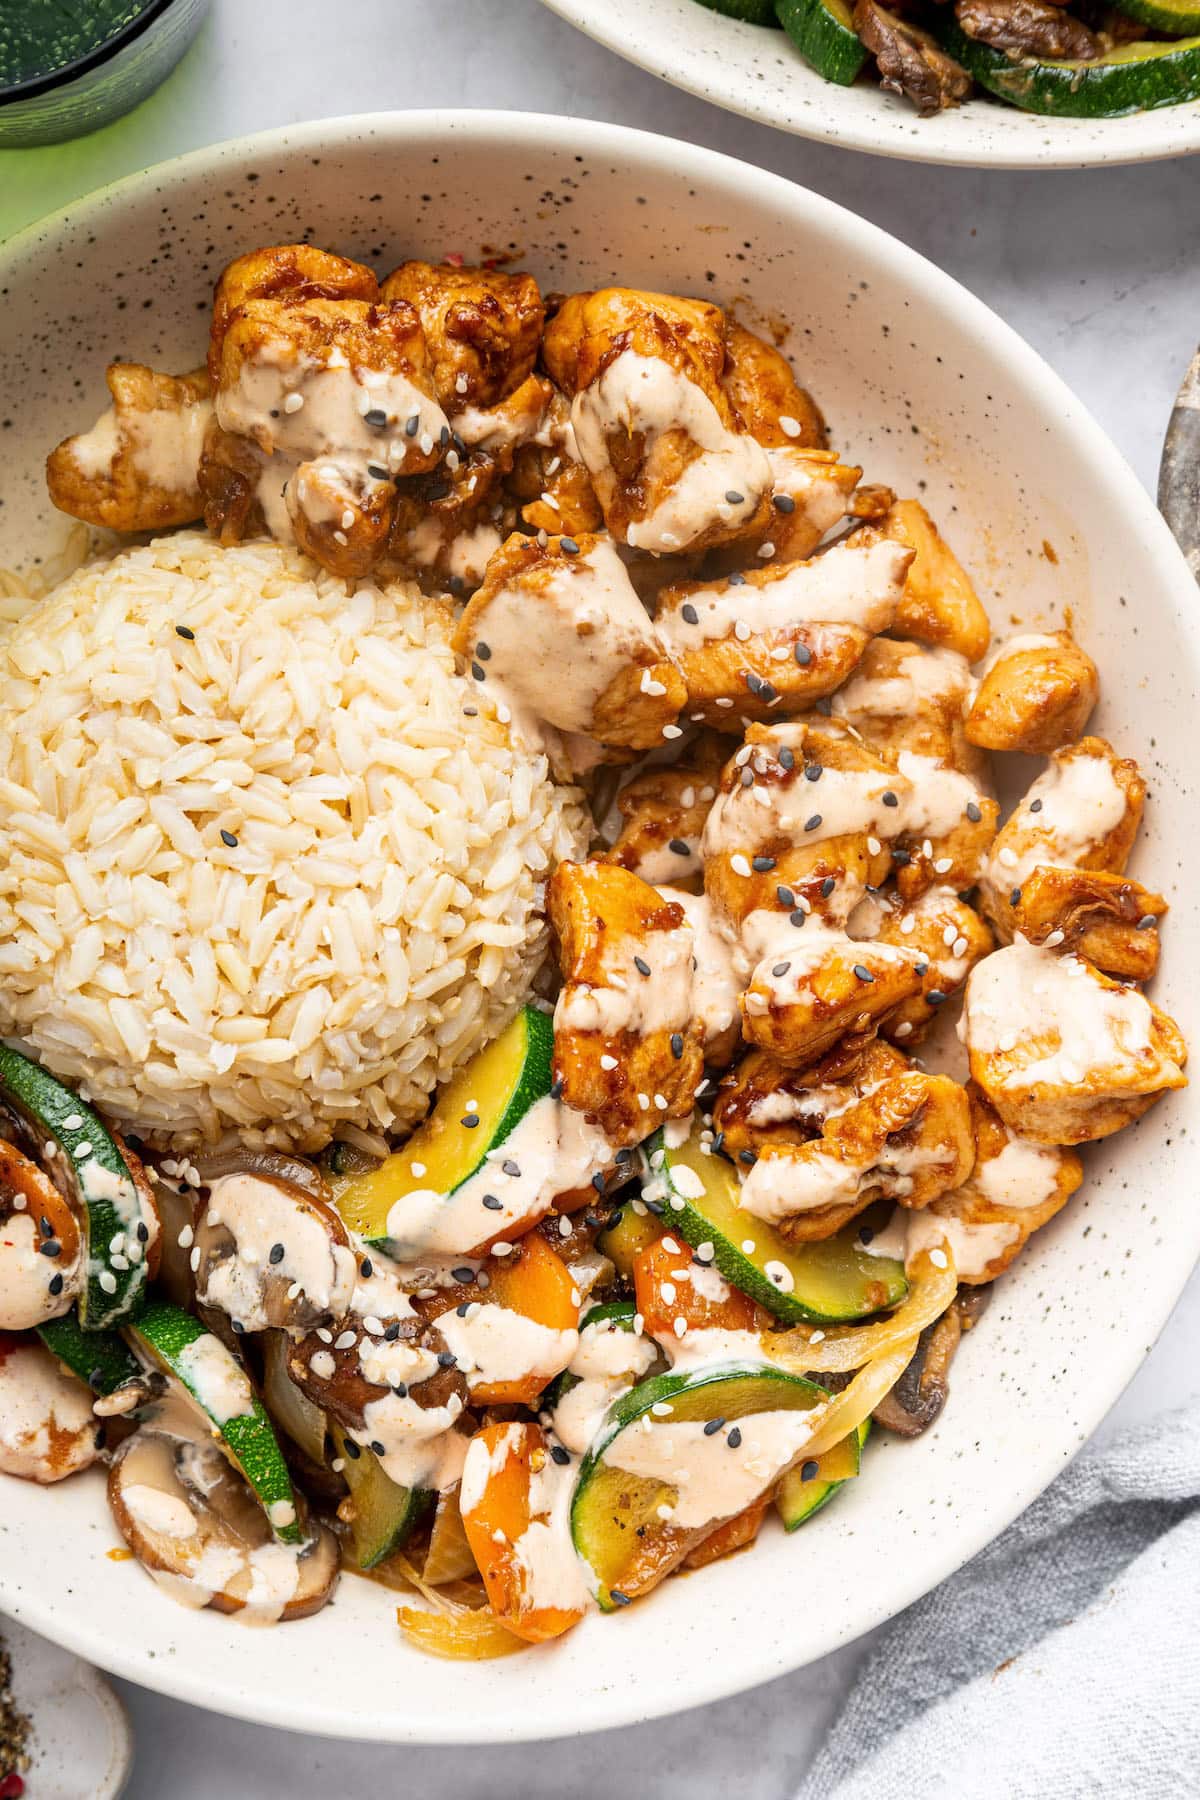
How to Serve Hibachi Chicken
Hibachi chicken pairs well with so many sides! Here are some of my favorite ways to serve it:
- With rice – Keep it classic with a side of steamed white or brown rice, or make it extra special with my quinoa fried “rice” or cauliflower fried rice for a low-carb option.
- With extra veggies – Add even more color and crunch by serving it with a side of air fryer broccoli, roasted Brussels sprouts, or a fresh Asian edamame salad.
- In lettuce wraps – Skip the rice and wrap your hibachi chicken and veggies in crisp butter lettuce for a light and fresh meal.
- With a side of soup – Pair it with a warm bowl of zucchini noodle ramen for the ultimate cozy meal.
Storing Leftovers
Refrigerator – Store leftovers in an airtight container in the fridge for up to 4 days. Keep the chicken and veggies separate from any sauces for the best texture.
Freezer – Hibachi chicken freezes well! Let it cool completely, then store it in a freezer-safe container for up to 3 months. Thaw overnight in the fridge before reheating.
Reheating – Warm leftovers in a skillet over medium heat until heated through. You can also microwave for 1-2 minutes, but the stovetop will help keep the chicken juicy and the veggies crisp.
Frequently Asked Questions
A large cast-iron skillet or stainless steel pan works best to get that golden sear on the chicken. If you have a flat-top griddle, even better!
Hibachi chicken is seasoned with soy sauce, butter, and aromatics like garlic and ginger, while teriyaki chicken is cooked in a sweeter, glaze-like sauce made with soy sauce, sugar, and mirin.
Nope! But if you like a little heat, add a dash of sriracha, red pepper flakes, or extra cayenne to the sauce.
More Chicken Recipes
- Chicken Shawarma
- Greek Chicken Wrap
- Chicken Stir Fry
- Juicy Chicken Burgers
- Chick-fil-A Grilled Nuggets (Copycat Recipe)
- Buffalo Chicken Stuffed Sweet Potatoes
- Sweet and Savory Glazed Chicken
If you enjoyed this recipe, please consider leaving a ⭐ star rating and let me know how it went in the 📝 comments below.
Hibachi Chicken
Ingredients
Chicken
- 1 ½ lbs boneless skinless chicken breast, cut into small chunks
- 1 Tablespoon unsalted butter
- 2 cloves garlic, minced
- 2 teaspoons grated ginger, I use the frozen ginger cubes
- 2 Tablespoons low sodium tamari or soy sauce
- 2 Tablespoons hoisin sauce
- ½ Tablespoon sesame oil
- Black pepper, to taste
Vegetables
- 2 Tablespoons unsalted butter
- 3 cloves garlic, minced
- 1 medium/large zucchini, cut into half moons
- 4 oz (1 ½ cups) baby bella mushrooms, sliced
- 1 cup carrots, about 2 large or 3 small, thinly sliced
- ½ medium/large yellow onion, sliced
- 2 Tablespoons low sodium tamari or soy sauce
Yum Yum Sauce
- ¼ cup mayonnaise
- 1 Tablespoon water
- 1 teaspoon tomato paste
- 1 teaspoon rice vinegar
- ½ teaspoon coconut sugar
- ¼ teaspoon garlic powder
- ¼ teaspoon paprika
- ¼ teaspoon onion powder
- ¼ teaspoon salt
- pinch of cayenne
- Black pepper, to taste
Instructions
- Chop your veggies, grate ginger, and mince garlic. Place the chopped veggies in one bowl, minced garlic for the veggies in a small bowl, and garlic and grated ginger for the chicken in another small bowl. Set these aside.
- Make yum yum sauce by whisking all the ingredients together in a bowl. Set aside in the fridge until ready to serve.
- Make sauce for chicken by whisking together tamari, hoisin and sesame oil in a small bowl. Set aside.
- Prep your chicken. Chop the chicken into small, bite-size pieces.
- In a large skillet, heat 1 Tablespoon butter over medium heat. Once hot, add the ginger and garlic for the chicken, and sauté for 1-2 minutes until fragrant.
- Add chicken to the skillet. Season with pepper to taste. Stir occasionally until chicken is browned and cooked through and reaches an internal temperature of 165F, about 8-10 minutes. Once the chicken is cooked, pour the sauce into the pan and let it thicken, about 1-2 minutes. Remove pan from heat and transfer chicken to a serving bowl.
- While the chicken is cooking, heat 2 Tablespoons butter in a separate large skillet over medium-high heat. Once hot add minced garlic, stirring until fragrant, about 1 minute. Add veggies into the skillet, and cook for about 5-8 minutes, or until veggies are slightly soft, but still firm. You don’t want to overcook them. Add soy sauce, stir-fry another minute to coat the veggies.
- Divide chicken and veggies between four plates. Add a serving of brown, white or fried rice, cauliflower rice, quinoa or grain of choice. Drizzle with desired amount of yum yum sauce and enjoy!
Notes
- Storage: Store leftovers in an airtight container in the fridge for up to 4 days, keeping the chicken and veggies separate from sauces. For longer storage, freeze the chicken for up to 3 months and thaw overnight in the fridge. Reheat in a skillet over medium heat for the best texture, or microwave for 1-2 minutes.
Nutrition
Nutrition information is automatically calculated, so should only be used as an approximation.
Like This Recipe? Rate & Comment Below!






Just delicious. Wound up doing the veggies in the oven and chicken on the stove. Eliminated butter to be dairy free and used powder ginger. Sooo good! Will be making again.
Oh yay! That makes me so happy to hear! Thanks for coming back to share and leaving a review 🙂
Delicious! We’ll make it again. I used avocado oil instead of butter to make it dairy-free and also cooked the veggies in the same pan after removing the chicken because I hate doing extra dishes.
Yay! So glad you loved this recipe, Sarah. I love that the avocado oil swap worked well and cooking everything in one pan is always a win for fewer dishes. Thanks so much for making it and for coming back to leave a review. I really appreciate it.
I made this for dinner last night and it was delicious. I served it with a small scoop of quinoa but it wasn’t needed. Next time we will just have the chicken and veggies.
Loved this. The Yum Yum sauce was the star of the show. It took the flavor profile to a new level. Thanks for a tasty recipe!
Yay! So glad you loved this recipe, Lisa. The Yum Yum sauce really does take it to the next level. Thanks so much for making it and for coming back to leave a review. I really appreciate it. 🙂